EPSON AcuLaser CX11/CX11F Revision B
DISASSEMBLY AND ASSEMBLY Printer 432
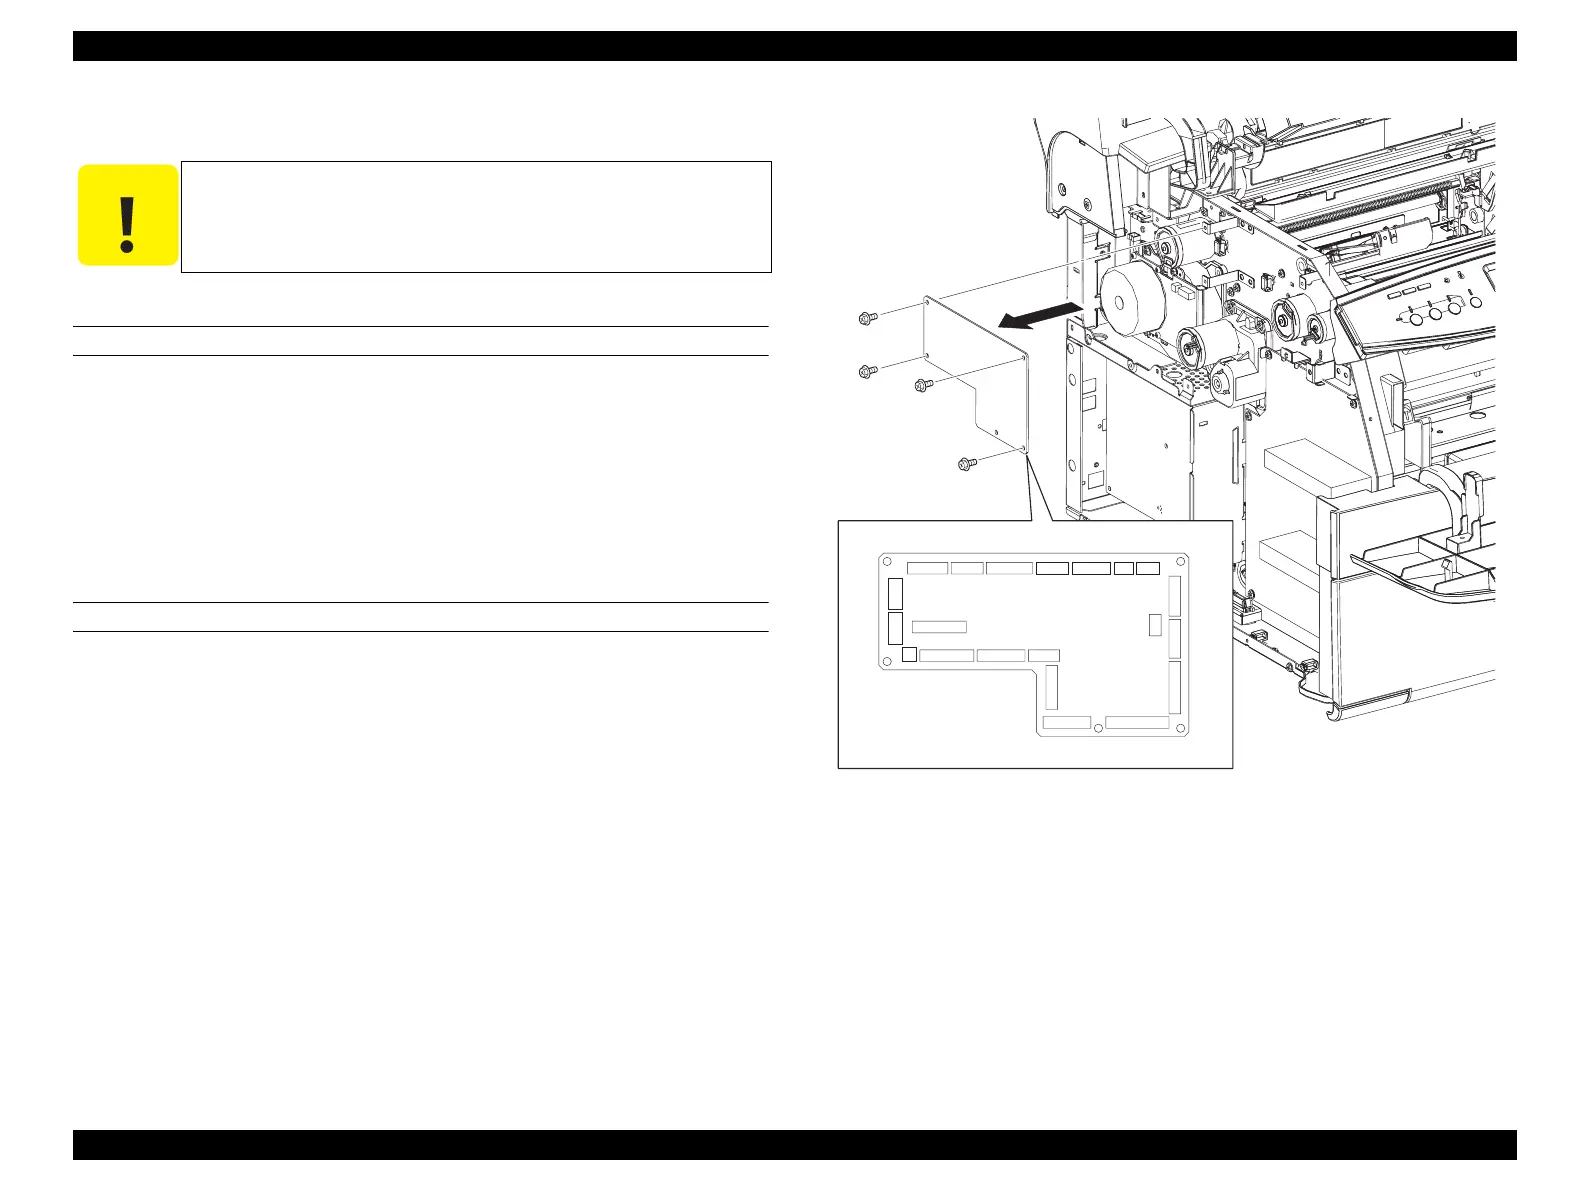
4.2.11.5 PWBA MCU
When using the old PWBA MCU
REMOVAL
1. Remove COVER ASSY LH. (p321)
2. Disconnect all connectors from the PWBA MCU.
3. Remove the 4 screws (silver, with flange, 6mm) fastening PWBA MCU to the
main unit.
4. Remove PWBA MCU from the main unit.
REINSTALLATION
1. Attach PWBA MCU to the main unit.
2. Fasten PWBA MCU to the main unit with the 4 screws (silver, with flange, 6 mm).
3. Connect all connectors to the PWBA MCU.
4. Attach COVER ASSY LH. (p321)
Figure 4-114. Removal of PWBA MCU
C A U T I O N
Avoid staticky places such as on a carpet especially when removing
or inserting a Board. Before starting work with the Board, make
sure to touch metallic portion of the printer connected to the earth
to let your body come out free of static electricity.
Leg_Sec03_110RB
403 404 417 418 422
414
416
412
415
421
(Unused)
401400
413
410407406
409
408
405
411
420
4)
3)
3)
3)
3)
2)
manuals4you.commanuals4you.com
 Loading...


