EPSON AcuLaser CX11/CX11F Revision B
TROUBLESHOOTING Printer 253
3.4.5.4 Printing quality-related FIP
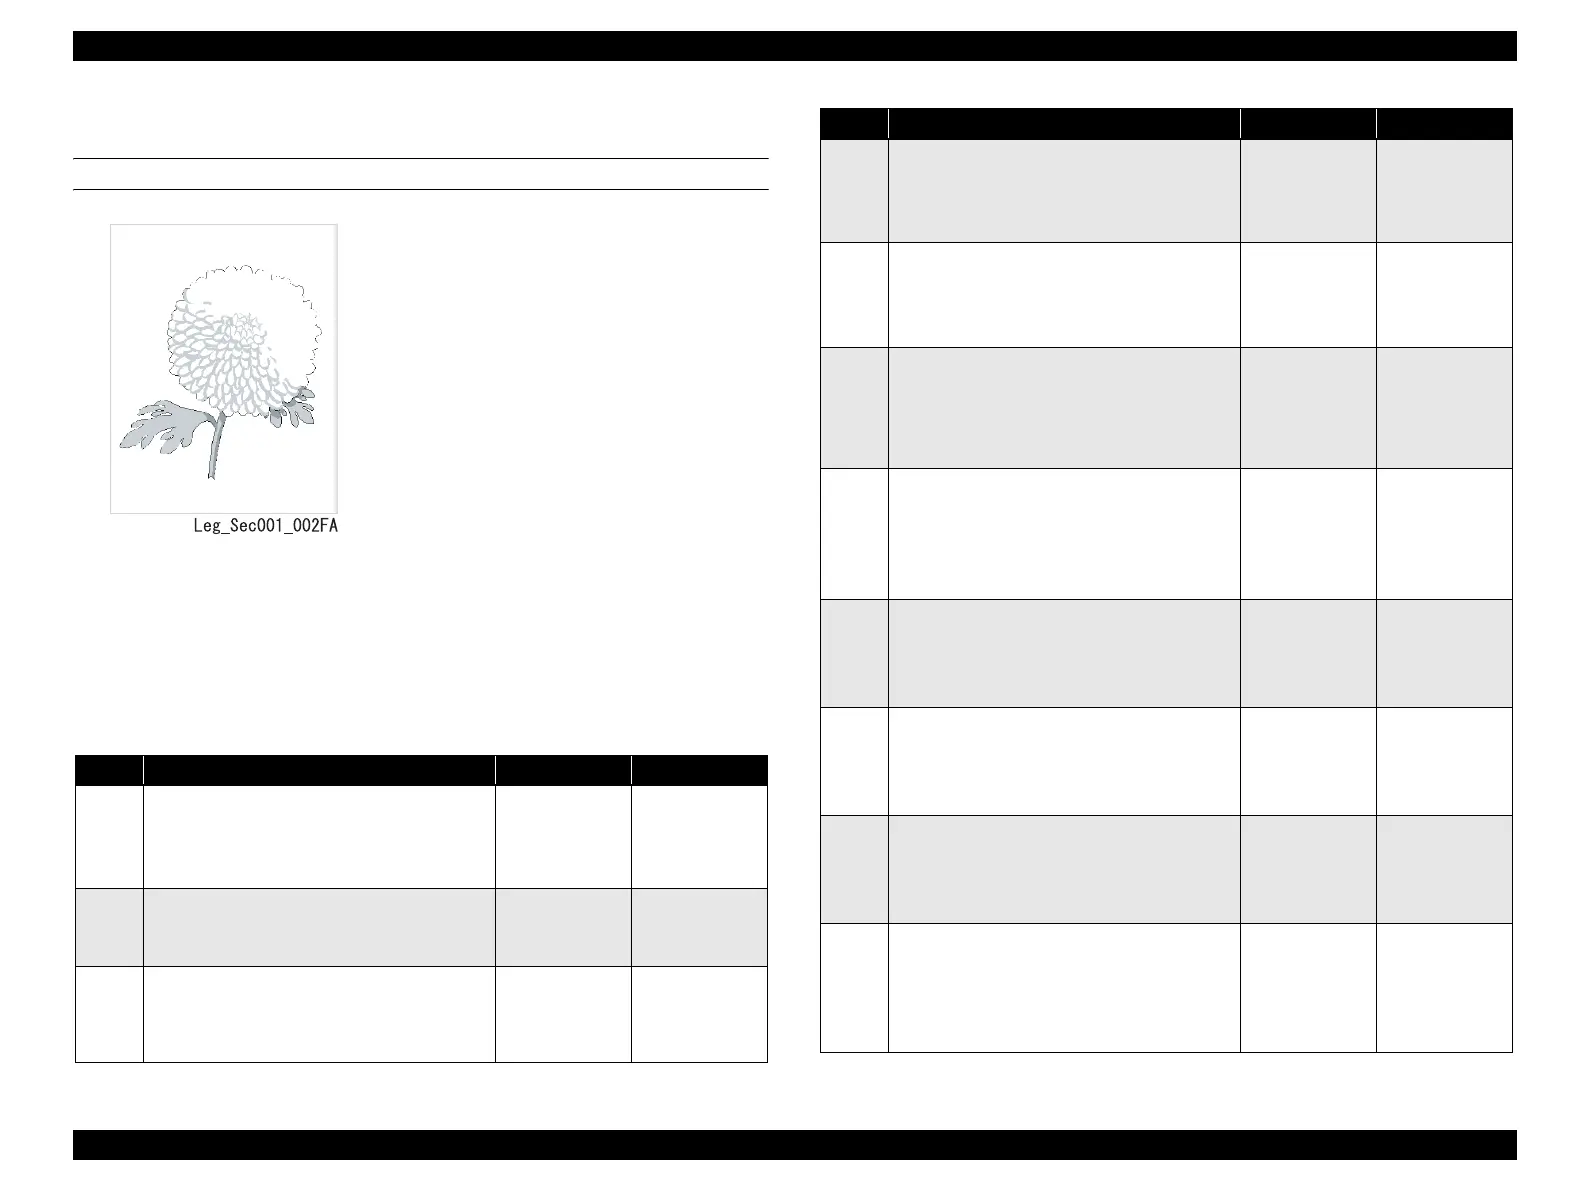
FIP-P1 Printing is Faint (Weak Tones)
Before starting troubleshooting, inspect the feed path of the printer paper. Check the
paper feed path for metal staples, paper clips, paper scraps, and other foreign matter.
Problems
Overall density of image is too weak.
ESS and possible parts that caused the error
Photoconductor Unit
ROS ASSY
Toner Cartridge Y
Toner Cartridge M
Toner Cartridge C
Toner Cartridge K
2ND BTR ASSY
HOUSING ASSY-GUIDE AD
MOT ASSY MAG
PWBA ESS
PWBA MCU
LV/HVPS
FUSER ASSY
500 FEEDER ASSY OPTION
Step Check Yes No
1
Check of Paper
Load new, dry recommended paper, and
execute a test print.
Is the image printed normally?
End of procedure Go to Step [2].
2
Check of laser beam path
Are there any obstructions between ROS ASSY
and Photoconductor Unit?
Remove
obstacles.
Go to Step [3].
3
Check of ROS window
Is ROS window dirty?
Clean the ROS
window with
CLEANER
ASSY.
Go to Step [4].
4
Check of toner cartridge attachment
Re-attach the toner cartridge, and make a test
print of the problem image.
Is the image printed normally?
End of procedure Go to Step [5].
5
Check of 2ND BTR ASSY
Remove 2ND BTR ASSY. (p.374)
Is 2ND BTR ASSY normal without any dirt,
damage or wear?
Go to Step [6]. Replace 2ND
BTR ASSY.
(p.374)
6
Check of contact between Photoconductor
Unit and frame
Are the contacts of Photoconductor Unit and
HOUSING ASSY-GUIDE AD dirty or
deformed?
Clean or replace
relevant parts.
Go to Step [7].
7
Check after replacement of Photoconductor
Unit
Replace Photoconductor Unit.
Make a test print of the problem image.
Is the image printed normally?
End of procedure Go to Step [8].
8
Check after replacement of Toner Cartridge
Replace Toner Cartridge Y/M/C/K.
Make a test print of the problem image.
Is the image printed normally?
End of procedure Go to Step [9].
9
Check after replacement of PWBA MCU
Replace PWBA MCU. (p.432)
Make a test print of the problem image.
Is the image printed normally?
End of procedure Go to Step [10].
10
Check after replacement of ROS ASSY
Replace ROS ASSY. (p.401)
Make a test print of the problem image.
Is the image printed normally?
End of procedure Go to Step [11].
11
Check after replacement of the MOT ASSY
MAG
Replace MOT ASSY MAG. (p.423)
Make a test print of the problem image.
Is the image printed normally?
End of procedure Go to Step [12].
Step Check Yes No
 Loading...


