EPSON AcuLaser CX11/CX11F Revision B
DISASSEMBLY AND ASSEMBLY Printer 443
4.2.12.2 GUIDE END ASSY
REMOVAL
1. Remove 500 PAPER CASSETTE ASSY. (p442)
2. Remove PLATE ASSY BOTTOM 500. (p444)
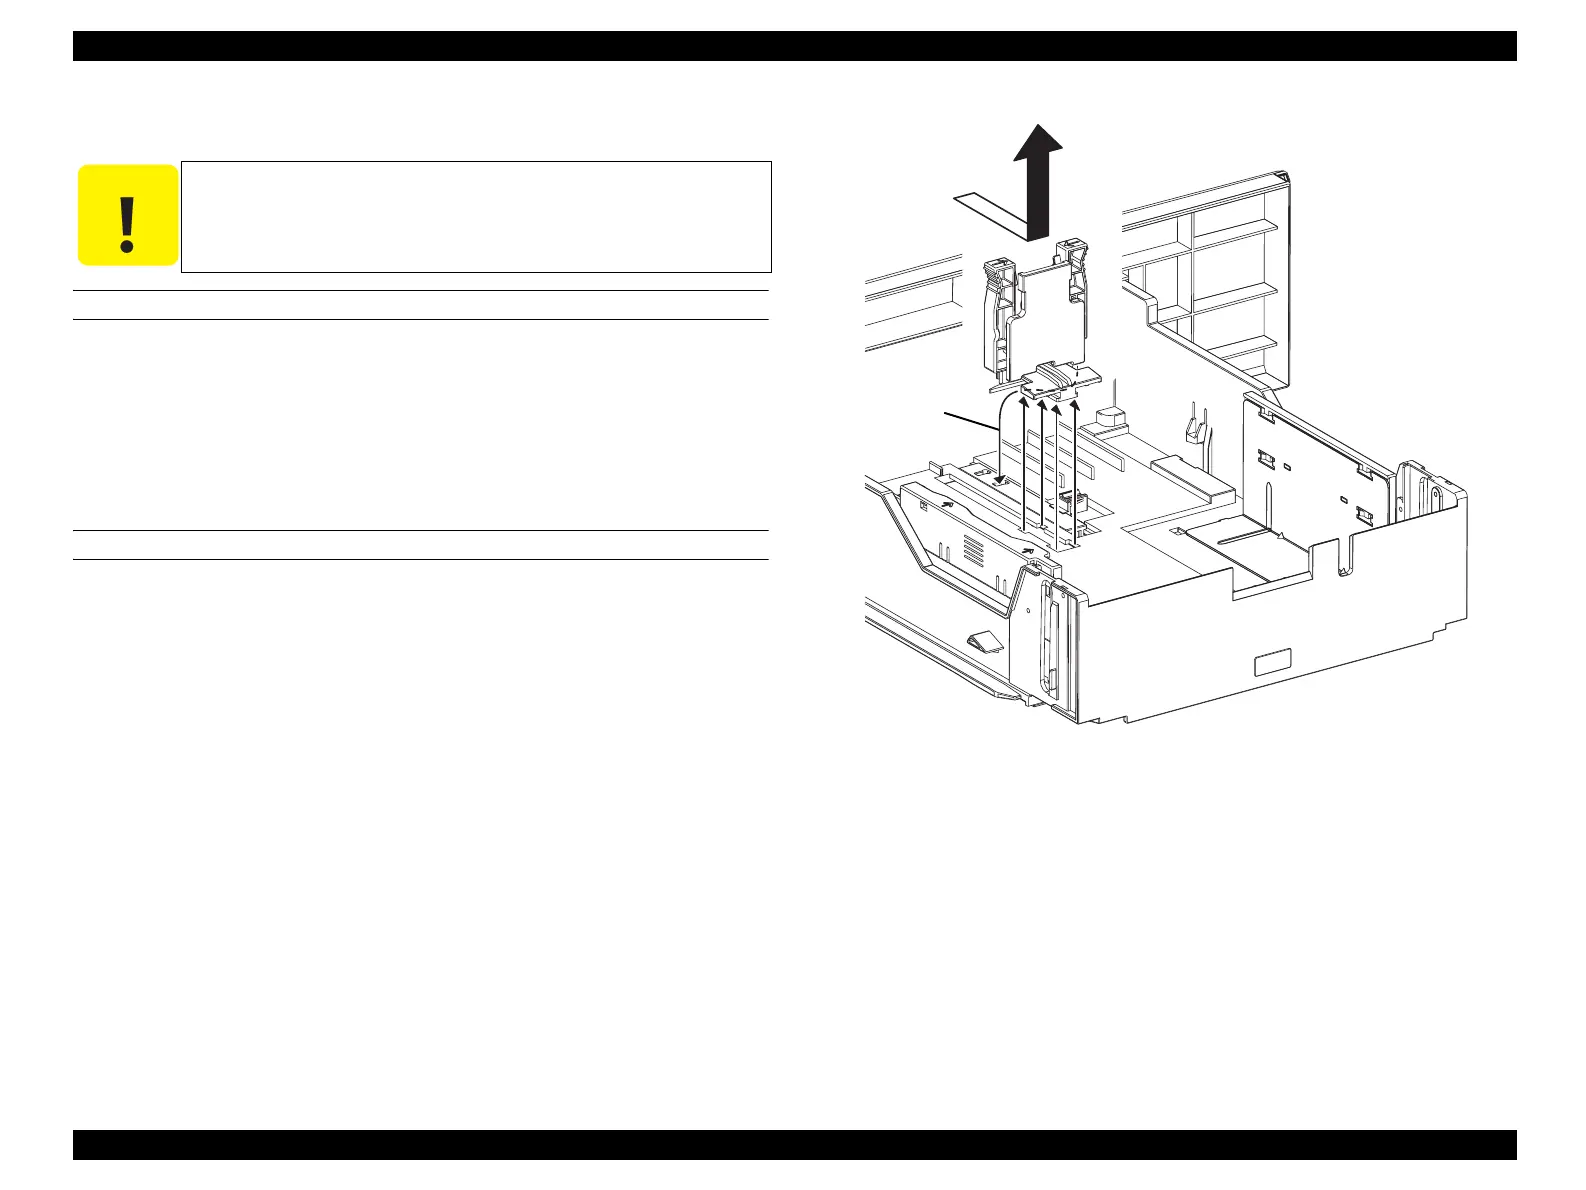
3. Slide GUIDE END ASSY to the rear, match the 4 protrusions on GUIDE END
ASSY with the notches on CASSETTE 500, and lift up to remove.
REINSTALLATION
1. Match the 4 protrusions on GUIDE END ASSY with the notches on CASSETTE
500, and attach.
2. Slide GUIDE END ASSY to the front, and insert the protrusion on GUIDE END
ASSY into the groove on PAPER SLIDE 500.
3. Attach PLATE ASSY BOTTOM 500. (p444)
4. Attach 500 PAPER CASSETTE ASSY. (p442)
Figure 4-120. Removal of GUIDE END ASSY
C A U T I O N
Step numbers with [ ] in the figure indicate the step during
attachment.
Leg_Sec03_014EA
3)
[2)]
 Loading...


