EasyManuals Logo

Epson AcuLaser CX11 Service Manual

Epson AcuLaser CX11
668 pages
To Next Page IconTo Next Page
To Previous Page IconTo Previous Page
Page #391 background imageLoading...
Page #391 background image
EPSON AcuLaser CX11/CX11F Revision B
DISASSEMBLY AND ASSEMBLY Printer 393
4.2.6.5 GUIDE CRU ASSY AD
REMOVAL
1. Remove COVER ASSY RH. (p326)
2. Remove 2ND BTR ASSY. (p374)
3. Remove FRAME ASSY-PH. (p352)
4. Remove BCR CLN XERO ASSY. (p399)
5. Remove SENSOR TR-0. (p387)
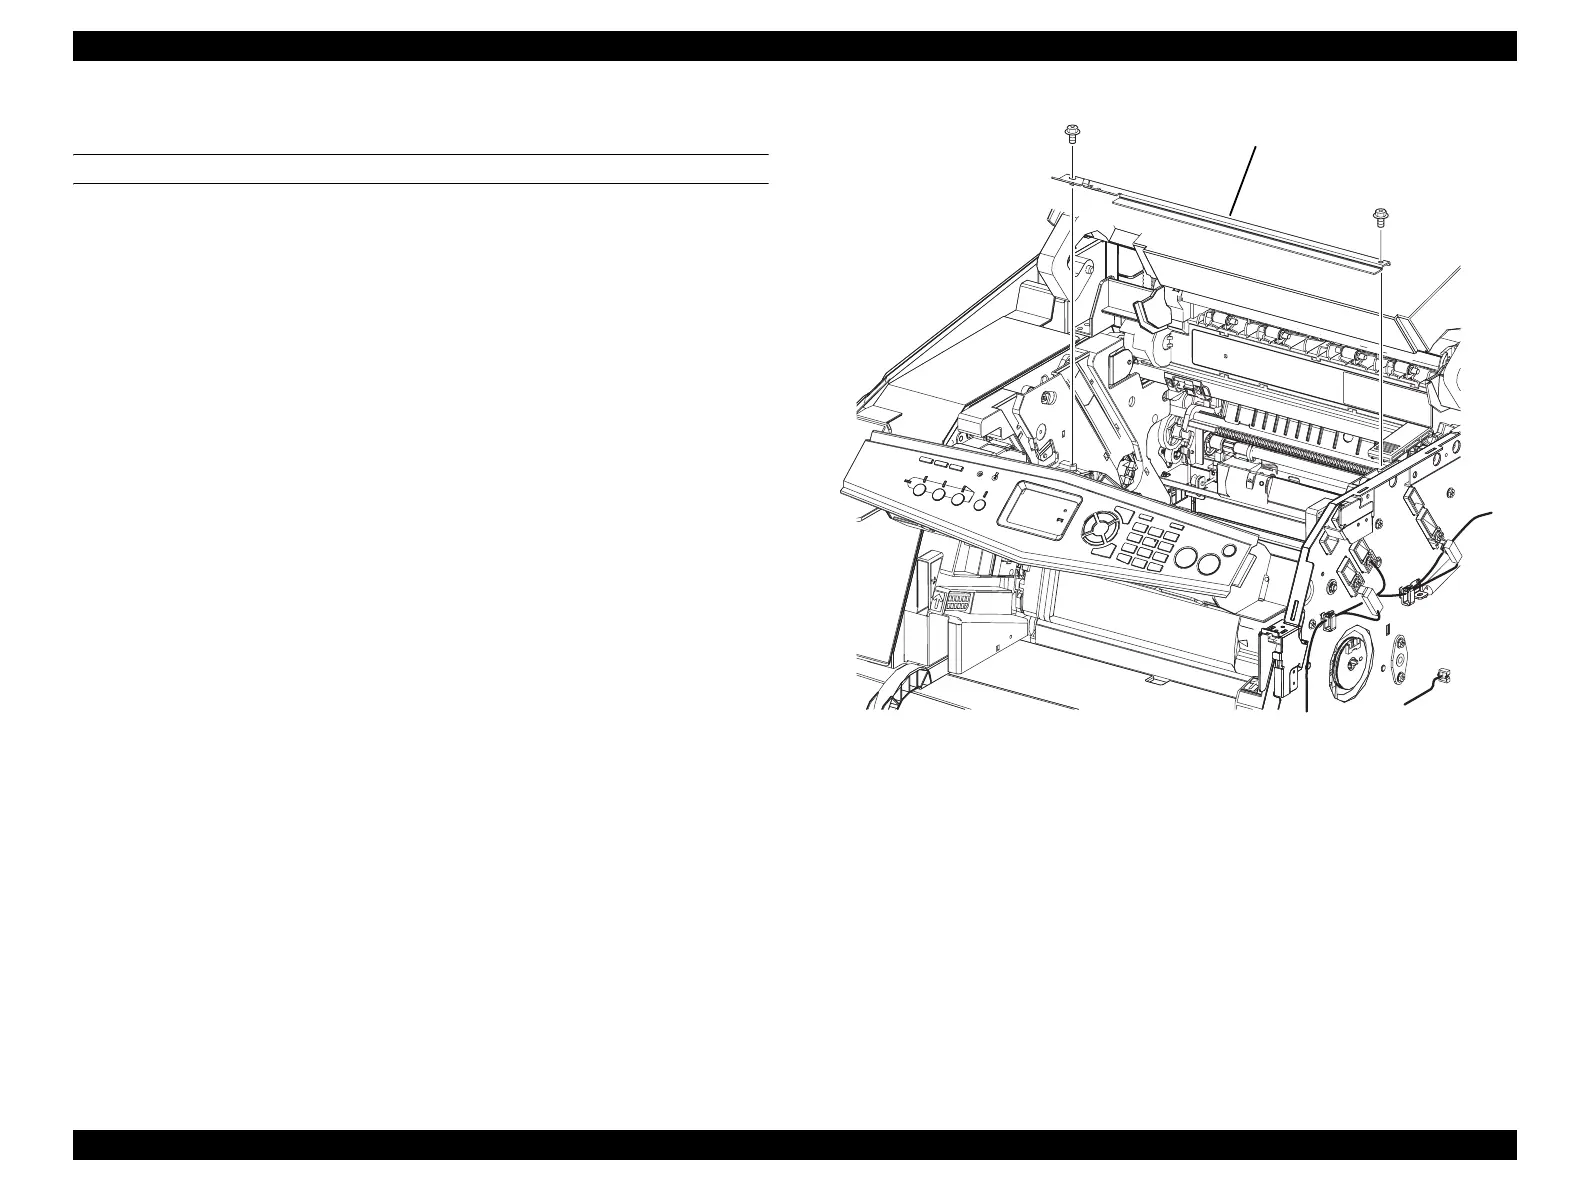
6. Remove the 2 screws (silver, with flange, tapping, 6 mm) fastening PLATE-TR-0
to GUIDE CRU ASSY D and GUIDE CRU ASSY AD.
7. Remove PLATE-TR-0 from GUIDE CRU ASSY D and GUIDE CRU ASSY AD.
Figure 4-79. Removal of GUIDE CRU ASSY AD (1)
Leg_Sec03_081RA
7)
6)
6)

Table of Contents

Other manuals for Epson AcuLaser CX11

Questions and Answers:

Question and Answer IconNeed help?

Do you have a question about the Epson AcuLaser CX11 and is the answer not in the manual?

Epson AcuLaser CX11 Specifications

General IconGeneral
BrandEpson
ModelAcuLaser CX11
CategoryAll in One Printer
LanguageEnglish

Related product manuals