EPSON AcuLaser CX11/CX11F Revision B
DISASSEMBLY AND ASSEMBLY Printer 342
4.2.3.9 OIL DAMPER
REMOVAL
1. Remove COVER ASSY RH. (p326)
2. Remove COVER ASSY LH. (p321)
3. Remove COVER MSI. (p317)
4. Remove COVER FRONT L and COVER FRONT ASSY U. (p318)
5. Remove FRAME ASSY-PH. (p352)
6. Remove MSI ASSY. (p329)
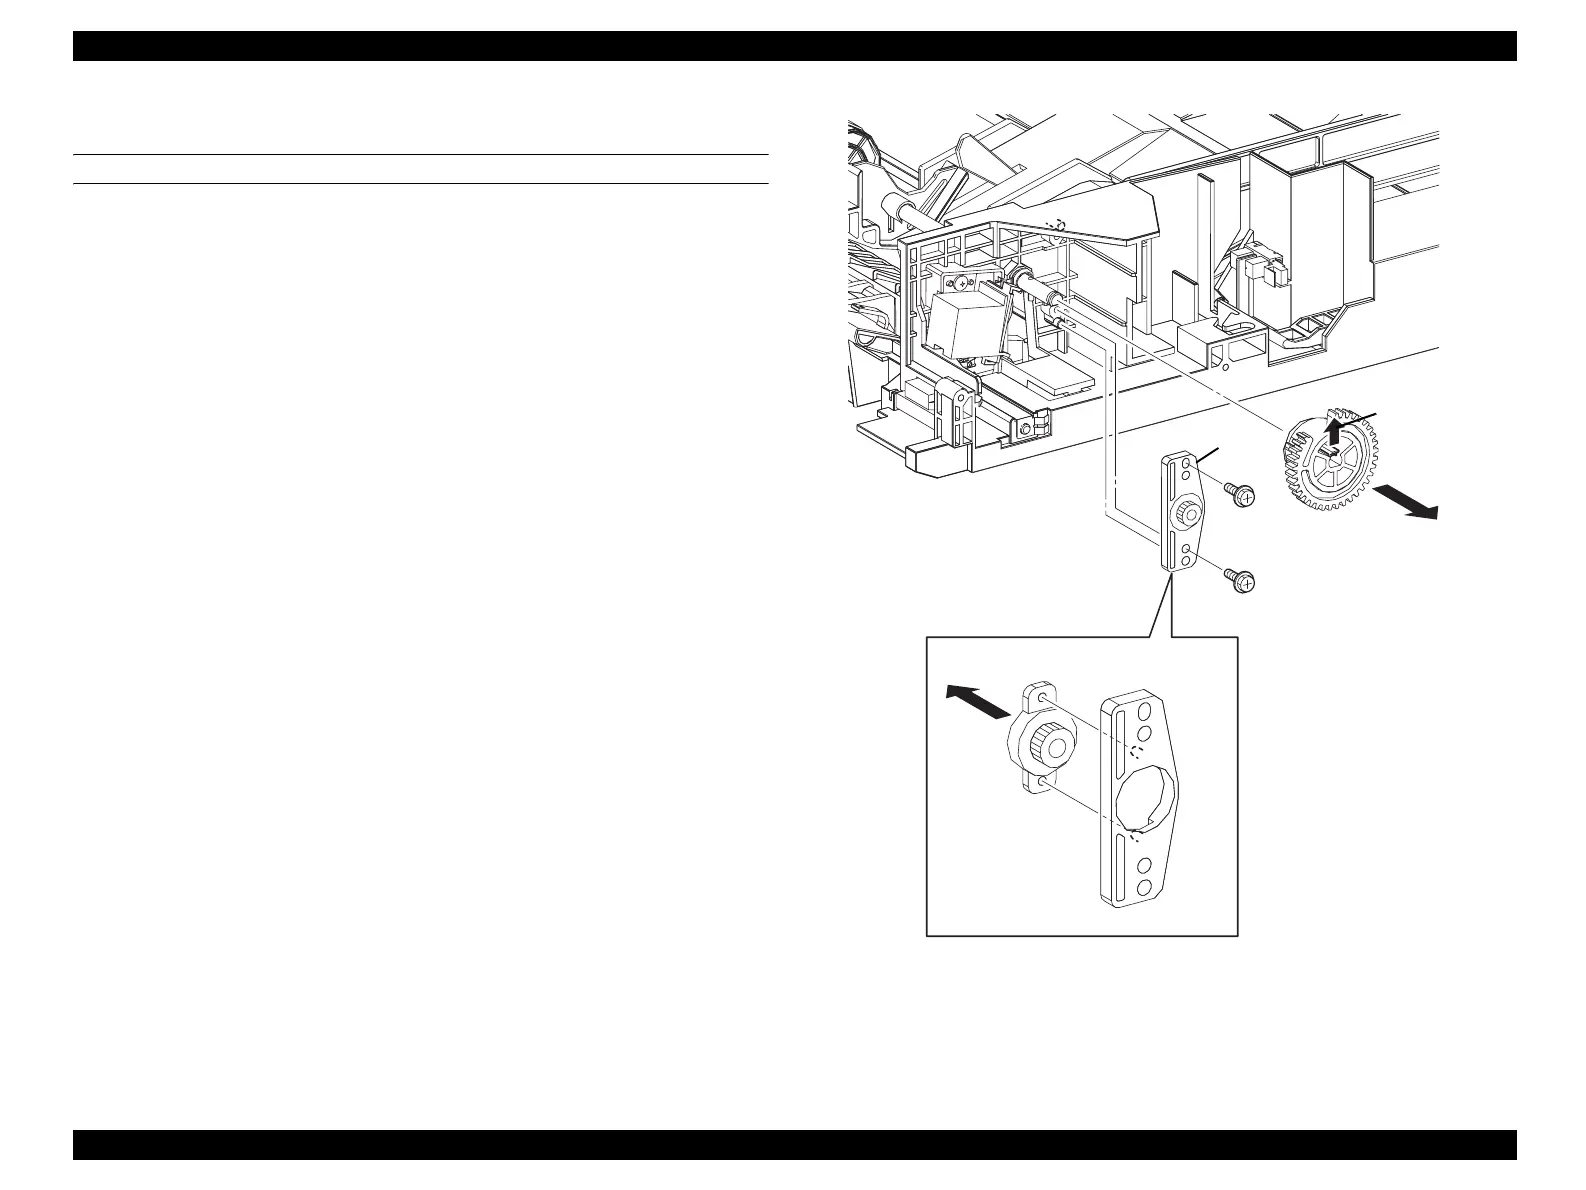
7. Unhook the hook on GEAR PICK UP fastened to SHAFT ASSY MSI from MSI
ASSY, and remove GEAR PICK UP.
8. Remove the 2 screws (silver, with flange, tapping, 8 mm) fastening DAMPER
BRACKET to the MSI ASSY.
9. Remove OIL DAMPER together with DAMPER BRACKET from MSI ASSY.
10. Remove OIL DAMPER from DAMPER BRACKET.
Figure 4-36. Removal of OIL DAMPER
Leg_Sec03_200FA
9)
8)
8)
7)-1
7)-2
10)
manuals4you.commanuals4you.com
 Loading...


