EPSON AcuLaser CX11/CX11F Revision B
DISASSEMBLY AND ASSEMBLY ADF Section 496
4.4.1.4 ADF COVER C
REMOVAL
1. Remove the Scanner. (p306)
2. Remove the ADF Unit. (p481)
3. Remove the ADF COVER R. (p492)
4. Remove the PAPER GUIDE ASSY. (p515)
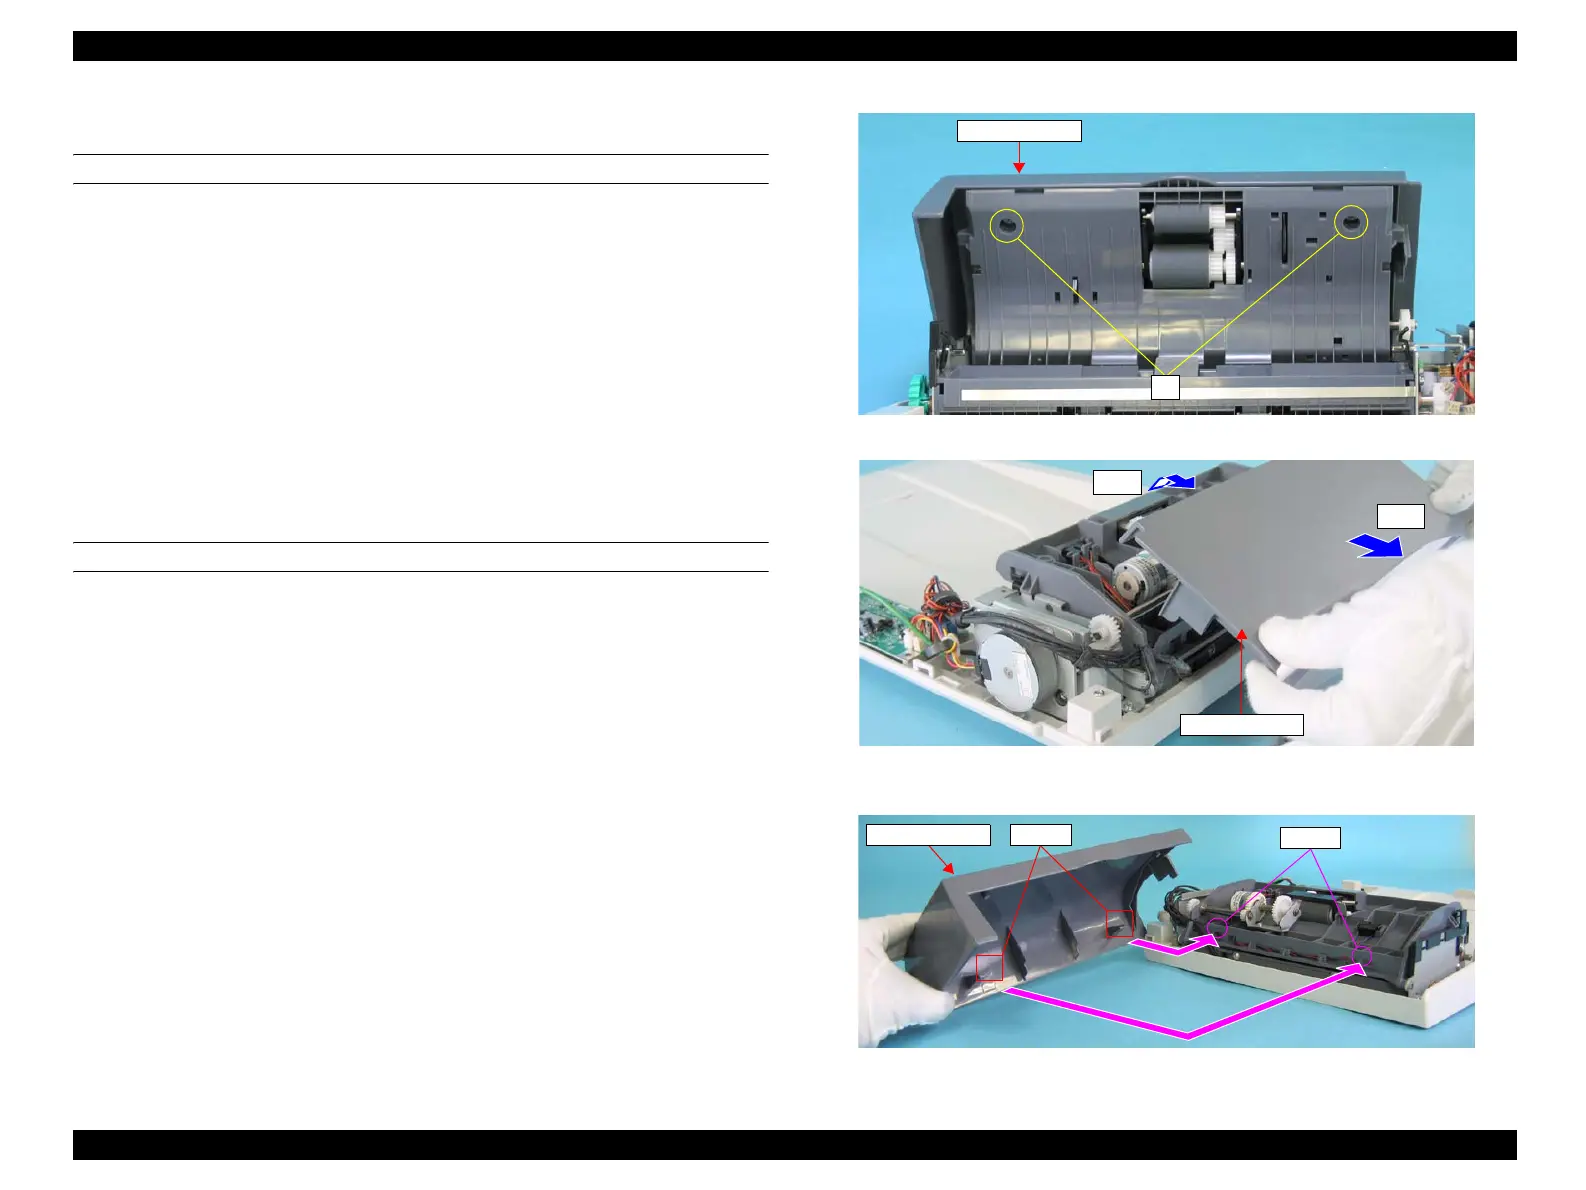
5. Remove the two screws (M3 x 8 mm, P-type, A-head) that secure the ADF
COVER C.
6. Close the ADF COVER C.
7. Lift the paper feeding side of the ADF COVER C, and remove it from the ADF
BASE ASSY toward the direction shown in Figure 4-178.
REINSTALLATION
1. Close the ADF BASE ASSY, and attach the ADF COVER C to the ADF BASE
ASSY matching the hooks of the ADF COVER C with the holes on the ADF
BASE ASSY. See Figure 4-179.
2. Secure the ADF COVER C to the ADF BASE ASSY with the two screws (M3 x 8
mm, P-type, A-head).
3. Attach the ADF COVER R. (p492)
4. Attach the ADF Unit. (p481)
5. Install the Scanner. (p306)
Figure 4-177. Removal of ADF COVER C (1)
Figure 4-178. Removal of ADF COVER C (2)
Figure 4-179. Reinstallation of ADF COVER C
ADF COVER C
5)
ADF COVER C
7)-2
7)-1
ADF COVER C Hooks
Hooks
manuals4you.commanuals4you.com
 Loading...


