EPSON AcuLaser CX11/CX11F Revision B
DISASSEMBLY AND ASSEMBLY Printer 462
4.2.12.20 CHUTE ASSY 500
REMOVAL
1. Remove 500 PAPER CASSETTE ASSY. (p442)
2. Remove CHUTE FDR ASSY 500. (p450)
3. Remove COVER RIGHT 500. (p451)
4. Remove COVER LEFT 500. (p449)
5. Remove CLUTCH ASSY FEED. (p457)
6. Remove DRIVE ASSY FEED. (p454)
7. Remove HOUSING ASSY FEED. (p472)
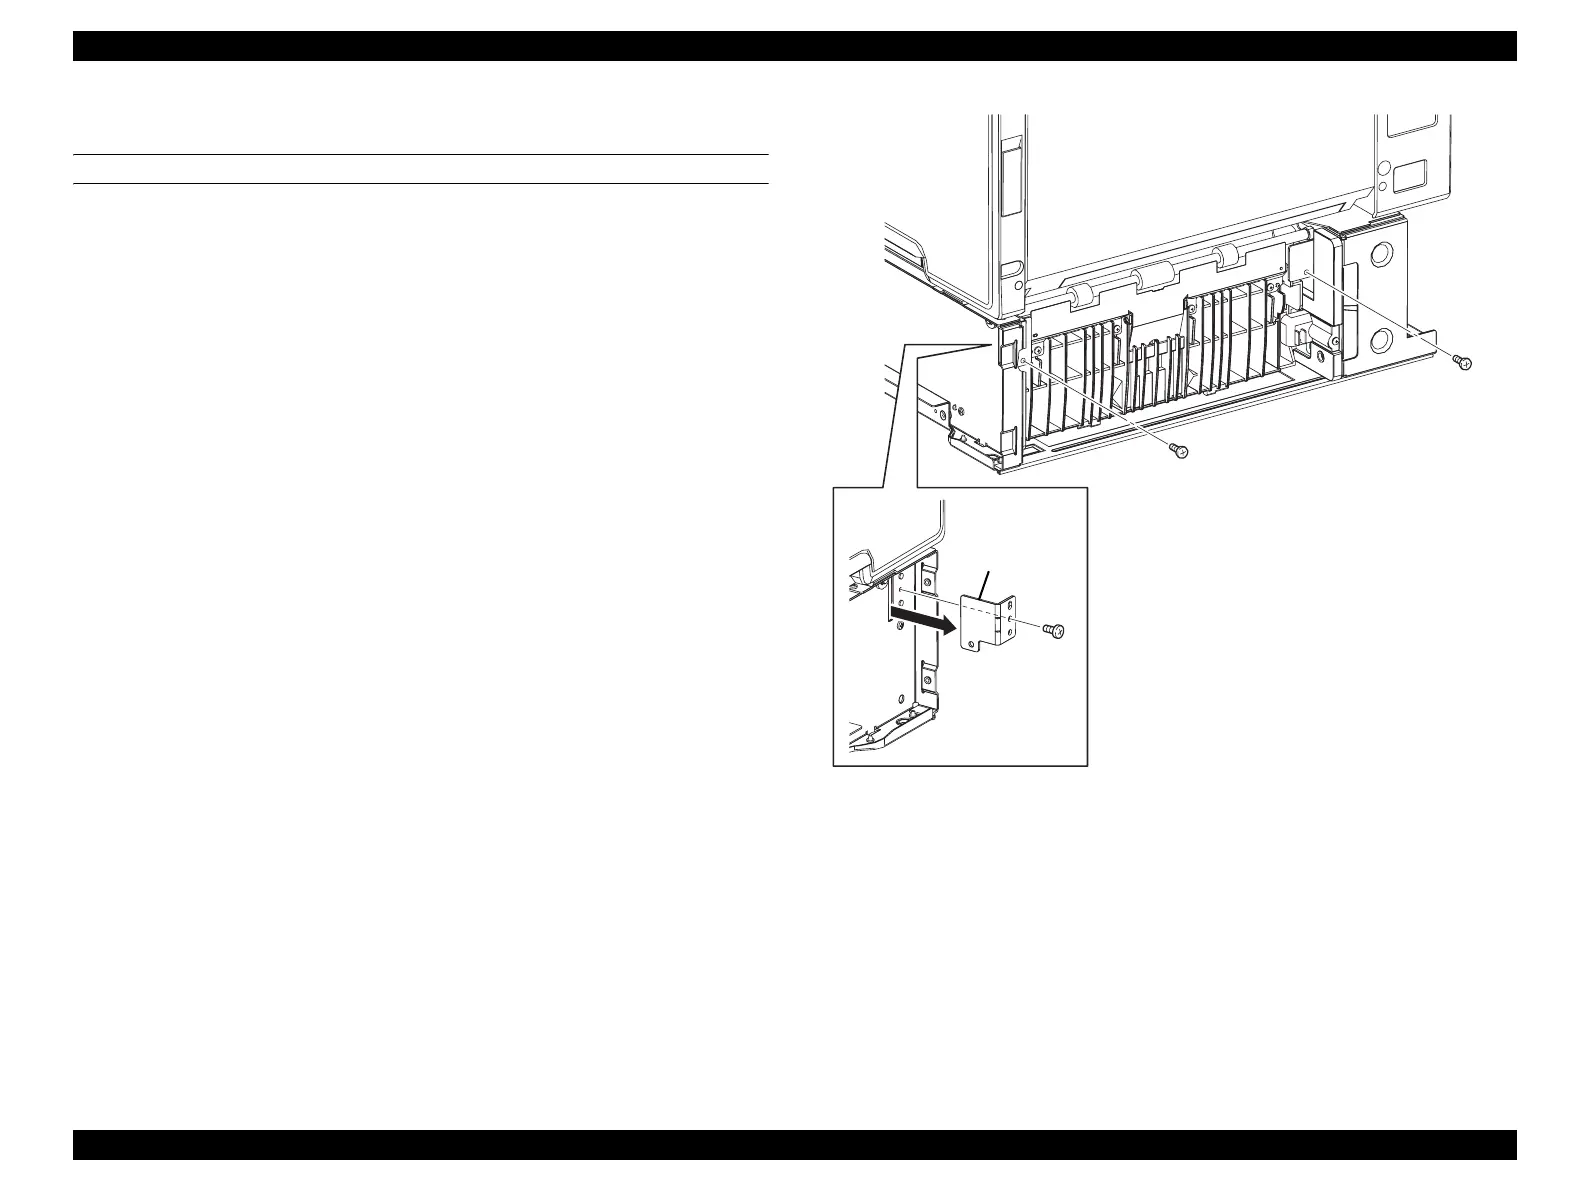
8. Remove the 2 screws (silver, tapping, 8 mm) fastening CHUTE ASSY 500 to 500
PAPER FEEDER ASSY.
9. Remove the screw (silver, 6 mm) fastening BRACKET MAG R to 500 PAPER
FEEDER ASSY.
10. Remove BRACKET MAG R from 500 PAPER FEEDER ASSY.
11. Remove the right-side shaft on CHUTE ASSY 500 from the bearing on GUIDE
CST R.
12. Remove the left-side shaft on CHUTE ASSY 500 from the bearing on GUIDE
CST L, and remove CHUTE ASSY 500 from 500 PAPER FEEDER ASSY.
Figure 4-139. Removal of CHUTE ASSY 500 (1)
Leg_Sec03_041EA
8)
8)
9)
10)
manuals4you.commanuals4you.com
 Loading...


