EPSON AcuLaser CX11/CX11F Revision B
DISASSEMBLY AND ASSEMBLY Printer 444
4.2.12.3 PLATE ASSY BOTTOM 500
REMOVAL
1. Remove 500 PAPER CASSETTE ASSY. (p442)
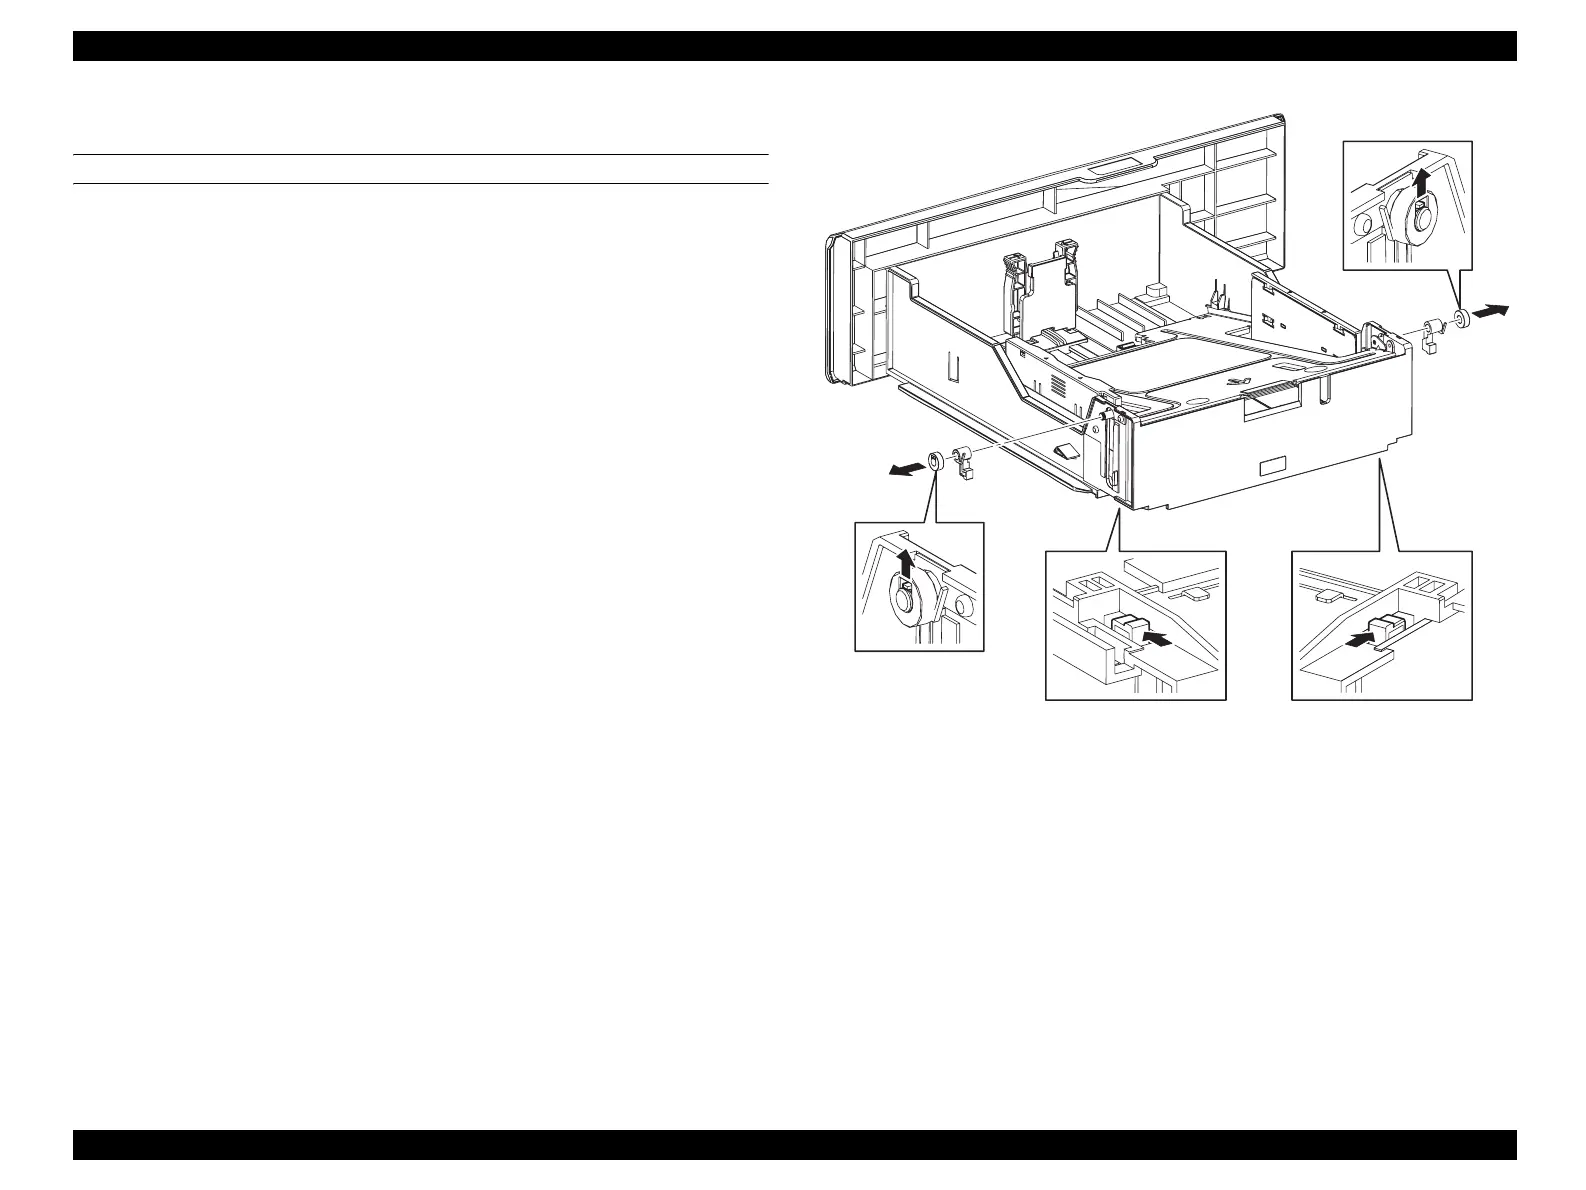
2. Slide LOCK LIFT R and LOCK LIFT L, and unlock the locks.
3. Unhook the hooks on ROLL LINK fastened to the shaft of PLATE ASSY
BOTTOM 500 on both the left and right sides, and remove ROLL LINK, LOCK
LIFT R and LOCK LIFT L.
4. Remove the 4 screws (silver, tapping, 6 mm) (2 each on left and right) fastening
the left and right PLATE ROLL STOPPER 500s to 500 PAPER CASSETTE
ASSY.
5. Remove the protrusion on PLATE ROLL STOPPER from the hole on 500 PAPER
CASSETTE ASSY, and remove the left and right PLATE ROLL STOPPERs.
6. Press the two hooks on CASSETTE 500, and release the front side of PLATE
ASSY BOTTOM 500.
7. Remove the protrusion of PLATE ASSY BOTTOM 500 from the indent on
PAPER SLIDE 500.
8. Draw out the shaft on PLATE ASSY BOTTOM 500 from the oblong hole on
CASSETTE 500 while pushing the side of CASSETTE 500 outward, and remove
PLATE ASSY BOTTOM 500.
Figure 4-121. Removal of PLATE ASSY BOTTOM 500 (1)
Leg_Sec03_015EA
2)
2)
3)-2
3)-1
3)-1
3)-2
manuals4you.commanuals4you.com
 Loading...


