EPSON AcuLaser CX11/CX11F Revision B
DISASSEMBLY AND ASSEMBLY Printer 416
REINSTALLATION
Actuator
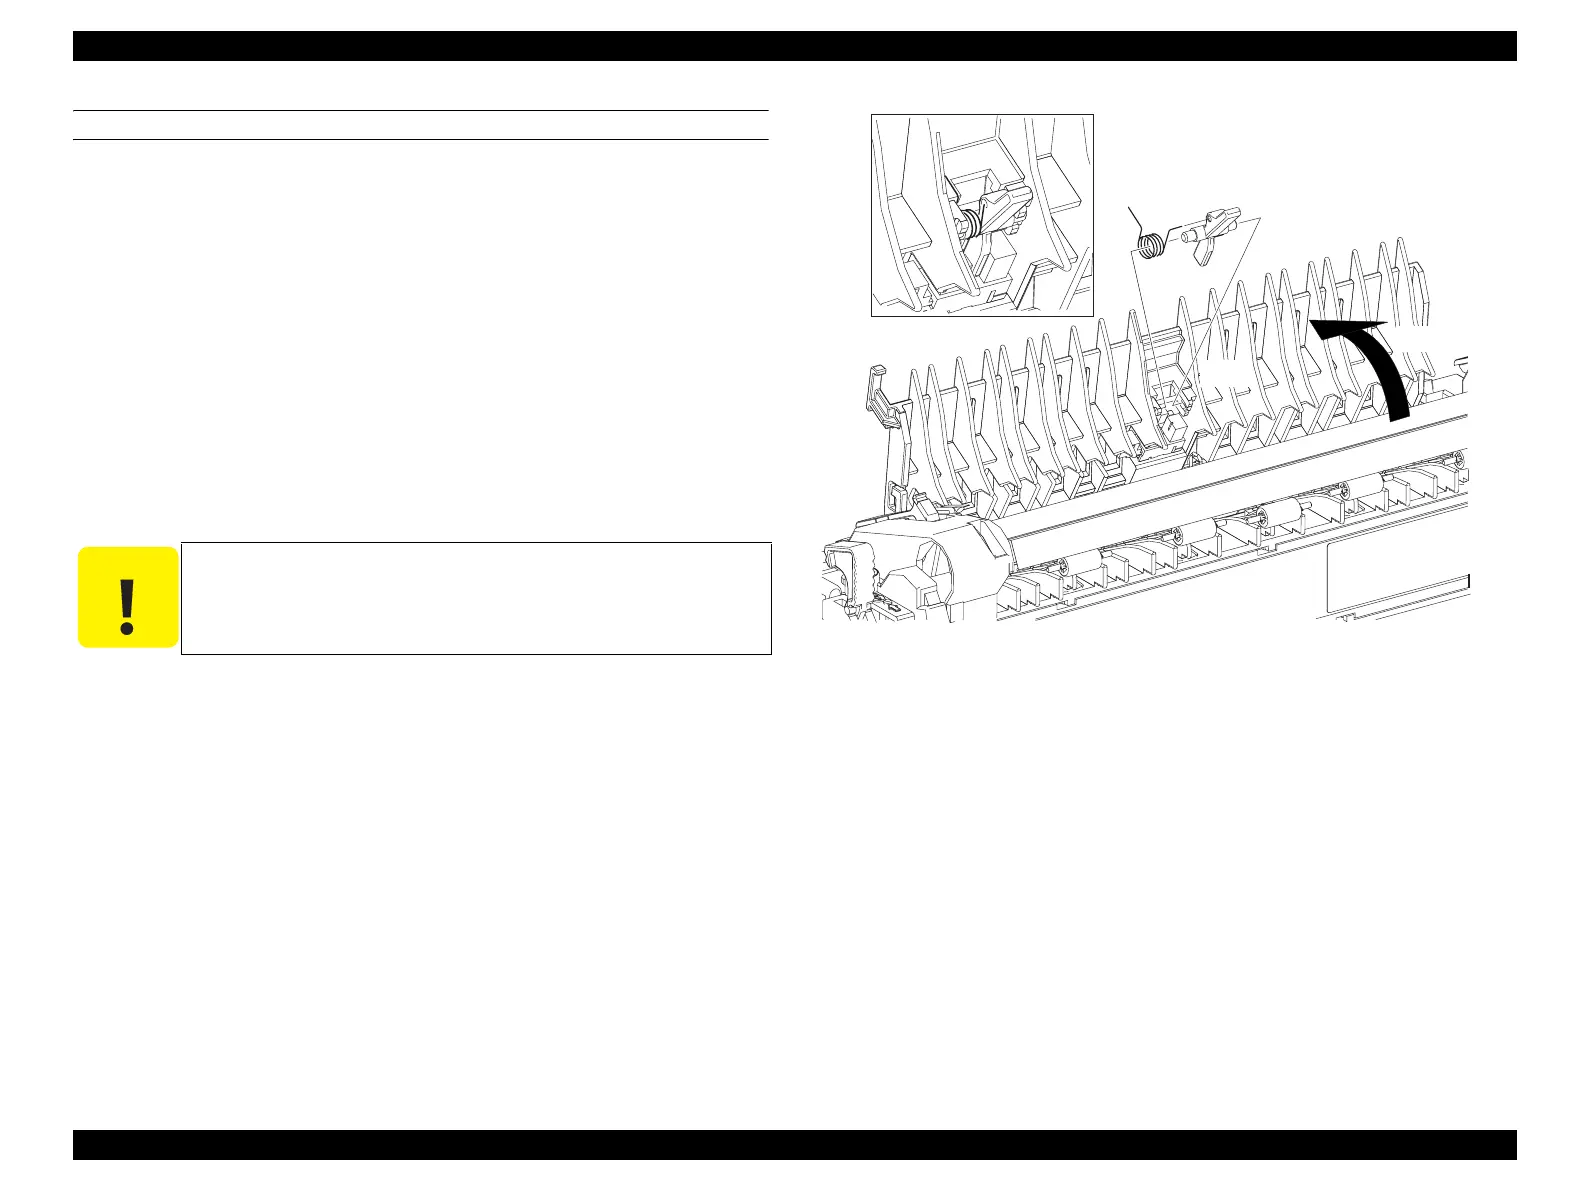
1. Attach the Spring to the Actuator.
2. Insert the shaft of the Actuator with the Chute of the FUSER ASSY opened, and
attach the Actuator together with the Spring.
FUSER ASSY
3. Attach the FUSER ASSY to the main unit matching the connector and boss of the
FUSER ASSY with the connector and the hole of the main unit, and push the
levers on the both sides of the FUSER ASSY to secure it to the main unit.
4. Return the COVER FUSER GUIDE to its original position, and secure the
COVER TOP SIDE L with the hook of the COVER FUSER GUIDE.
5. Close COVER FUSER.
Figure 4-100. NIP Release Lever Fixing Parts
C A U T I O N
Be sure to reset the life counter of the FUSER ASSY after replacing
it with a new one.
(See “ 6.4.1.1 Maintenance Menu Items ” (p553))
Leg_Sec03_160EA
4)-1
4)-2
5)
manuals4you.commanuals4you.com
 Loading...


