EPSON AcuLaser CX11/CX11F Revision B
DISASSEMBLY AND ASSEMBLY Printer 441
REINSTALLATION
1. Attach the CHASSIS ASSY ESS to the main unit matching the protrusion of the
CHASSIS ASSY ESS with the hole of the main unit.
2. Secure the HARNESS ASSY PANEL with the screw (silver, with flange, 8 mm).
3. Secure the CHASSIS ASSY ESS with the five screws (silver, with flange, 6 mm).
4. Put the connectors inside through the hole on the CHASSIS ESS.
5. Connect the all connectors on the PWBA ESS.
6. Secure the harnesses with the clamp on the CHASSIS ASSY ESS.
7. Attach COVER ASSY LH. (p321)
C A U T I O N
When performing the following work, take care to prevent the
harness from being sandwiched between the main unit and
CHASSIS ESS.
C A U T I O N
The CN701, CN702, and CN704 FFCs are resemble each other
in shape as their pin numbers are so close; 14, 13, and 12
respectively. Be careful not to connect them wrongly.
When reassembling the AcuLaser CX11F (fax model), make
sure to put CN701 (14-pin) and CN702 (13-pin) FFCs through
the FERRITE CORE as shown in the figure.
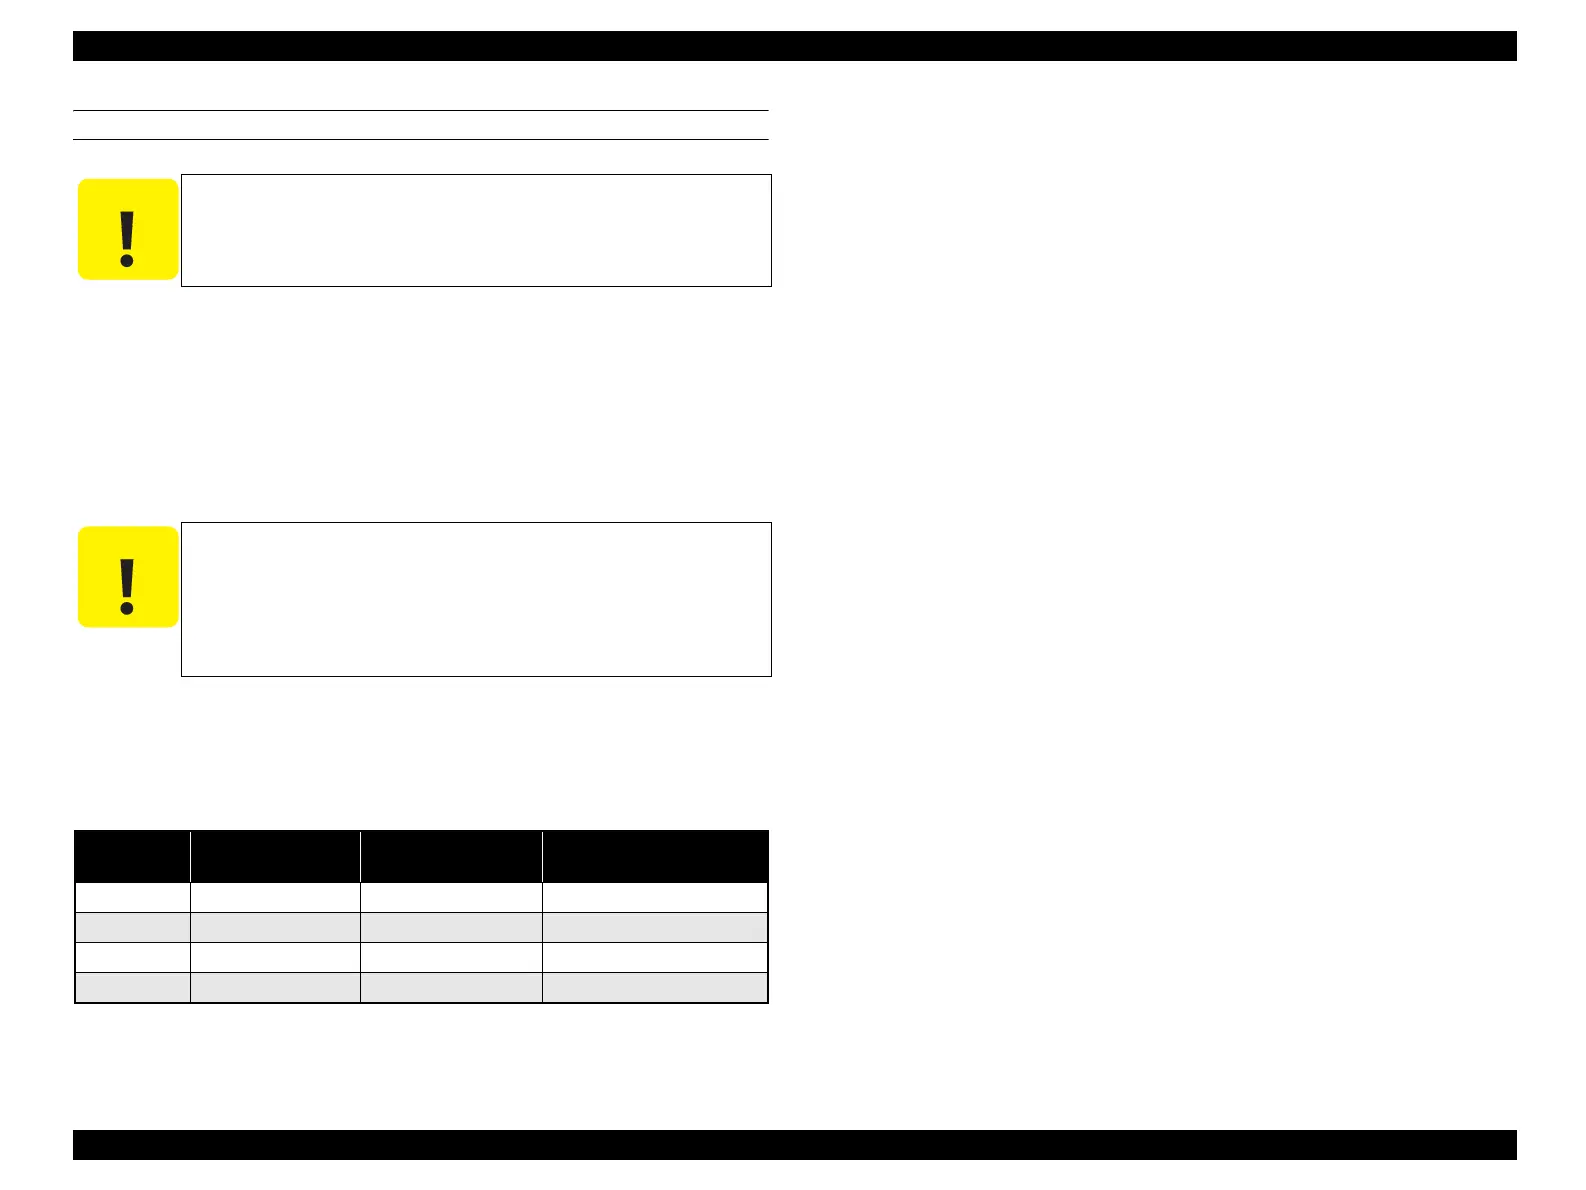
Table 4-18. Symptoms when the connector is loose
Connector
No.
Panel Indication Symptom
Error Caused by Connector
Disconnection
CN405 --- --- ---
CN501 --- --- ---
CN601 Service Req C0998 All LEDs light ---
CN602 Ready Blank Print
FIP-P2
 Loading...


