EPSON AcuLaser CX11/CX11F Revision B
ADJUSTMENT Printer Section 539
7
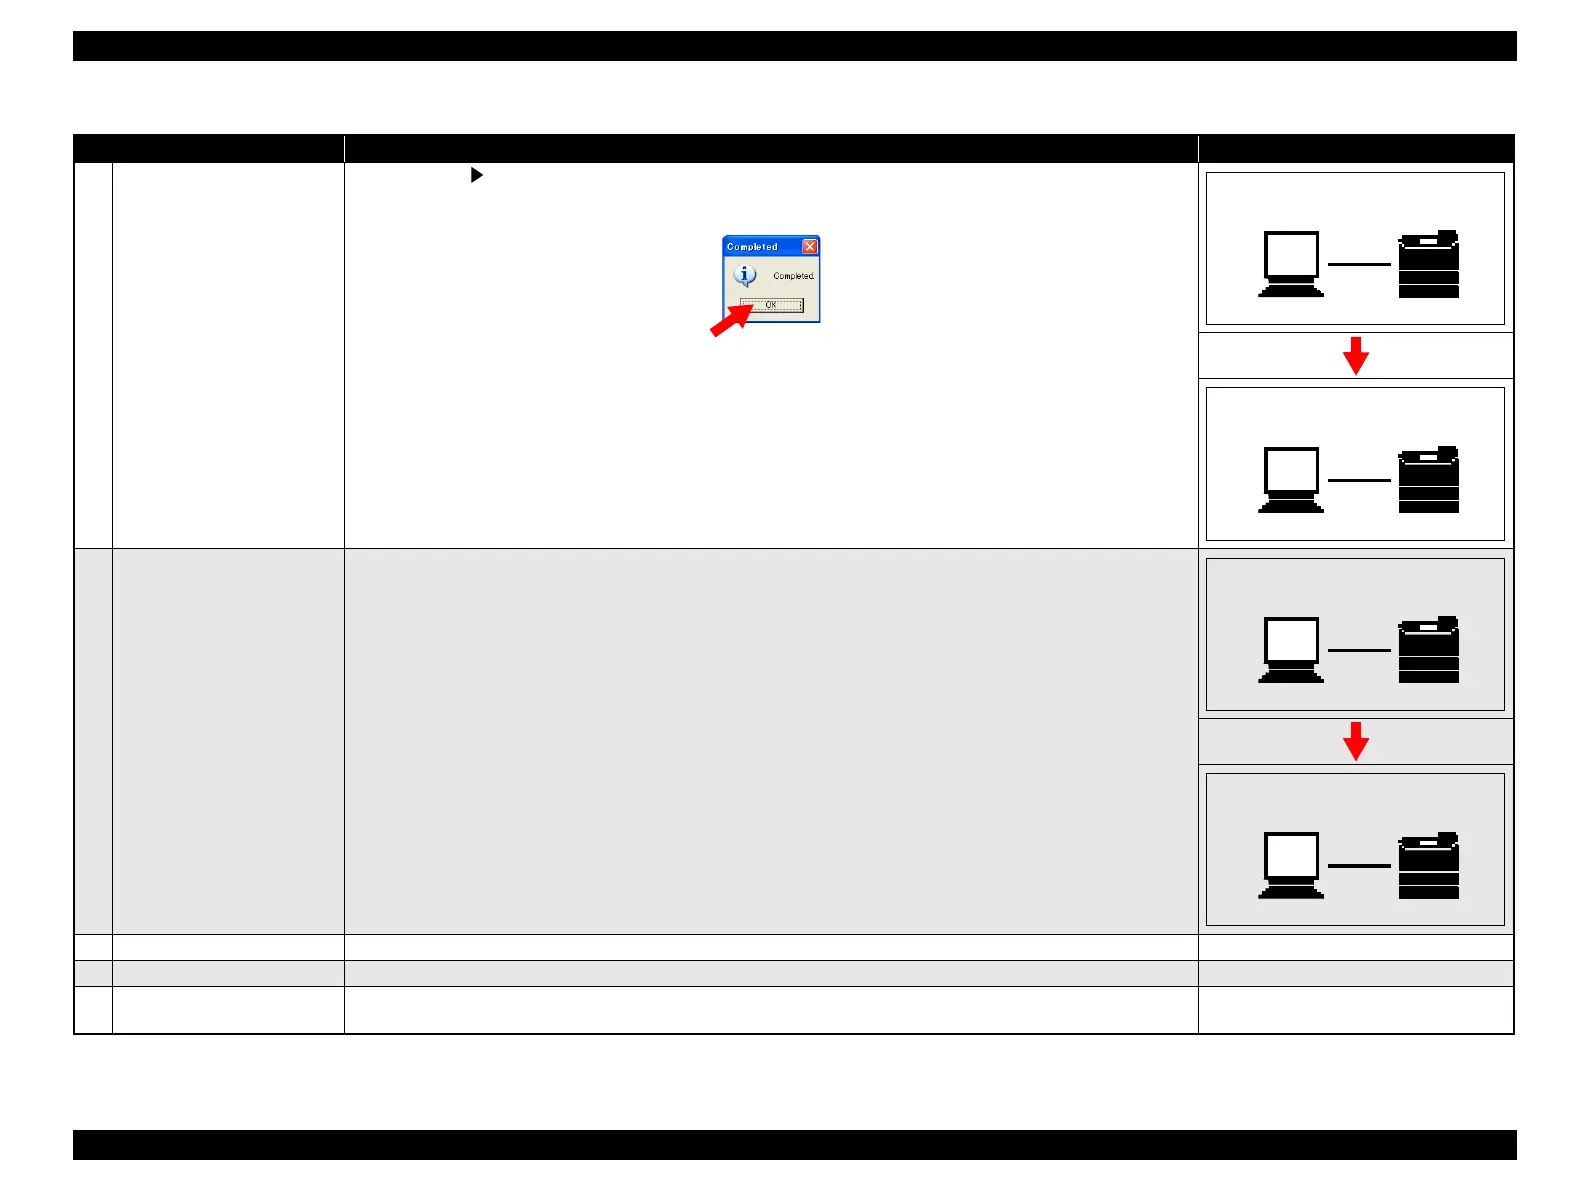
Execute the update.
Press the [Right ] button on the control panel of the product.
“Completion” pop-up window will be displayed when the data transfer is finished. Click on the [OK].
8
Confirm the checksum.
When the program update is finished, the checksum will be indicated on the LCD panel.
Confirm the checksum.
9
Reboot the Printer. Turn the printer off and back on. ---
10
Print the status sheet. Prints the status sheet or engien status sheet. ---
11
Check the version on the status
sheet.
Confirm that the program firmware version has been updated correctly by comparing the status or engine status sheet
with that printed in step 1. (Refer to “ 1.4 Status Sheet” (p71) , “ 6.4.2.1 Engine Status Sheet” (p555))
---
Table 5-4. MCU Firmware Update
Procedure Method LCD Panel
Writing : Erasing
Writing: Size=XXX
TYPE: XXX SUM: XXX
WAIT RESET
 Loading...


