EPSON AcuLaser CX11/CX11F Revision B
ADJUSTMENT Printer Section 540
5.2.2.3 Color Table Update
The procedure to update the Color Table is given below.
Table 5-5. Color Table Update
Procedure Method
1
Check the current version. Print a status sheet, and check the current firmware version.
2
Connect the printer with the
computer.
After turning the power off for both the printer and computer, connect them with a USB cable.
Before connecting the USB cable, make sure to disconnect other interface cables from the product.
3
Prepare the update data. Turn the computer on and copy the program update file (the extension is RCC) onto the computer.
4
Start up the Printer. Start up the product in normal mode.
5
Prepare to send the data.
Start up the Firmware Update Tool. Specify the port and the program update file on the selection window of the tool.
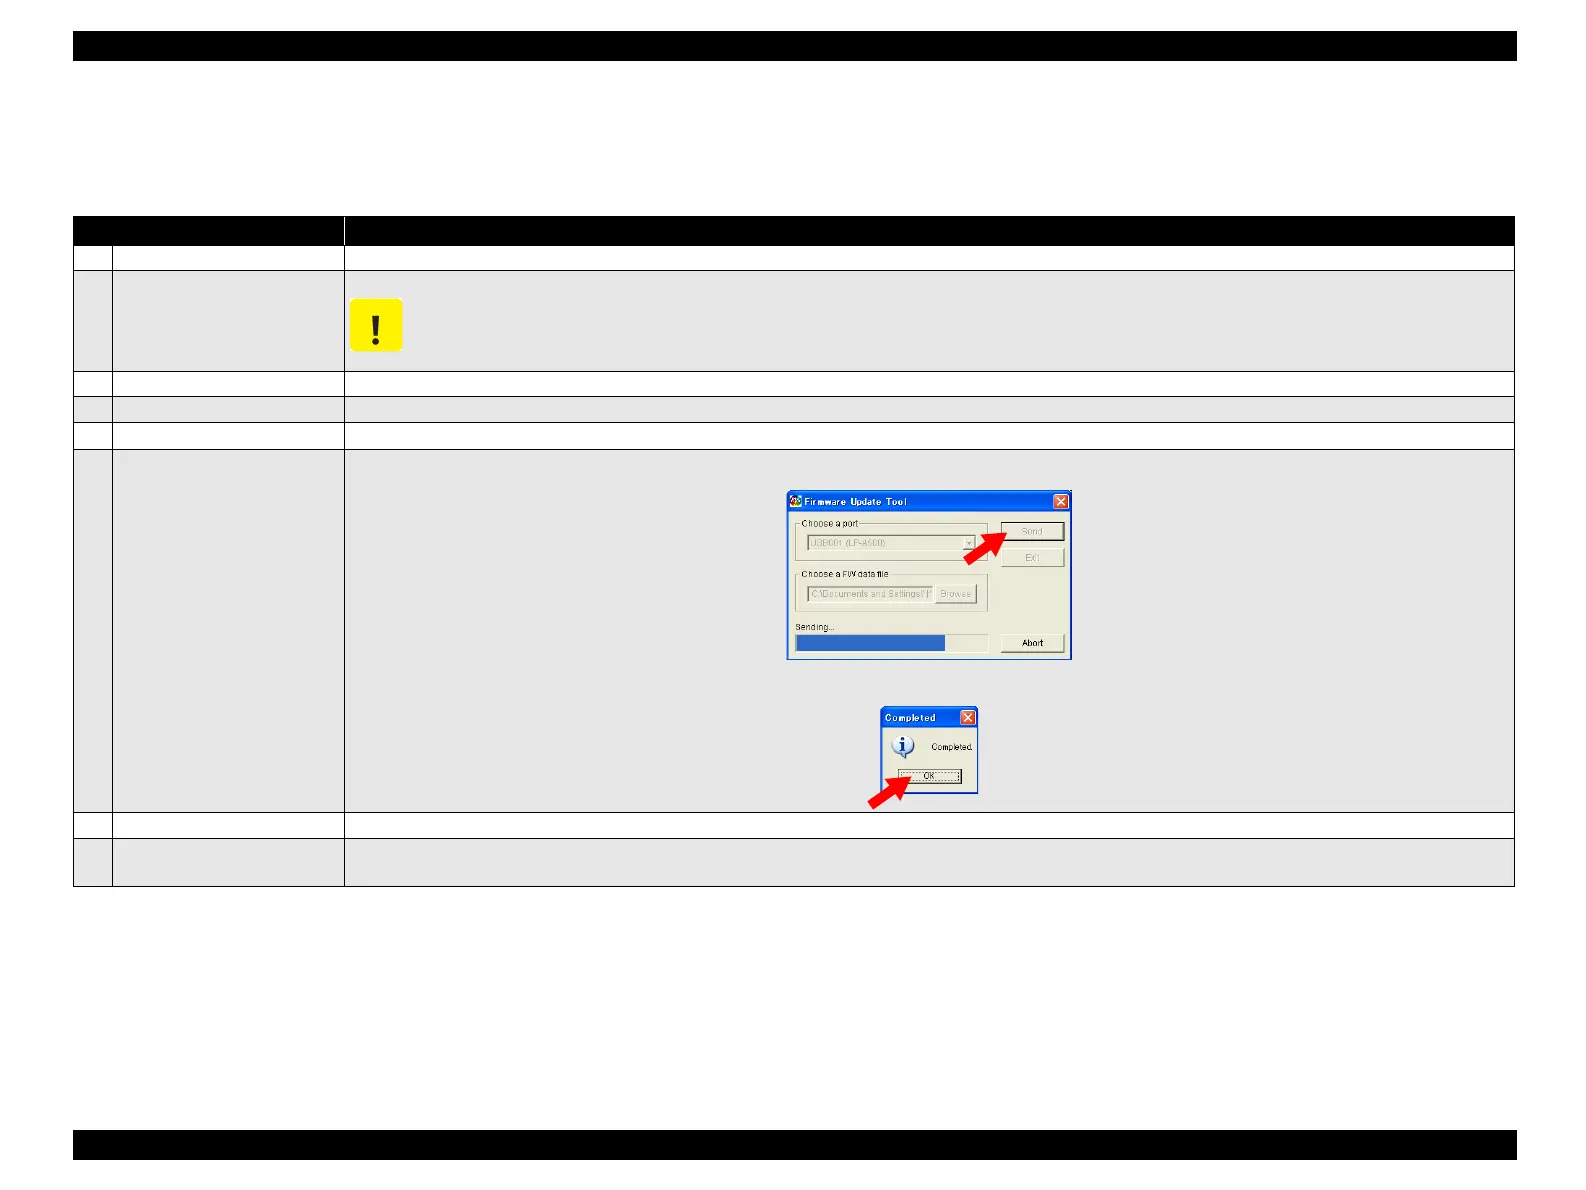
6
Transmit the data.
Click the [Send] on the Firmware Update Tool screen.
“Completion” pop-up window will be displayed when the data transfer is finished. Click on the [OK].
7
Print the status sheet. Prints the status sheet.
8
Check the version on the status
sheet.
Confirm that the program firmware version has been updated correctly by comparing the status sheet with that printed in step 1.(Refer to “ 1.4 Status Sheet”
(p71))
C A U T I O N
manuals4you.commanuals4you.com
 Loading...


