EPSON AcuLaser CX11/CX11F Revision B
DISASSEMBLY AND ASSEMBLY ADF Section 499
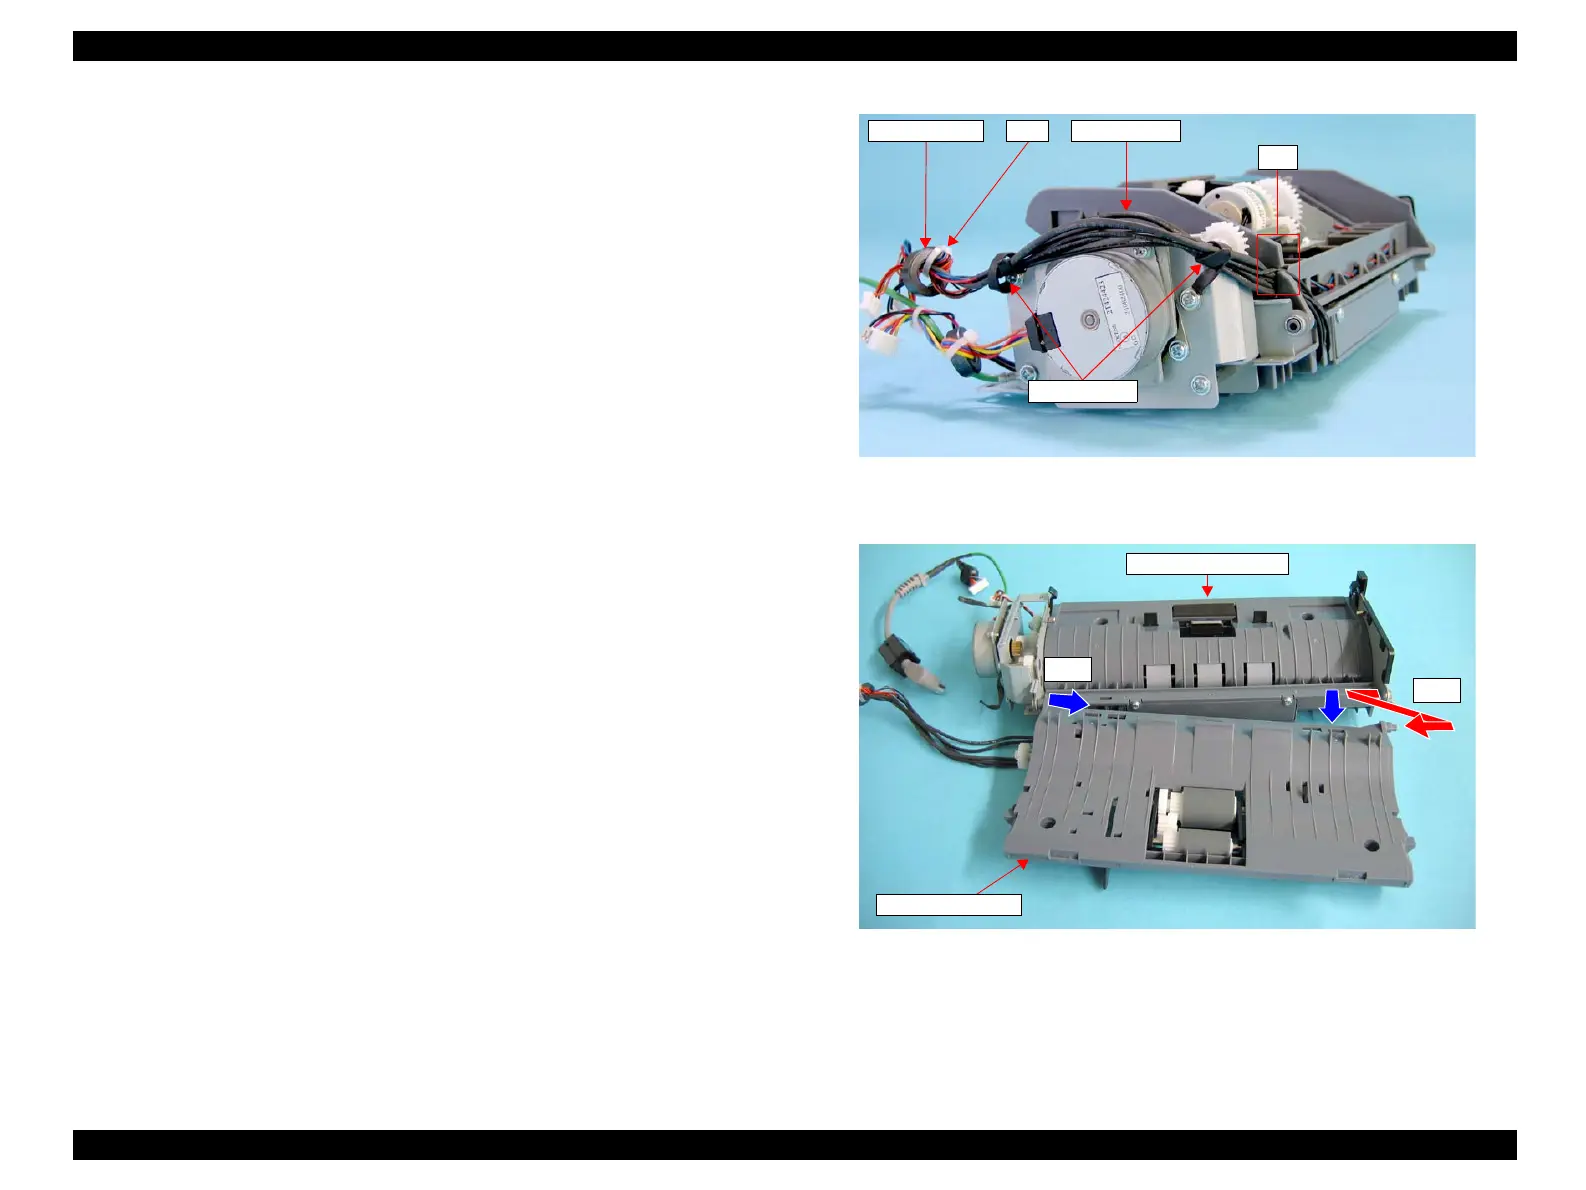
8. Cut the tie that secure the ferrite core to the harness of the ADF BASE ASSY, and
remove the ferrite core from the harness.
9. Release the two harnesses of the ADF BASE ASSY from the two CABLE TIEs.
10. Release the harnesses of the ADF FRAME ASSY from the notch on the ADF
BASE ASSY.
11. Open the ADF BASE ASSY.
12. Viewed from the direction as shown in Figure 4-184, push the right frame of the
ADF FRAME ASSY outward to remove the right pintle of the ADF BASE ASSY
from the bearing of the ADF FRAME ASSY.
13. Pull out the left pintle of the ADF BASE ASSY from the left bearing of the ADF
FRAME ASSY, and remove the ADF BASE ASSY.
Figure 4-183. Removal of ADF BASE ASSY (2)
Figure 4-184. Removal of ADF BASE ASSY (3)
10)
Ferrite Core Tie Harnesses
CABLE TIE
ADF FRAME ASSY
ADF BASE ASSY
12)-2
12)-1
 Loading...


