Operating InstructionsFacsimile Reference (option) <Advanced Features>
198
Reception Mode
Make settings for the following reception func-
tions.
• Switch Reception Mode⇒ p.135 “Reception
Functions”
⇒ Chapter 2, “Selecting the Reception
Mode” in the Basic Features manual
• Authorized RX⇒ p.225 “Authorized Recep-
tion”
• Forwarding⇒ p.225 “Forwarding”
• RX File Print Qty⇒ p.143 “Multi-copy Re-
ception”
• 2-Sided Print⇒ p.141 “2-Sided Printing”
• RX Reverse Printing⇒ p.146 “Reverse Order
Printing”
• Paper Tray
• G3/G4 Separate Tray⇒ p.152 “G3/G4 Sepa-
rate Tray”
• Checkered Mark⇒ p.139 “Checkered Mark”
• Center Mark⇒ p.140 “Center Mark”
• Print Reception Time⇒ p.140 “Reception
Time”
Note
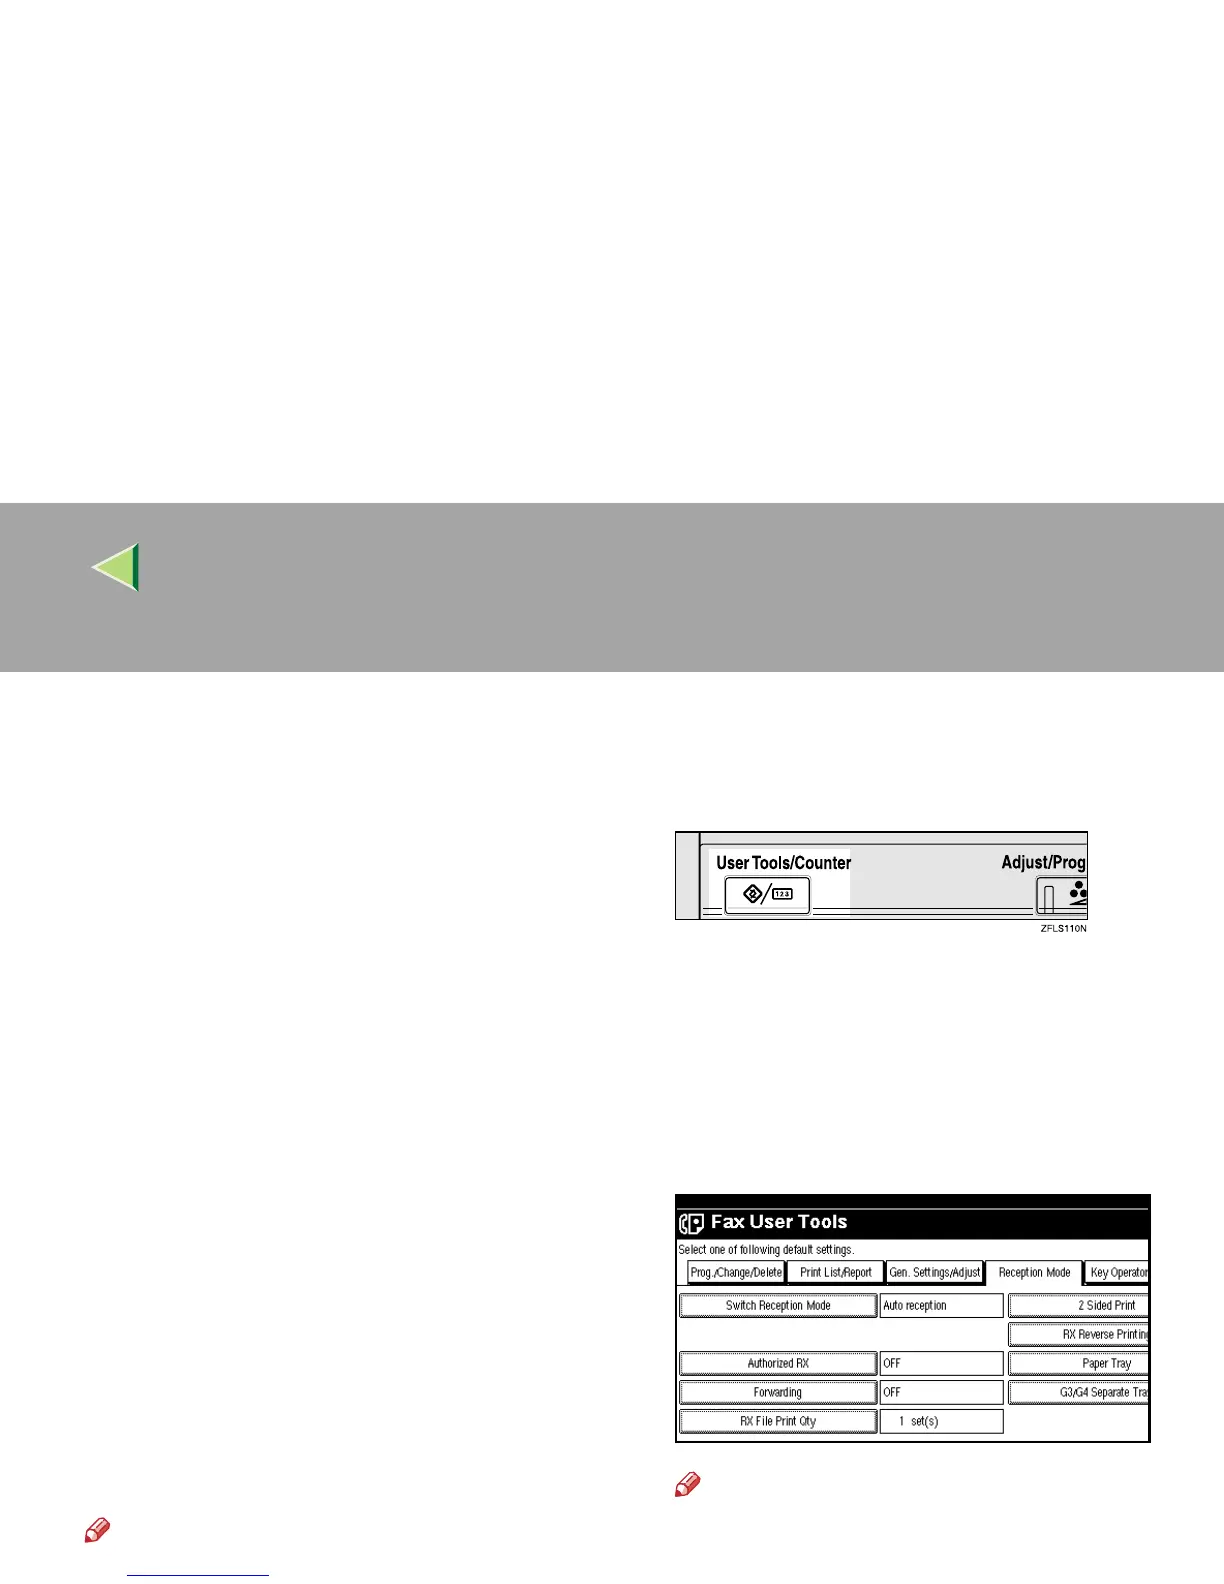
❒ The following display shows the factory de-
fault of each function.
A
AA
A
Press the {
{{
{User Tools/Counter}
}}
} key.
B
BB
B
Press [Facsimile Features].
The Facsimile Features menu is shown.
C
CC
C
Select [Reception Mode].
The Reception Mode menu is shown.
D
DD
D
Select a function you want to specify.
Note
❒ If the function you want to specify is not
shown, press [U
UU
U Prev.
] or [T
TT
T Next
].
❒ If you make a mistake, press [Clear] or the
{
{{
{Clear/Stop}
}}
} key and try again.



 To Next Page