Clearing and Adjusting the Machine
38
2
H
HH
H
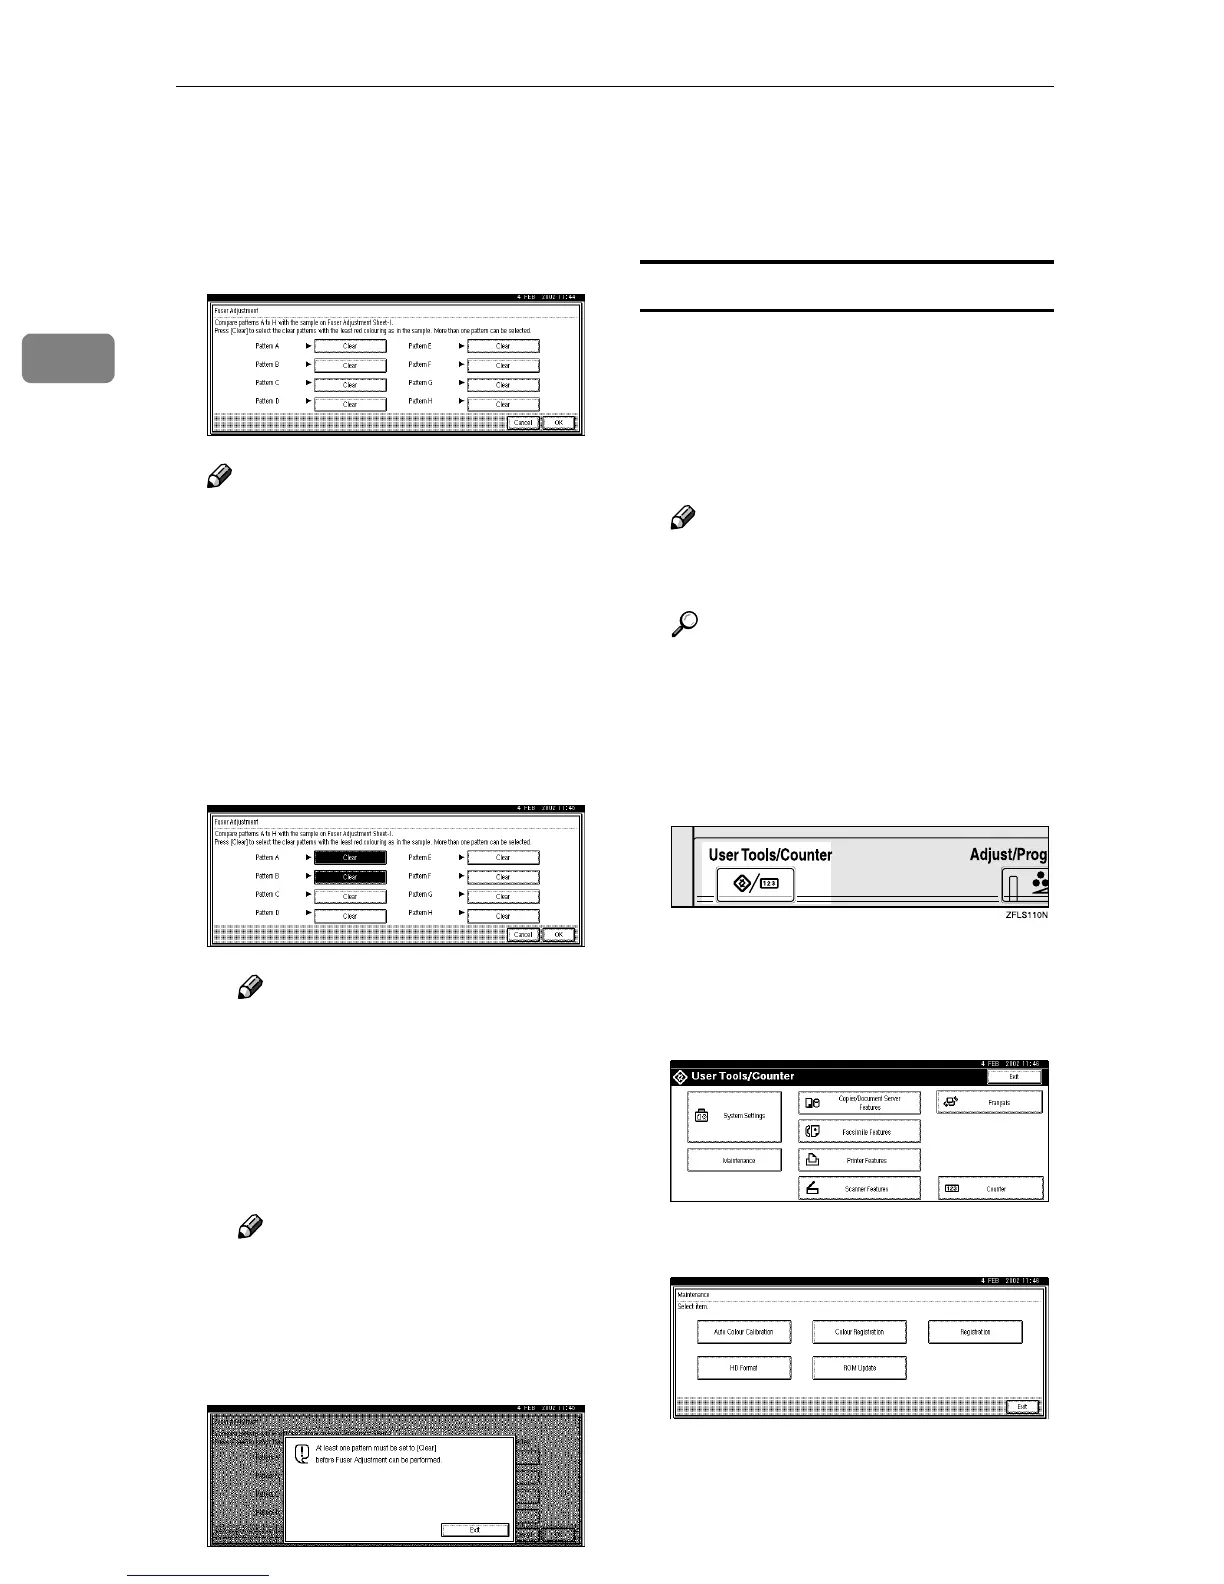
After printing the Fuser Adjust-
ment Sheet, the Fuser Adjustment
display appears. Adjust the print
settings for boxes A - H on the
Fuser Adjustment Sheet.
Note
❒ Check the printed Fuser Adjust-
ment Sheet to adjust the print
settings.
A Compare box A of the pattern
with the white square in the
printed Fuser Adjustment
Sheet. If the pattern is the same
as the printed Fuser Adjust-
ment Sheet, press [Clear]. If it is
not, do not press [Clear].
Note
❒ If you press [Clear] again, set-
ting will be cancelled.
B Repeat step A
AA
A to make the set-
tings for boxes B to H.
C After making all the settings,
press [OK].
Note
❒ If [Clear] is not pressed for
one of the boxes, the follow-
ing display appears. Press
[Exit] and repeat the proce-
dure from step A.
I
II
I
After making all the settings,
press the {
{{
{User Tools/Counter}
}}
} key.
The initial display is shown.
When color shifting occurs
Perform this procedure when color
shifting occurs even after performing
"Auto Adjustment".
A
AA
A
Load A4L
LL
L or larger paper in the
Bypass Tray.
Note
❒ Be sure to select paper size in
the "Paper Input" menu.
Reference
For details about paper size and
the procedure for loading paper
in the Bypass Tray, see "Loading
Paper" in Maintenance Guide 2.
B
BB
B
Press the {
{{
{User Tools/Counter}
}}
} key.
"User Tools/Counter" appears on
the panel display.
C
CC
C
Press [Maintenance].
D
DD
D
Press [Color Registration].