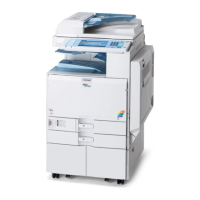
2. Print the ACC test pattern.
3. Put the printout on the exposure glass.
4. Put 10 sheets of white paper on the test chart. This ensures the precise ACC adjustment.
5. Close the SPDF/ARDF or the platen cover.
6. Press "Start Scanning" on the LCD. Then, the machine starts the ACC.
3. Exit the User Tools mode.
PCU/Development Unit
Before Replacing a PCU
• In the PCU for MP C2504/C2004 and the PCU for MP C6004/C5504/C4504/C3504/
C3004, the charging method is different. Variations in the charge voltage must be corrected when
a PCU is replaced.
• Because of this, before replacing a PCU, do the procedure shown below. The main points are as
follows.
• Input the charge voltage correction value for the new PCU.
• The machine will optimize SP settings related to imaging using process control, after you input
the charge voltage correction value and replace the PCU.
1. Set SP3-701: New PCU detection to “1” before replacing the PCU.
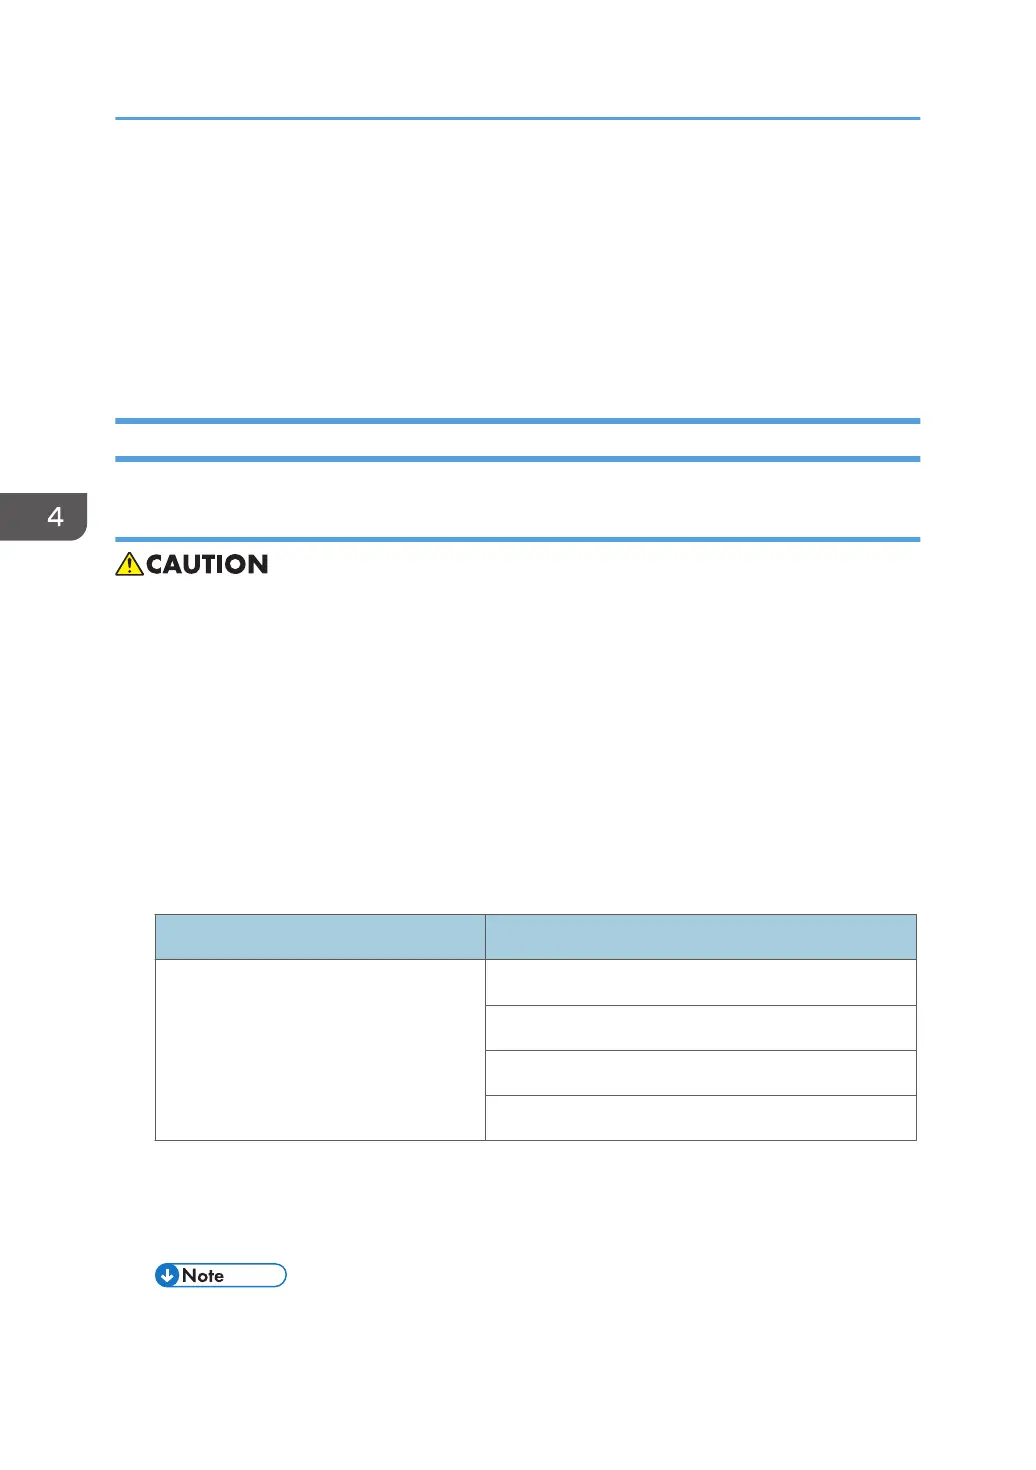
SPs for manual new unit
Item SP
PCU
Black: SP3-701-002
Cyan: SP3-701-025
Magenta: SP3-701-048
Yellow: SP3-701- 071
0: new unit detection flag OFF, 1: new unit detection flag ON
2. Check the charge voltage correction value printed on the label attached to the new PCU.
This value is adjusted for each PCU.
• When installing a complete brand-new PCDU, it is not necessary to input the correction value.
4. Replacement and Adjustment
462
 Loading...
