EasyManuals Logo

Ricoh MP C2504 User Manual

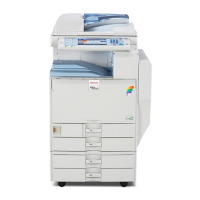
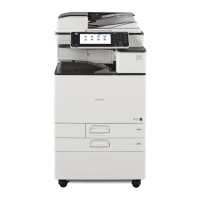
Ricoh MP C2504
1923 pages
To Next Page IconTo Next Page
To Previous Page IconTo Previous Page
Page #181 background imageLoading...
Page #181 background image
16. Connect the harness to the 1-bin tray, and bring it around.
17. Insert the tray support bar firmly in the 1-bin tray, and attach the harness cover [A].
18. Reattach the left rear cover, upper left cover and front upper cover, and close the right
door.
19. Reattach the paper exit tray and paper exit feeler.
20. Turn ON the main power.
21. Check that output to this tray can be selected on the operation panel, and check
operation.
Checking the Position of the Paper Exit Feeler
Check the following points for the paper exit feeler [A] at the paper exit.
It can move in line with the ejection of paper
It holds contact with the surface of the ejected paper and is still movable
2. Installation
172

Table of Contents

Questions and Answers:

Question and Answer IconNeed help?

Do you have a question about the Ricoh MP C2504 and is the answer not in the manual?

Ricoh MP C2504 Specifications

General IconGeneral
Print TechnologyLaser
FunctionsPrint, Copy, Scan, Fax
Print Resolution1200 x 1200 dpi
Scan TypeFlatbed, ADF
Max Scan Resolution600 x 600 dpi
Copy Resolution600 x 600 dpi
Max Paper SizeA3
Duplex PrintingYes
Memory (RAM)2 GB
Print Speed25 ppm (A4)
Copy Speed25 cpm (A4)
Fax Resolution200 x 200 dpi
Paper Capacity1200 sheets
ConnectivityUSB, Ethernet, Wi-Fi
Dimensions587 x 685 x 913 mm
Control Panel9-inch Smart Operation Panel

Related product manuals