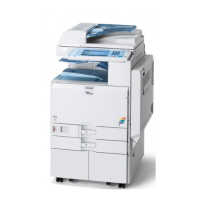
24. Reattach the tray support plate (removed in step 12) [A].
25. Reattach the paper exit cover (removed in step 15 and step 16) [A] and the connector
cover [B].
Touching the moving parts inside of the cover can result in an injury. To avoid this, be sure to install
the connector cover [B].
26. Reattach the front upper cover (removed in step 14) and then close the right door.
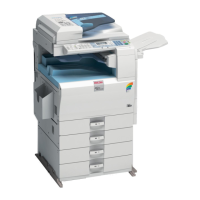
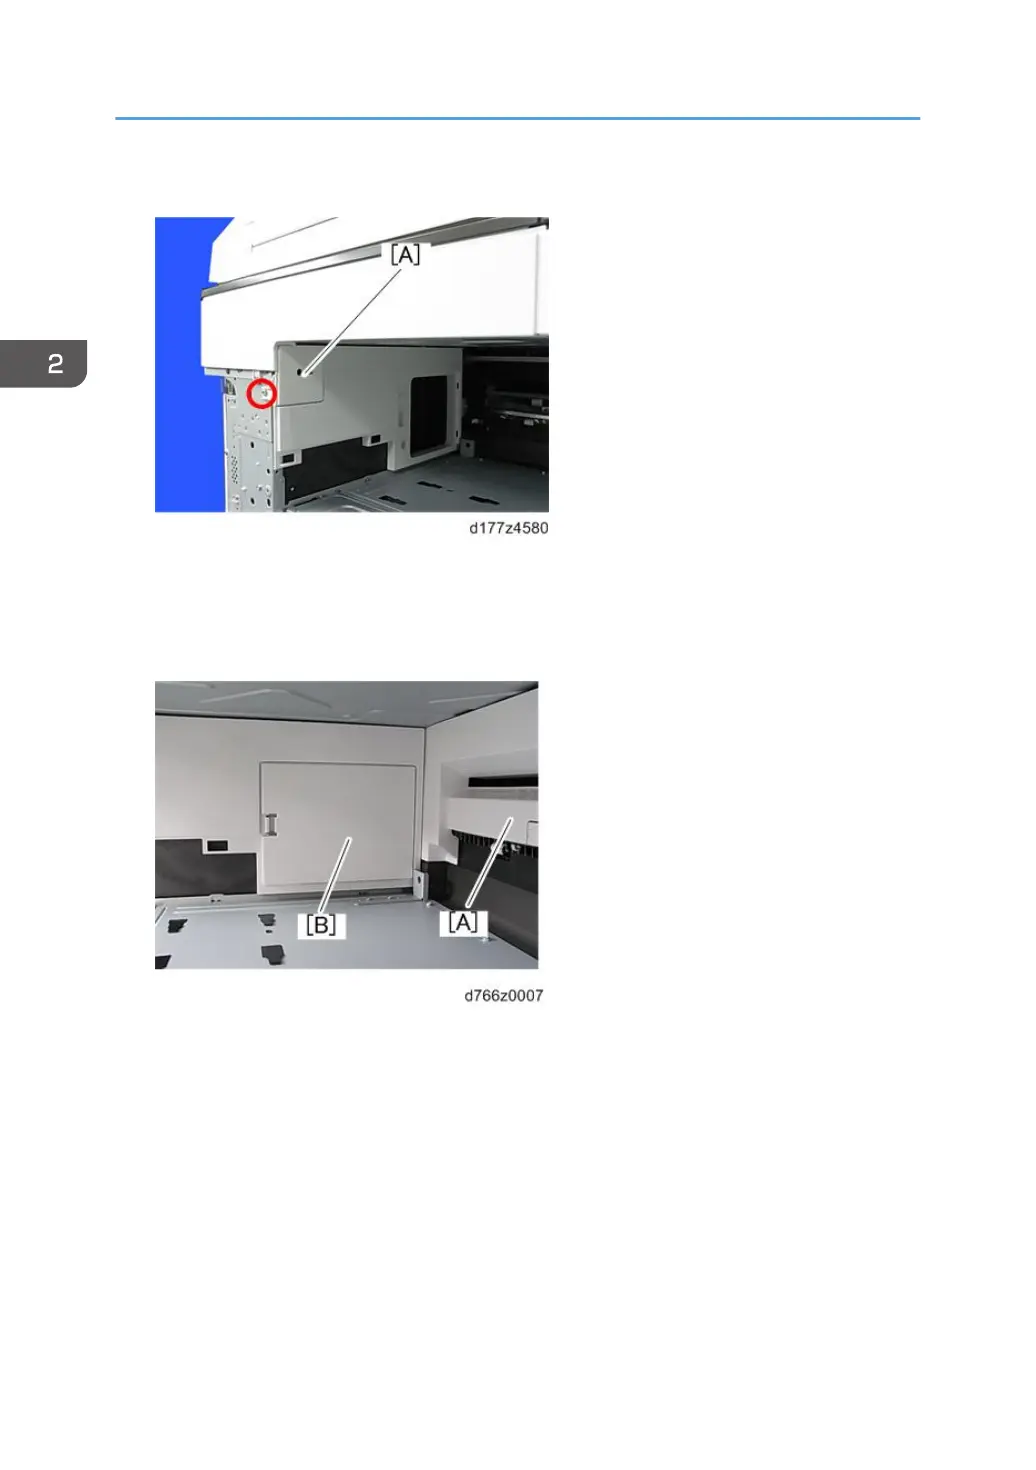
27. Remove the driven roller [B] at the machine’s exit tray and attach the supplied driven
roller [A].
• Insert a flathead screwdriver into the depression in the center, and then, lifting the driven
roller, unlock the part indicated by the red arrow.
• When attaching the driven roller, push its center all the way in until it clicks.
2. Installation
252