This section explains how to display the Scanner Features screen. For details about the settings on this
screen, see "Scanner Features".
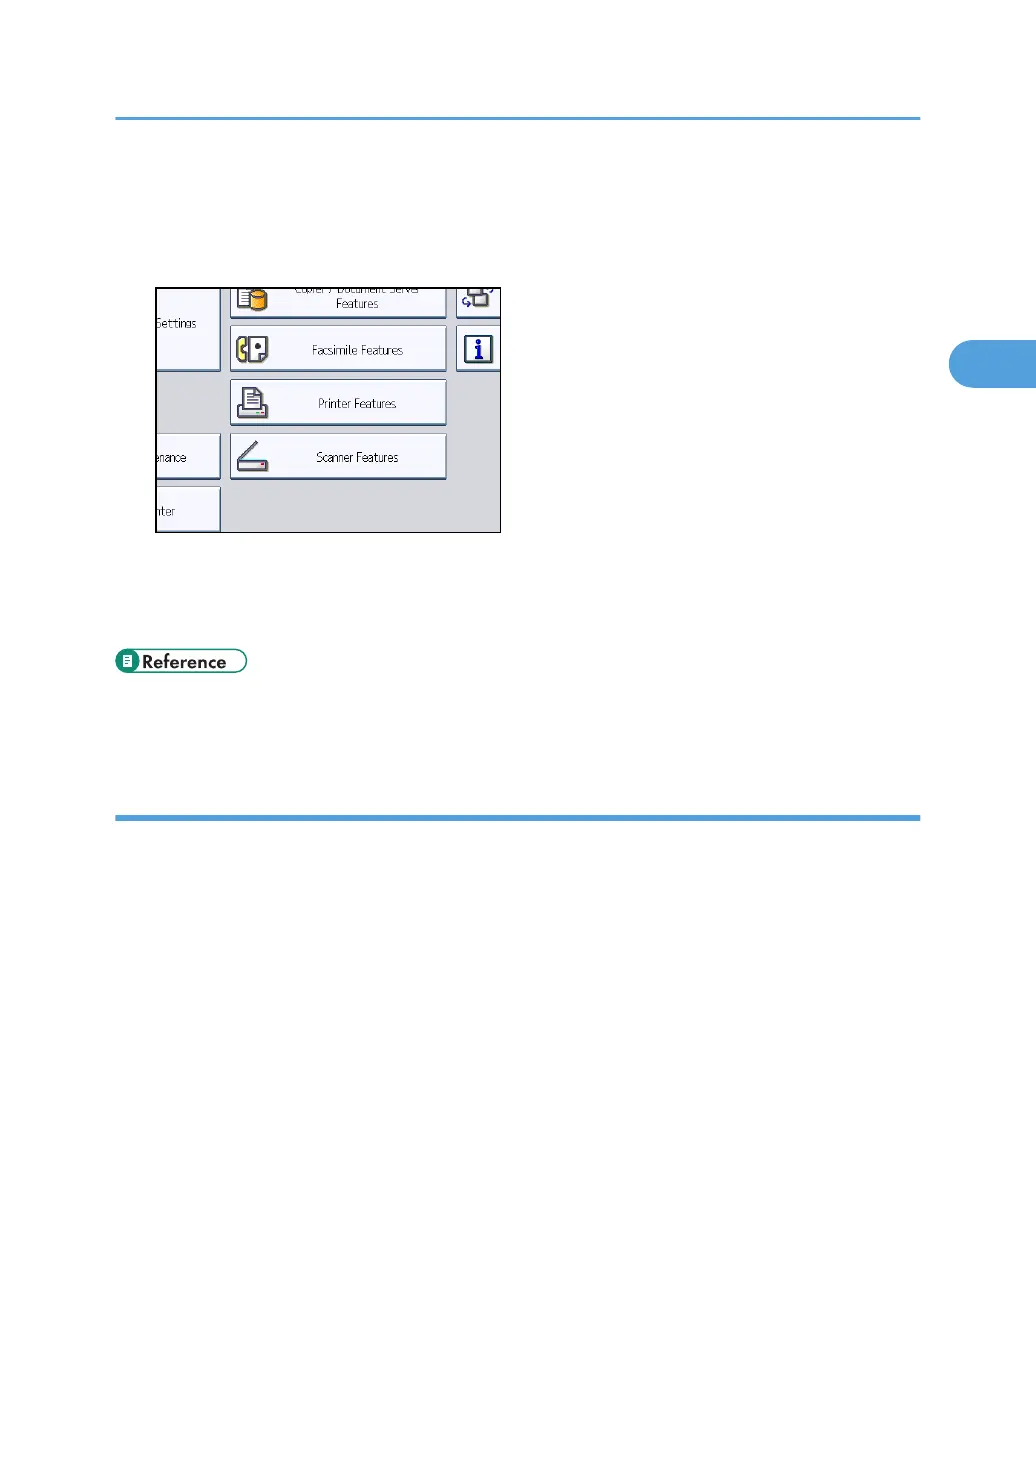
1. Press the [User Tools/Counter] key, and then press [Scanner Features].
The Scanner Features screen appears.
2. Press the [General Settings], [Scan Settings], [Send Settings], or [Initial Settings] tabs and
configure the relevant settings on those tabs.
• p.199 "Scanner Features"
Creating a shared folder on a computer running Windows/Confirming a computer's
information
The following procedures explain how to create a shared folder on a computer running Windows, and
how to confirm the computer's information. In these examples, Windows XP Professional is the operating
system, and the computer is a member in a network domain.
Step 1: Confirming the user name and computer name
Confirm the user name and the name of the computer you will send scanned documents to.
1. On the [Start] menu, point to [All Programs], then [Accessories], and then click on
[Command Prompt].
The command prompt window opens.
2. Enter the command “ipconfig/all”, and then press the [Enter] key.
3. Confirm the name of the computer.
The computer's name is displayed under [Host Name].
You can also confirm the IPv4 address. The address displayed under [IP Address] is the IPv4
address of the computer.
4. Next, enter the command "set user", and then press the [Enter] key. (Be sure to put a
space between "set" and "user".)
Before Sending Files by Scan to Folder
59