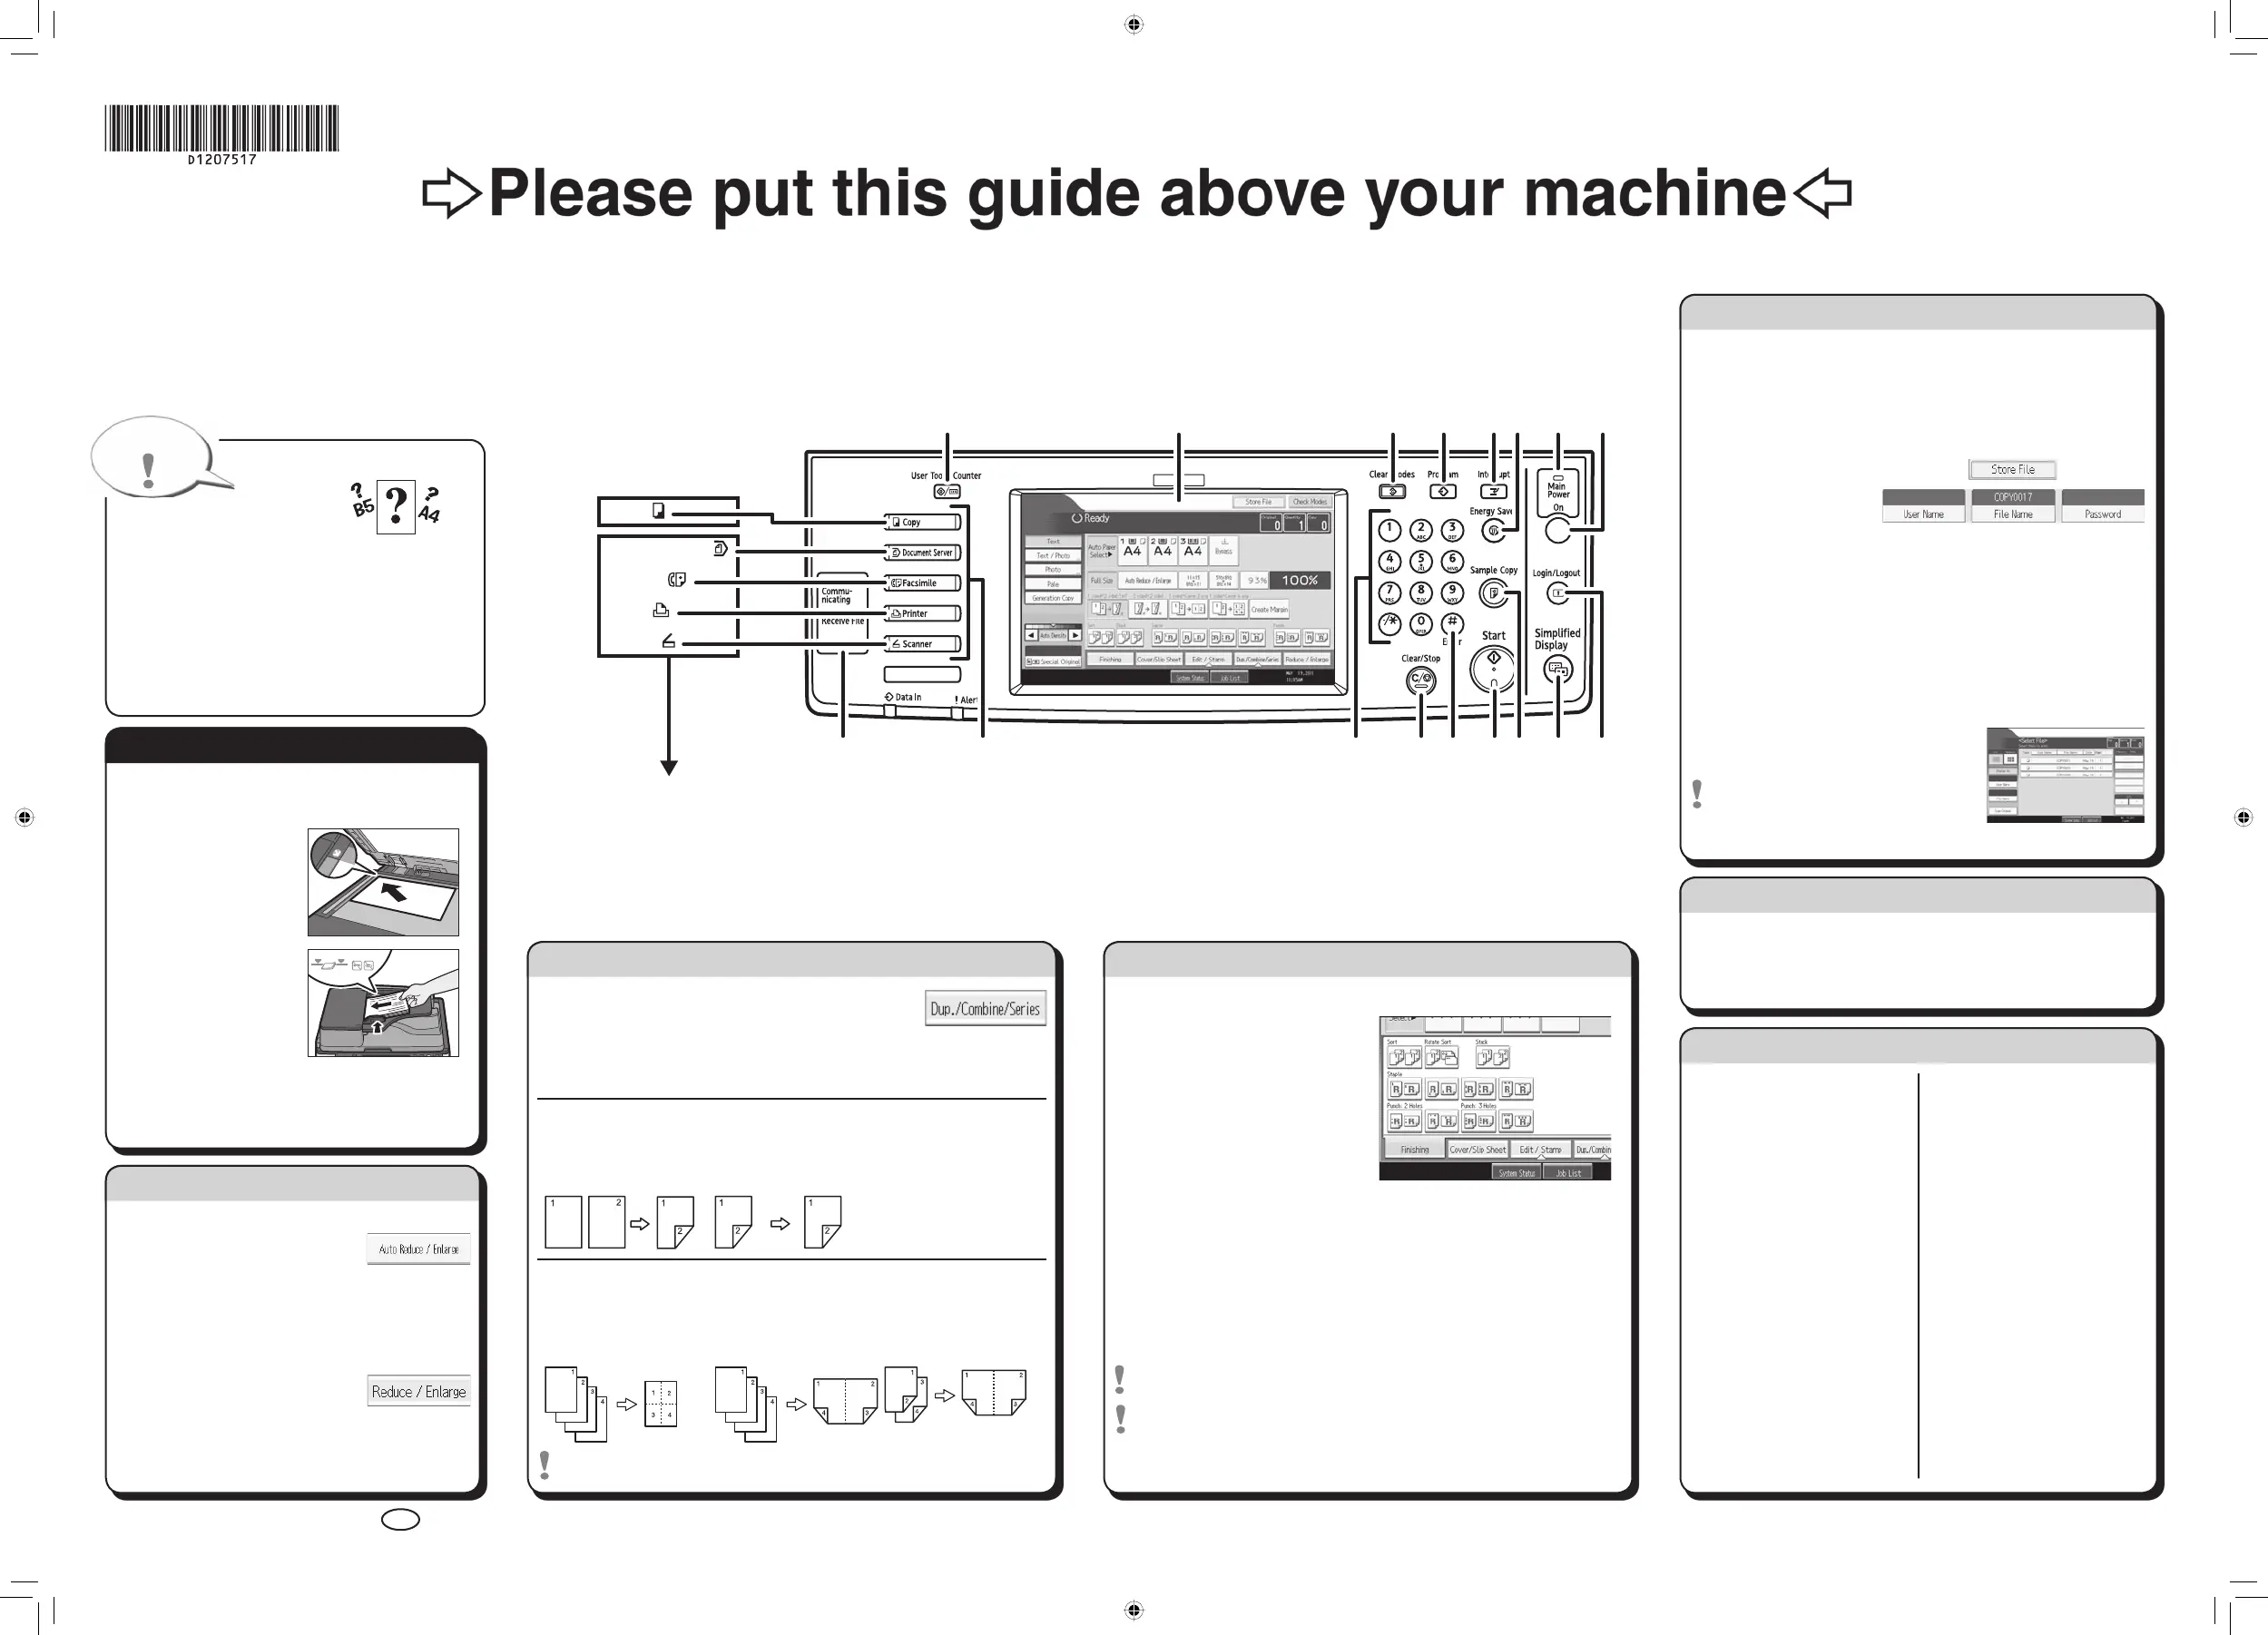
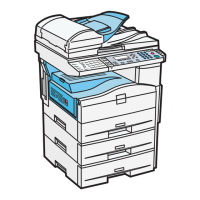
You can also store files, fax, print and scan on
this machine!
Please ask your sales person for these options.
☺☺
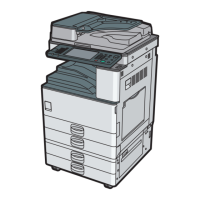
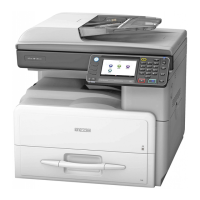
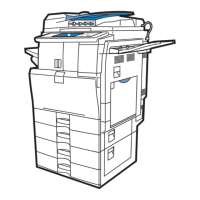
Standard available:
Copier:
Document Server:
Facsimile:
Printer:
Scanner:
* The Document Server, printer, and scanner functions are standard on some models.
Quick Reference Copy Guide
cPlease put this guide above your machineg
© 2011 Printed in China EN
US
D120-7517
Chapter references in this guide refer to the bundled OI CD; Copy and Document Server Reference.
A See if original is 1-sided or 2-sided (duplex).
B Press [Dup./Combine/Series].
C Select the original and copy types and/or the orientation.
D Place the originals, and then press the {Start} key.
Duplex
1-Sided → 2-Sided
Copies two 1-sided pages
on one 2-sided page.
2-Sided → 2-Sided
Copies one 2-sided page on
one 2-sided page.
Combine
1-sided Combine
Copies multiple 1-sided or
2-sided originals on one side
of copy paper.
2-sided Combine
Copies multiple 1-sided
originals on two sides of
copy paper.
Copies multiple 2-sided
originals on two sides of
copy paper.
For more functions on Combine, see “2. Basic Copying”.
A Press the {Clear Modes} key.
B Place the originals.
• Exposure Glass
(Face down)
• Auto Document
Feeder (Face up)
C Make desired settings.
D Enter the number of copies.
E Press the {Start} key.
Paper Size
You can check the paper size
using the scale on the exposure glass.
Auto Image Density
Adjusts the image density (darker/lighter)
automatically for copying.
Auto Paper Select
Selects a suitable size of paper automatically.
Paper SizePaper Size
How to make Copies...
(1. Placing Originals,
2. Basic Copying)
Auto Reduce/Enlarge
A Press [Auto Reduce / Enlarge].
B Select the paper size.
C Place the originals, and then press the
{Start} key.
Preset Reduce/Enlarge
A Press [Reduce / Enlarge].
B Select a ratio, and then press
[OK].
C Place the originals, and then press the {Start}
key. (Paper size is selected automatically.)
How to Reduce/Enlarge...
(2. Basic Copying)
Reduce/Enlarge
Zoom: You can specify
the reproduction ratio in
increments of 1%.
Magnification: You can
specify the horizontal and
vertical reproduction ratios,
individually.
Series Copies
Separately copies the
front and back of a 2-sided
original onto two sheets.
Booklet/Magazine
Copies two or more
originals in page order.
•
•
•
•
Edit/Stamp
Image Repeat/Double
Copies: The original image
is copied repeatedly.
Centering: Moves image to
center.
Erase: Erases the center
and/or all four sides of the
original image.
Stamps: Copies with the
date, page numbers, etc.
Cover/Slip Sheet
Front Cover / Front/Back
Cover: Creates cover sheets.
Designate: Copies certain
pages of the original onto
designation sheets.
•
•
•
•
•
•
Advanced features
(2. Basic Copying)
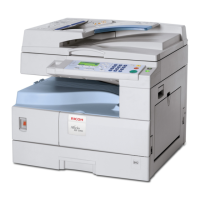
1. {User Tools/Counter} key
2. Display panel
3. {Clear Modes} key
Press to clear the current settings.
4. {Program} key
Press to register frequently used settings,
or to recall registered settings.
5. {Interrupt} key
6. {Energy Saver} key
7. Main power indicator
8. Operation switch
9. {Login/Logout} key
10. {Simplified Display} key
11. {Sample Copy} key
12. {Start} key
Press to start copying, printing, scanning,
or sending.
13. {#} key (Enter key)
14. {Clear/Stop} key
• Clear: Press to delete a number entered.
• Stop: Press to stop a job in progress.
15. Number keys
16. Function keys
17. Indicators
How to save paper...
(2. Basic Copying)
How to finish your document...
Staple
A Press [Finishing].
B Select one of the stapling
positions (Copies will be sorted
automatically).
C Press [OK].
D Enter the number of copies.
E Place the originals, and then
press the {Start} key.
Punch
A Press [Finishing].
B Select one of the punch hole positions (Copies will be hole punched).
C Press [OK].
D Enter the number of copies.
E Place the originals, and then press the {Start} key.
Staple and Punch can be done at the same time.
Availability of finishing depends on your configuration.
Simplified Display
Why use it...
• To store often used documents centrally and print on demand.
• To reduce network load.
How to use in copy mode...
A Press [Store File].
B Enter a file name,
user name, or
password if necessary.
C Press [OK].
D Place the originals.
E Make the scanning settings for the original.
F Press the {Start} key.
The machine stores scanned originals in memory and makes
one set of copies.
To find your document, press the
{Document Server} key.
For more functions on Document
Server, see “4. Document Server”.
When you press the {Simplified Display} key, the screen
changes to the simplified display. Letters and keys are
displayed at a larger size, making operations easier.
Certain keys do not appear on the simplified display.
(2. Basic Copying)
Document Server
1
16
2 3 4 5 768
9101214 1115 1317