Diagnostic information 2-75
5058-030
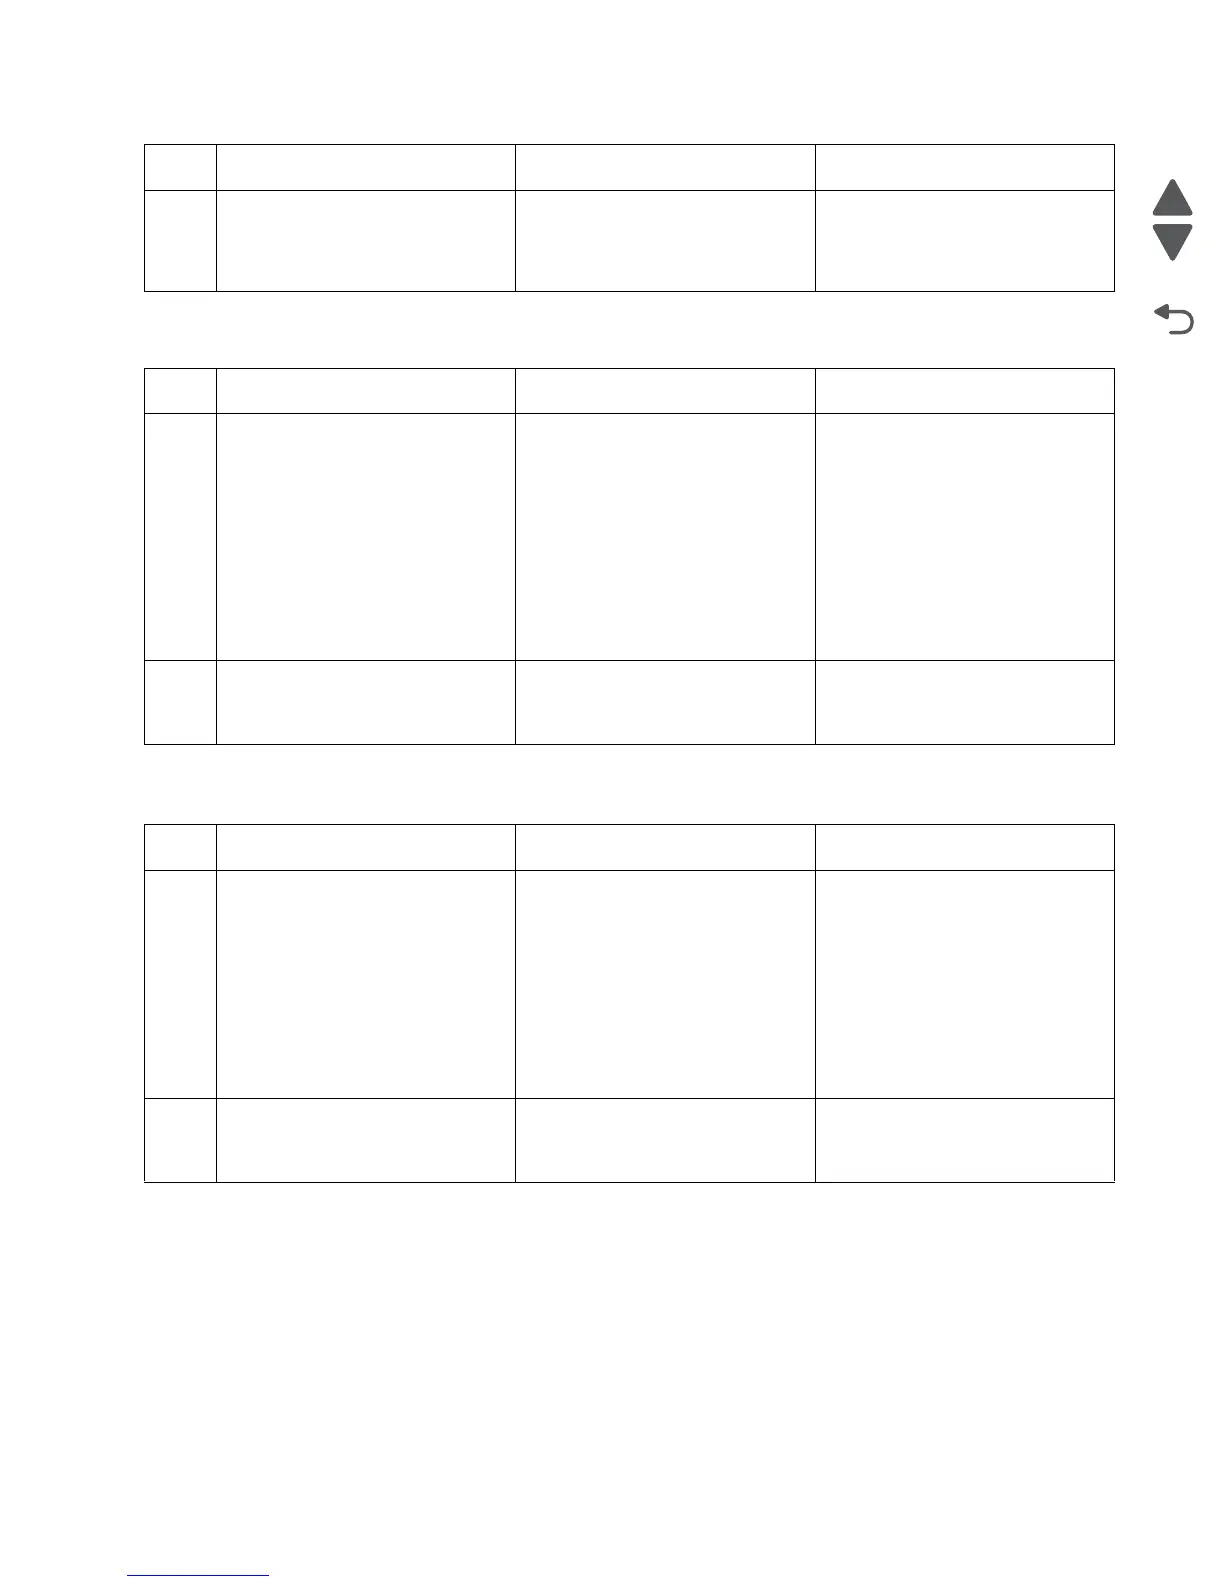
191.06 Lower engine PCBA fuse 2 blown
191.07 Lower engine PCBA fuse 3 blown
2
POR the machine.
Does the error continue?
Replace the upper printer engine
PCBA.
Go to “Upper printer engine
PCBA removal” on page 4-181.
Problem resolved
Step Action and questions Yes No
1 Warning: Remove the cause of
blown fuse before replacing the
lower engine PCBA.
Check the following parts circuits
for overcurrent and overvoltage.
• LED printhead (Y, M, C, K)
• Printhead interface contact
(Y, M, C, K)
Are the current and voltage
values normal?
Go to step 2. Replace the faulty parts.
2
POR the machine.
Does the error continue?
Replace the lower engine PCBA.
Go to “Lower engine PCBA
removal” on page 4-98.
Problem resolved
Step Action and questions Yes No
1 Warning: Remove the cause of
blown fuse before replacing the
lower engine PCBA.
Check the following parts circuits
for overcurrent and overvoltage:
• Tray module controller PCBA
• HCF
Are the current and voltage
values normal?
Go to step 2. Replace the faulty parts.
2
POR the machine.
Does the error continue?
Replace the lower engine PCBA.
Go to “Lower engine PCBA
removal” on page 4-98.
Problem resolved
Step Action and questions Yes No