4-96 Service Manual
5058-030
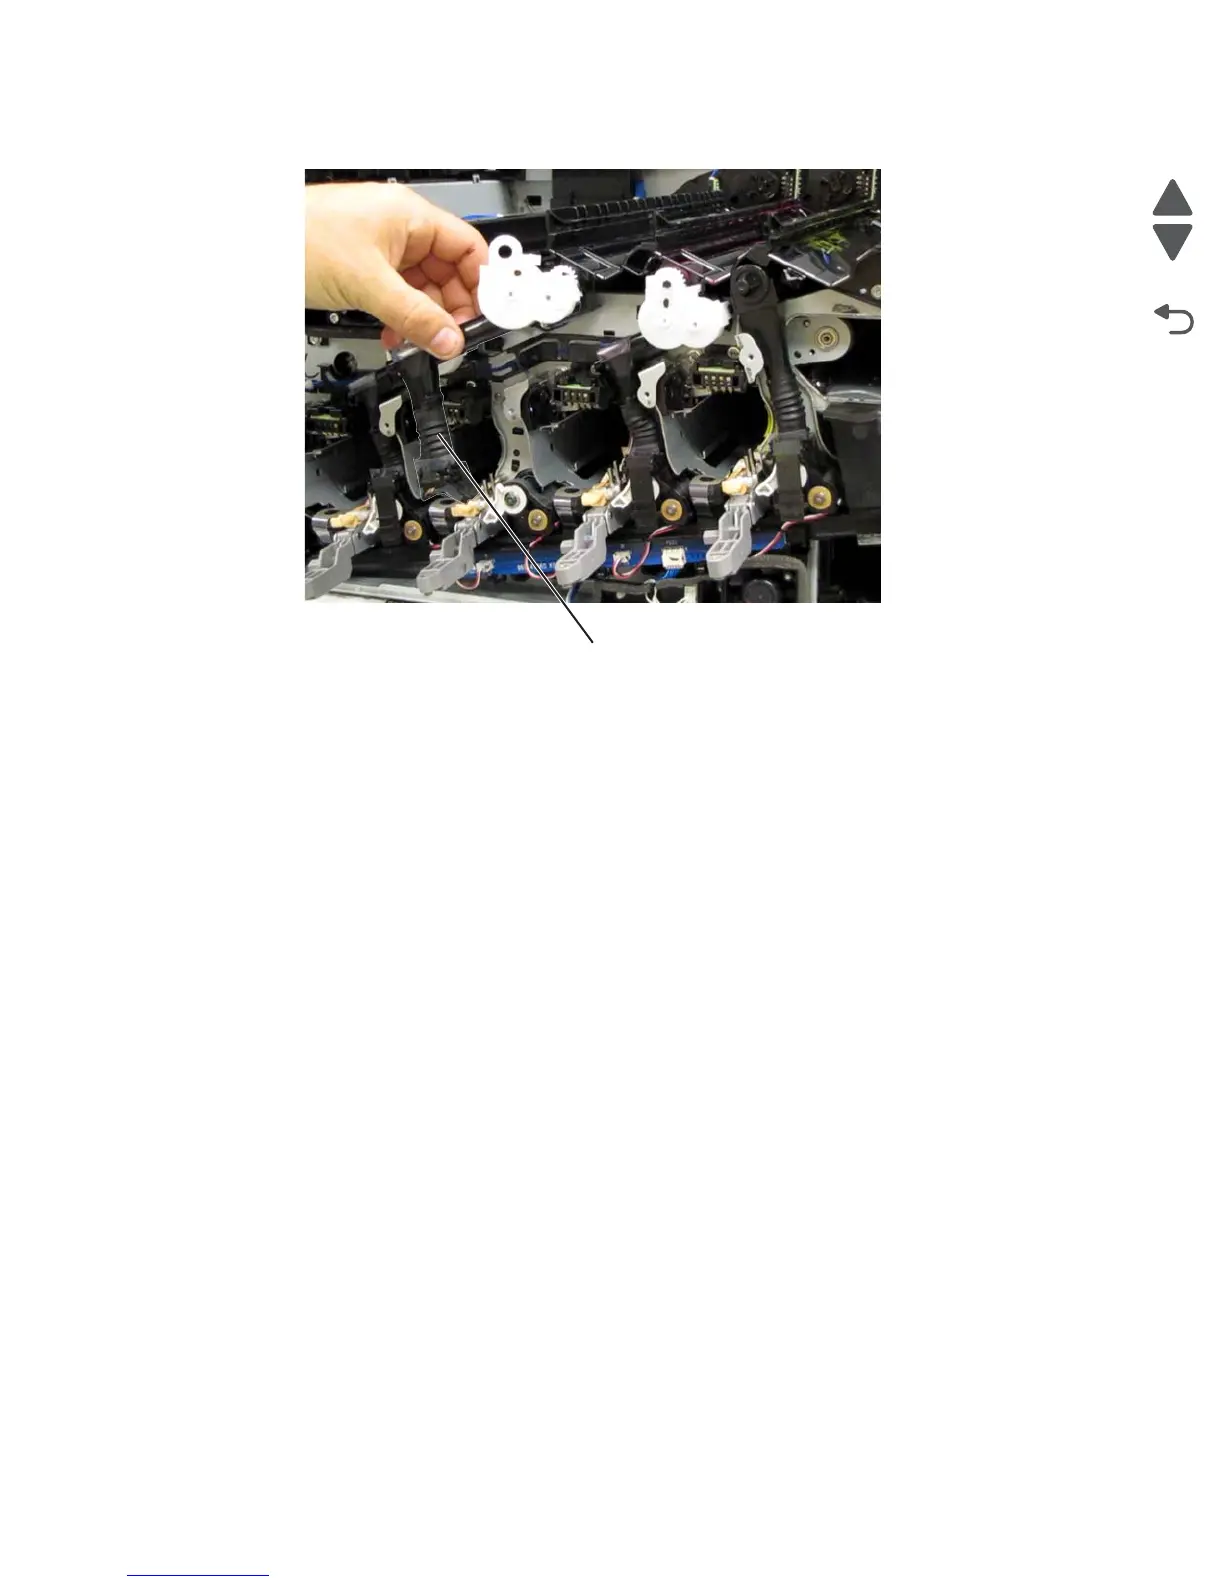
13. Remove the K toner auger.
Re-installation note: Ensure that the rubber sleeve (C) is attached properly to prevent toner spillage.
LED printhead removal
1. Remove the printer front door. See “Printer front door removal” on page 4-10.
2. Remove the transfer belt cleaner. See “Transfer belt cleaner removal” on page 4-172.
3. Remove the waste toner box.
4. Remove the four photoconductor units.
5. Remove the four toner supplies.
6. Remove the operator panel front cover.
7. Remove the printhead retract door. See “Printhead retract door removal” on page 4-139.
8. Remove the inner cover. See “Inner cover removal” on page 4-3.
9. Remove the inner plate. See “Inner plate removal” on page 4-92.
10. Remove the appropriate developer unit. See “Developer housing (C) removal” on page 4-45,
“Developer housing (M) removal” on page 4-56, “Developer housing (Y) removal” on page 4-62, or
“Developer housing (K) removal” on page 4-51.