4-334 Service Manual
5058-030
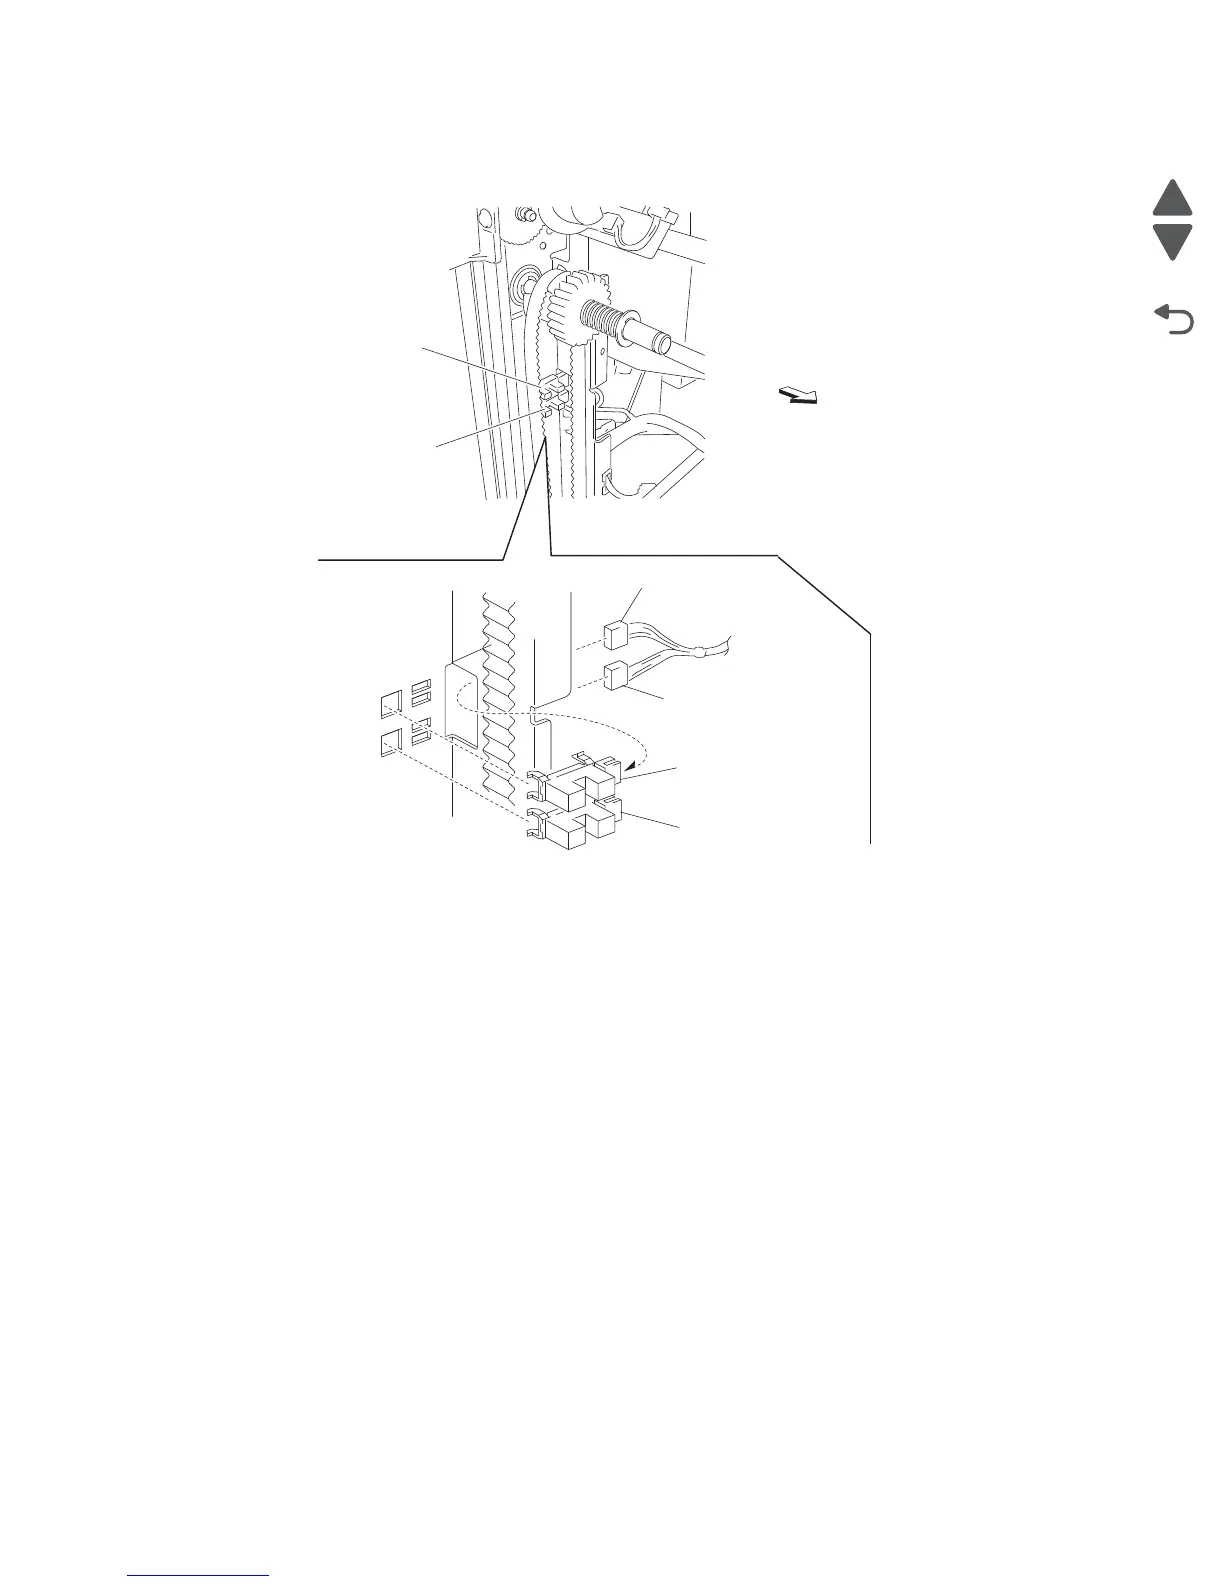
9. Remove the sensor.
Reinstallation note: Make sure that the yellow connector is plugged into the sensor (stacker bin no media) (C).
Sensor (stapler carriage HP) removal
1. Remove the finisher front door assembly. See “Finisher front door assembly removal” on page 4-276.
2. Remove the staple cartridge.
3. Remove the rear upper cover. See “Rear upper cover removal” on page 4-309.
4. Remove the rear lower cover. See “Upper media bin front cover removal” on page 4-353.
5. Remove the stapler unit frame. See “Stapler unit frame removal” on page 4-342.
6. Remove the stapler unit assembly. See “Stapler unit assembly removal” on page 4-340.
C
B
Rear
Yellow connector
B
White connector
C