Repair information 4-191
5058-030
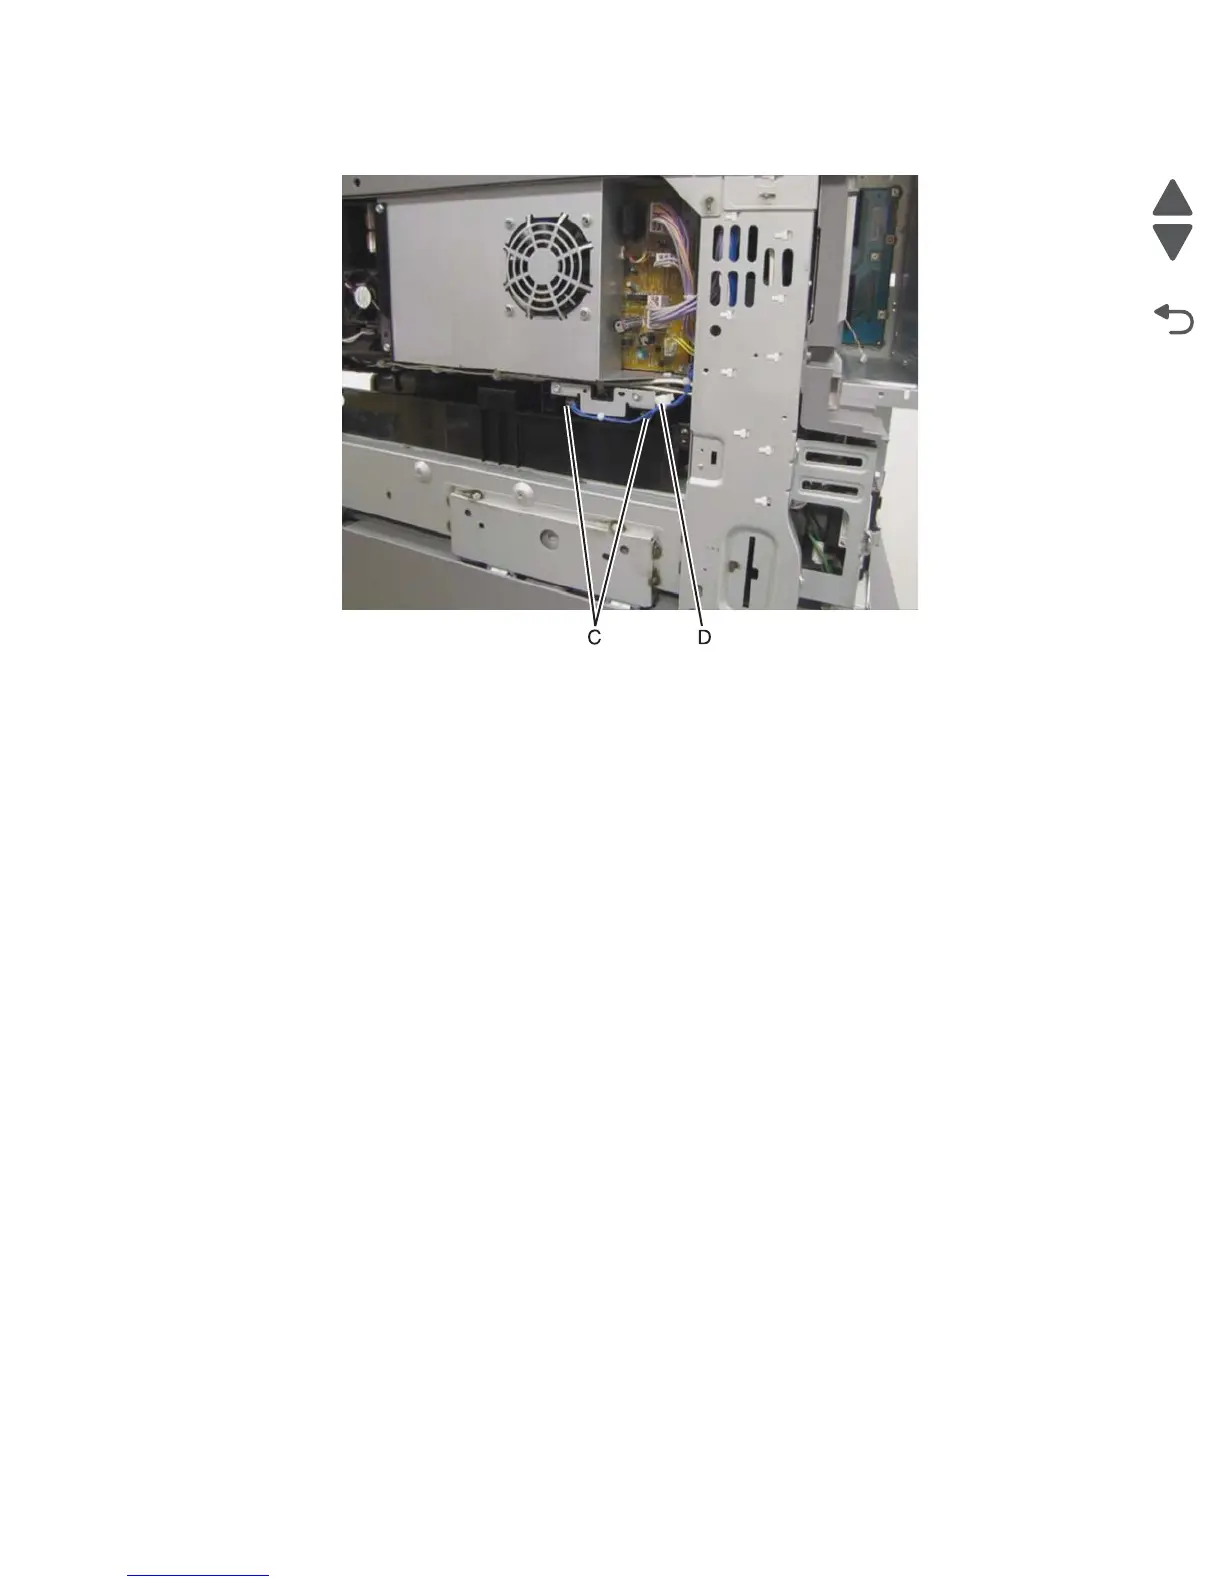
6. Remove the harness clamp (D) from the waste toner sensor guide.
7. Remove the waste toner sensor guide.
Waste toner shaft gate removal
1. Remove the printer front door. See “Printer front door removal” on page 4-10.
2. Remove the transfer belt cleaner. See “Transfer belt cleaner removal” on page 4-172.
3. Remove the waste toner box.
4. Remove the four photoconductor units.
5. Remove the four toner supplies.
6. Remove the operator panel front cover.
7. Remove the printhead retract door. See “Printhead retract door removal” on page 4-139.
8. Remove the inner cover. See “Inner cover removal” on page 4-3.
9. Remove the ATC sensor PCB bracket. See “ATC sensor PCB bracket removal” on page 4-25.
10. Remove the waste toner add chute. See the “Waste toner auger chute removal” on page 4-188.
11. Remove the printer right side cover. See “Printer right cover removal” on page 4-11.
12. Remove the LVPS subfan guide. See “LVPS front fan guide removal” on page 4-105.
13. Remove the waste toner sensor guide. See “Waste toner sensor guide removal” on page 4-190.
14. Remove the LVPS PCBA. See the “LVPS PCBA removal” on page 4-106
15. Remove the main power GFI interface. See the “Main power GFI interface removal” on page 4-113.
16. Remove the PC/developer drive motor. See the “PC/developer drive motor removal” on page 4-132.
17. Remove the waste toner agitator motor. See the “Waste toner agitator motor removal” on page 4-185.