Diagnostic information 2-235
5058-030
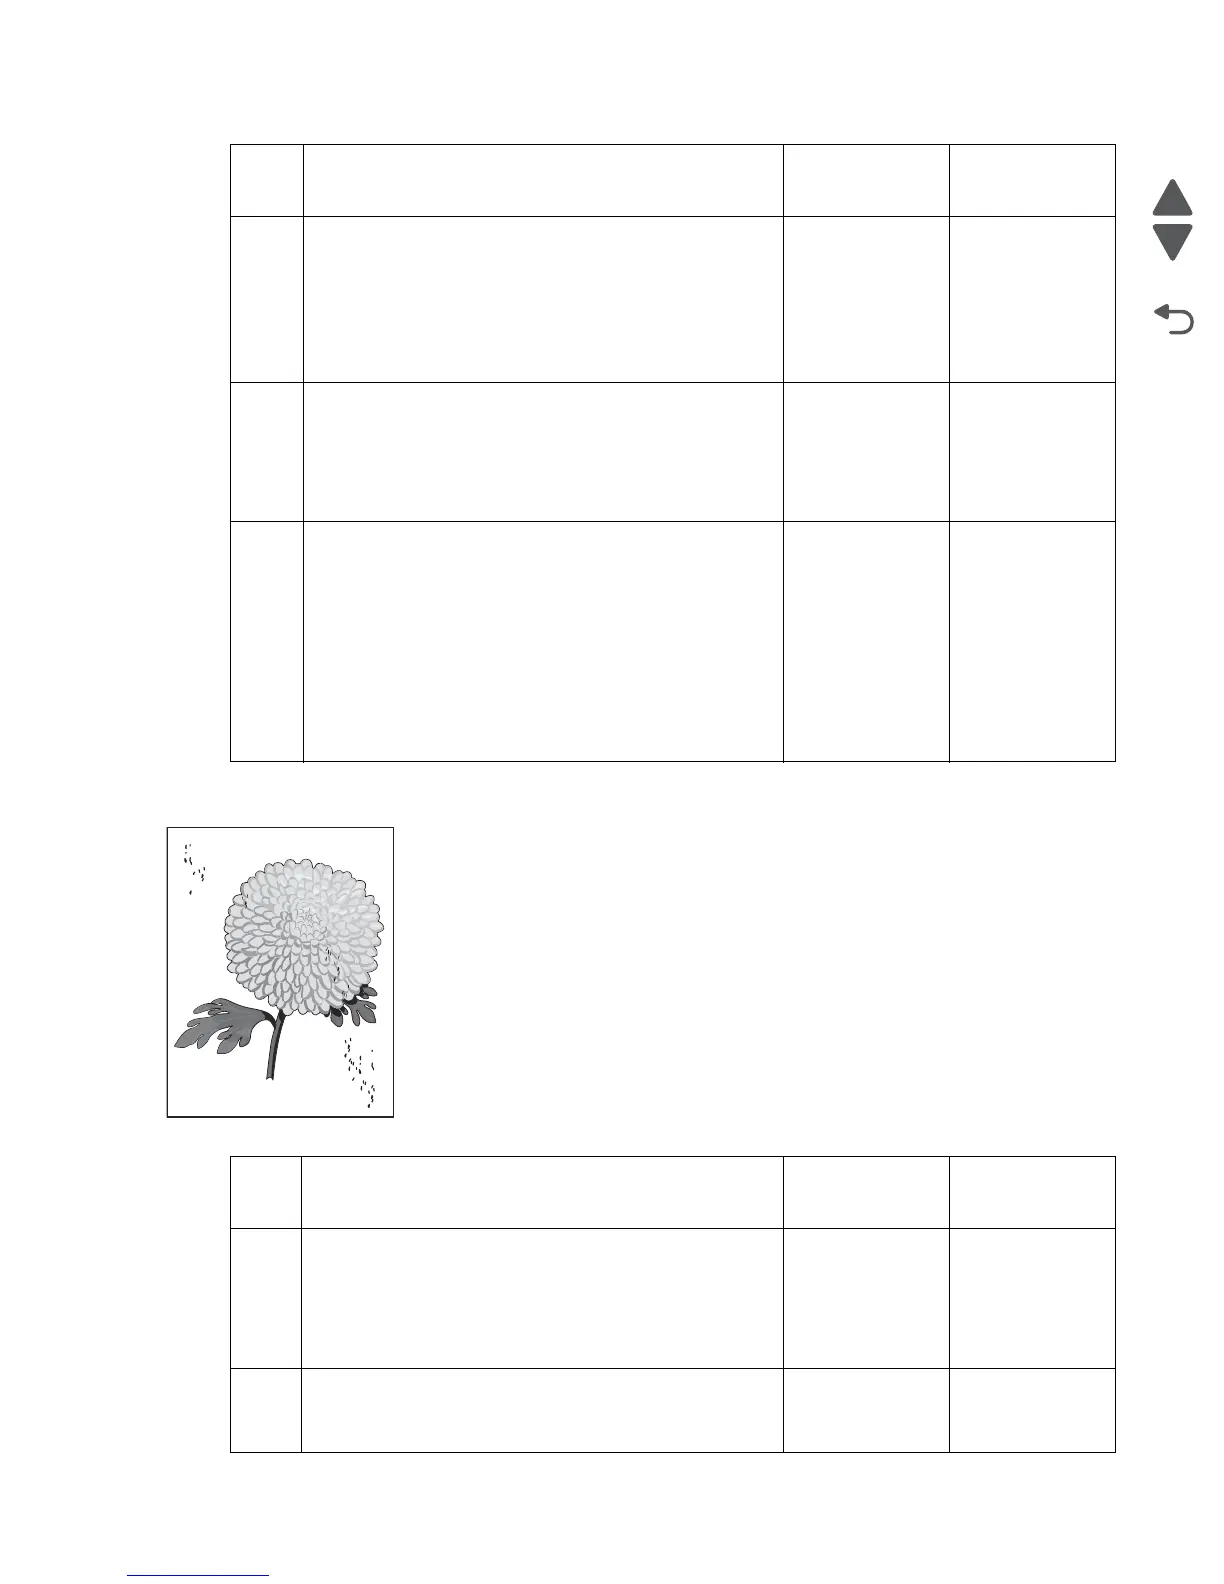
Spots
7
Check the LED printhead assembly for proper
installation.
Install the LED printhead assembly properly, and
perform a print test. Go to “PRINT TESTS” on
page 3-22.
Does the problem remain?
Go to step 8. Problem
resolved
8
Check the LED printhead.
Replace the LED printhead.
Go to “LED printhead removal” on page 4-96.
Does the problem remain?
Go to step 9. Problem
resolved
9
Check the upper printer engine PCBA for proper
connectivity. Disconnect and reconnect all appropriate
cables.
Replace the upper printer engine PCBA.
Go to “Upper printer engine PCBA removal” on
page 4-181.
Perform a print test. Go to “PRINT TESTS” on
page 3-22.
Does the problem remain?
Problem solved. Replace the RIP
PCBA.
Go to “RIP
PCBA removal”
on page 4-144.
Step Check Yes No
1 Check the media condition.
Load new, dry, recommended media.
Reprint the defective image.
Does the problem remain?
Go to step 2. Problem
resolved
2
Check the media transfer route.
Is the media route free of contamination or debris?
Go to step 3. Remove debris
or
contamination.
Step Check Yes No
Leading edge
Trailing edge