4-306 Service Manual
5058-030
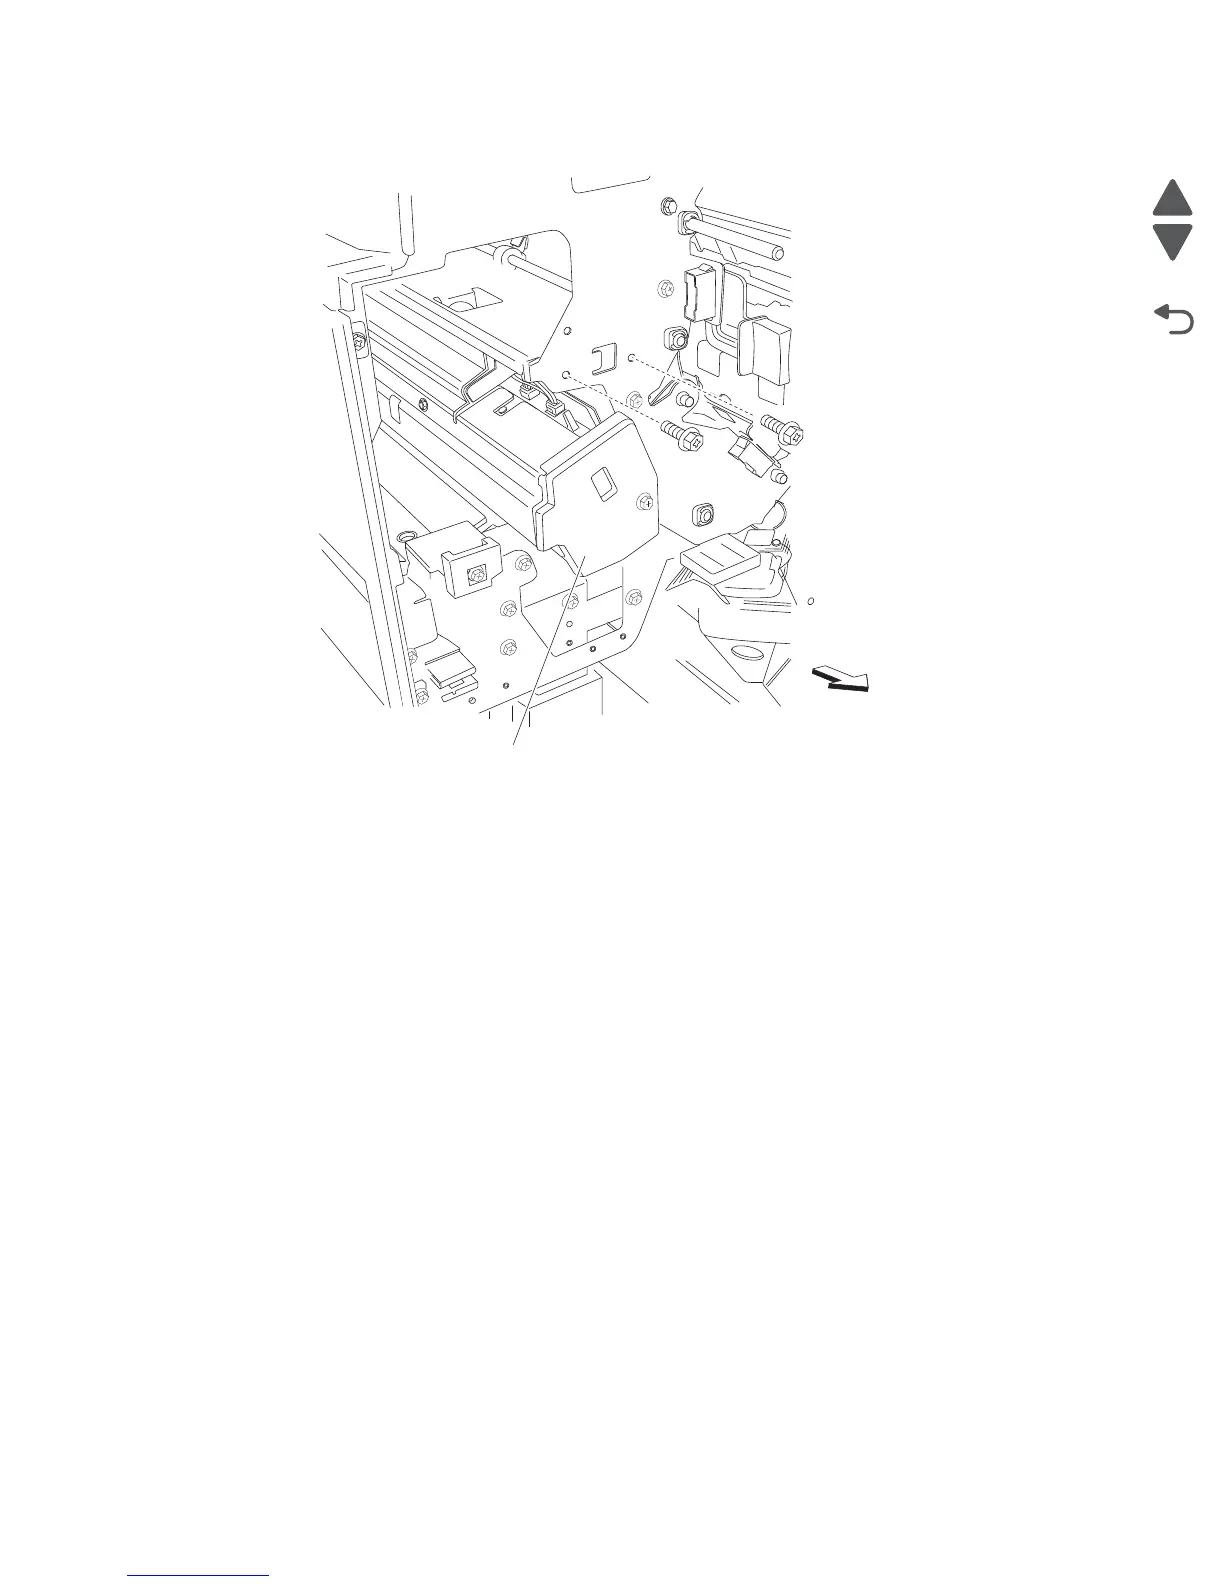
12. Remove the two screws on the front securing the punch carriage assembly (B) to the finisher.
13. While moving the belt (buffer/transport) (E) to the left as shown, pull the punch carriage assembly (B)
gently out of the rear of the finisher.
Warning: Do not force the punch carriage assembly (B) out of the finisher. Be sure to hold the unit firmly to
avoid dropping it.
Reinstallation notes:
Warning: Make sure the punch carriage assembly is able to shift back and forth completely without binding the
harnesses, or damage will occur.
• Do not force the punch unit into the finisher.
• Be sure to hold the punch carriage assembly firmly to avoid dropping it.
• Make sure all harnesses are properly clamped.
• Make sure the harnesses do not come into contact with any rotating mechanisms.
Punch carriage shift motor assembly removal
1. Open the finisher front door assembly.
2. Remove the upper media bin assembly. See “Upper media bin assembly removal” on page 4-352.
3. Remove the top cover. See “Top cover removal” on page 4-351.
4. Remove the rear upper cover. See “Rear upper cover removal” on page 4-309.
5. Remove the punch carriage assembly. See “Punch carriage assembly removal” on page 4-304.
6. Remove the two screws securing the cover (A) to the punch carriage assembly (B).
7. Remove the cover (A).