3-4 Service Manual
5058-030
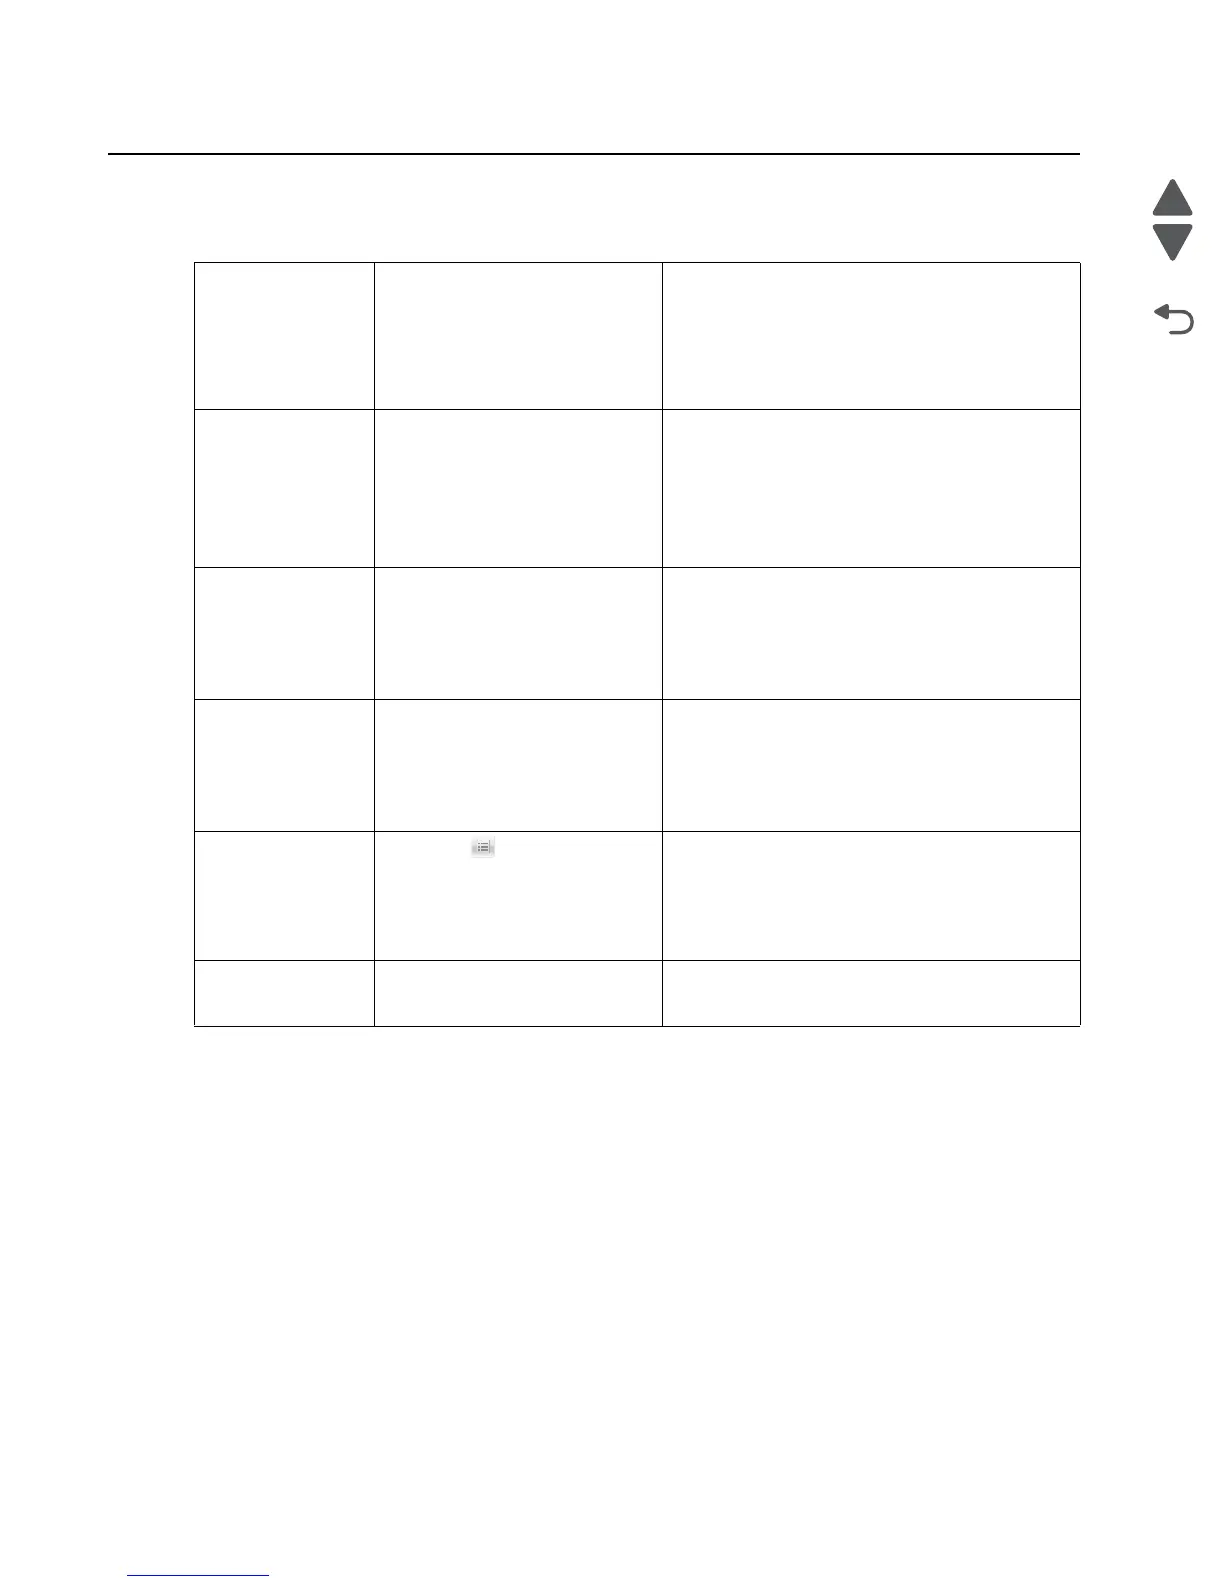
Accessing service menus
Access the following menus to identify problems with the printer and run diagnostic tests.
Configuration Menu 1. Turn off the printer.
2. Press and hold the 2 and 6
buttons simultaneously.
3. Turn on the printer.
4. Release the buttons after 10
seconds.
The Configuration Menu group contains a set of
menus, settings, and operations which are
infrequently required by a user. Generally, the
options made available in this menu group are
used to configure a printer for operation.
See “Configuration Menu” on page 3-5 for more
information.
Diagnostics Menu 1. Turn off the printer.
2. Press and hold the 3 and 6
buttons simultaneously.
3. Turn on the printer.
4. Release the buttons after 10
seconds.
The Diagnostics Menu group consists of menus,
settings, and operations that are used to diagnose
various printer problems.
Note: While the Diagnostics Menu Group is active,
all host interfaces are offline.
See “Diagnostics Menu” on page 3-14 for more
information.
Invalid engine mode 1. Turn off the printer.
2. Press and hold the 3, 4, and 6
buttons simultaneously.
3. Turn on the printer.
4. Release the buttons after 10
seconds.
This mode is used if the machine has invalid code
and needs the correct code loaded. After entering
this mode, the firmware code can be updated.
Recovery mode 1. Turn off the printer.
2. Press and hold the 7, 2, and 8
buttons simultaneously.
3. Turn on the printer.
4. Release the buttons after 10
seconds.
This mode will allow the printer to boot from a
secondary set of instructions to allow a code flash
to the printer. Code can be flashed from a PC via
USB.
Network SE Menu 1. Touch .
2. Navigate to Networks/Ports >
Standard Network >
Std Network Setup.
3. Press and hold 6, 7, and 9
simultaneously.
This menu contains settings for fine tuning the
communication settings for the network interfaces
and protocols.
Service Engineer
(SE) Menu
From a Web browser on a host
PC, add /se to the printer IP
address.
See “Service Engineer (SE) Menu” on
page 3-26.