Diagnostic information 2-233
5058-030
5
Replace the transfer belt cleaner. Go to “Transfer belt
cleaner removal” on page 4-172.
Does the problem remain?
Go to step 6. Problem
resolved
6
Check the heat belt and pressure roll in the fuser
assembly for scratches or defects.
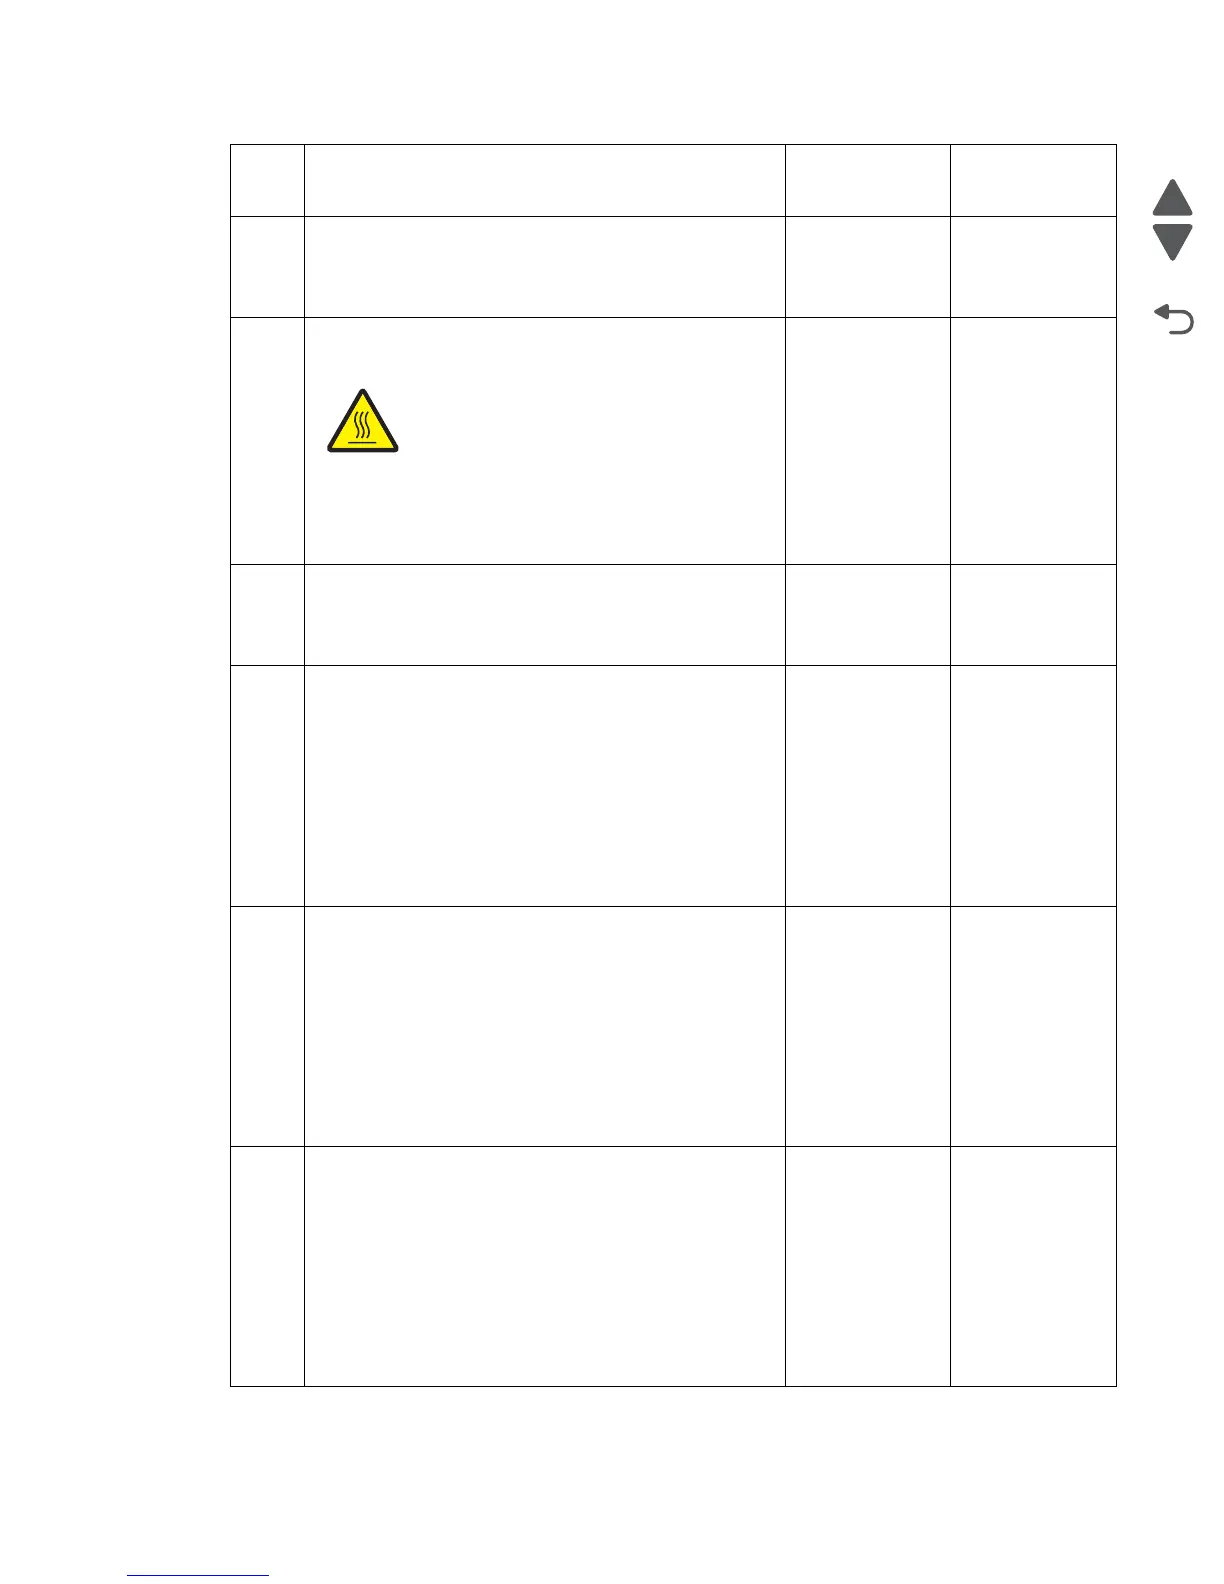
CAUTION: The fuser assembly might be hot.
Allow the fuser assembly to cool.
Remove the fuser assembly.
Is there contamination or cracks on the heat belt
and/or pressure roll?
Replace the
fuser assembly.
Go to “Fuser
assembly
removal” on
page 4-78.
Go to step 6.
7
Replace the transfer belt assembly. Go to “Transfer
belt assembly removal” on page 4-168.
Does the problem remain?
Go to step 8. Problem
resolved
8
Check the transfer roll HVPS PCBA for proper
connectivity. Disconnect and reconnect all appropriate
cables.
Replace the transfer roll HVPS PCBA.
Go to “Transfer roll HVPS PCBA removal” on
page 4-175.
Perform a print test. Go to “PRINT TESTS” on
page 3-22.
Does the problem remain?
Go to step 9. Problem
resolved
9
Check the developer HVPS PCBA for proper
connectivity. Disconnect and reconnect all appropriate
cables.
Replace the developer HVPS PCBA.
Go to “Developer HVPS PCBA removal” on
page 4-69.
Perform a print test. Go to “PRINT TESTS” on
page 3-22.
Does the problem remain?
Go to step 10. Problem
resolved
10
Check the upper printer engine PCBA for proper
connectivity. Disconnect and reconnect all appropriate
cables.
Replace the upper printer engine PCBA.
Go to “Upper printer engine PCBA removal” on
page 4-181.
Perform a print test. Go to “PRINT TESTS” on
page 3-22.
Does the problem remain?
Replace the RIP
PCBA.
Go to “RIP
PCBA removal”
on page 4-144.
Problem
resolved
Step Check Yes No
 Loading...


