Repair information 4-93
5058-030
4. Remove the four photoconductor units.
5. Remove the four toner supplies.
6. Remove the operator panel front cover.
7. Remove the printhead retract door. See “Printhead retract door removal” on page 4-139.
8. Remove the inner cover. See “Inner cover removal” on page 4-3.
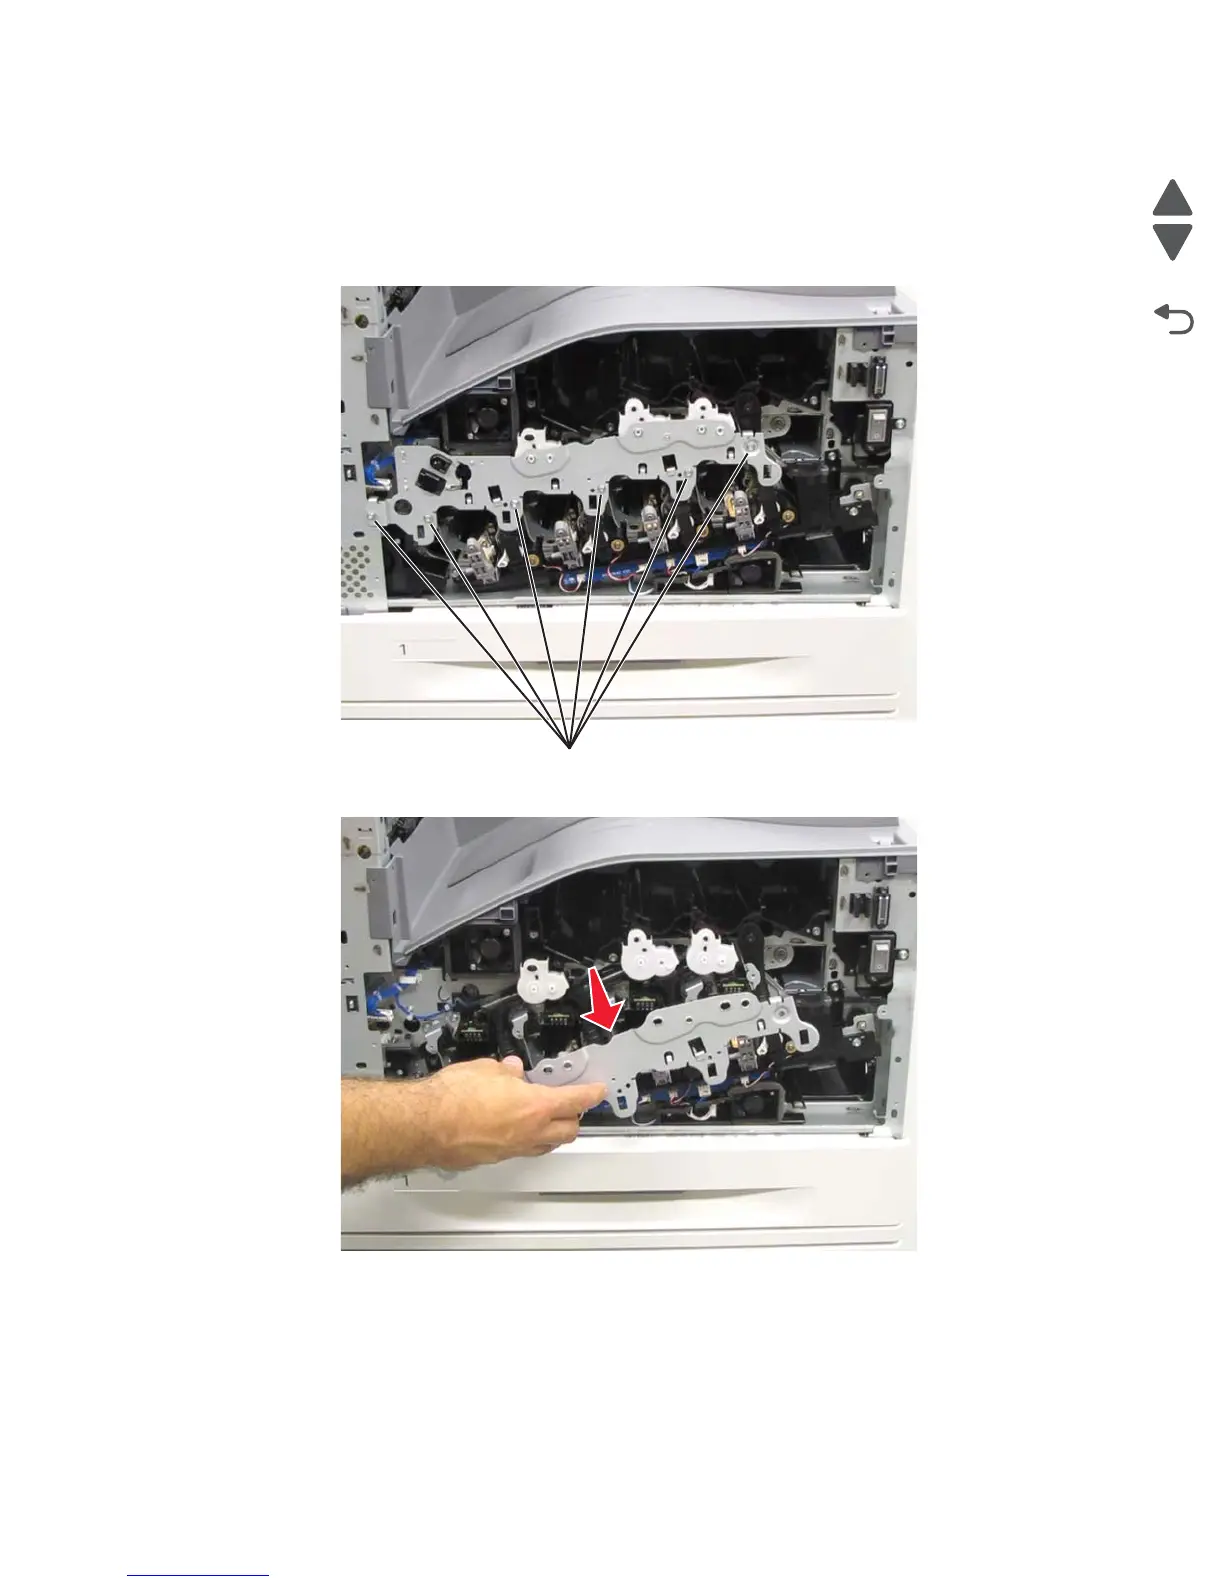
9. Remove the six screws (A) from the inner plate.
10. Remove the inner plate.
Re-installation note: When replacing the inner plate, ensure that the posts on the toner augers are properly
aligned with the plate, or the plate cannot be installed.
Re-installation note: When replacing the inner plate, ensure that the plastic gates on each of the toner augers
are pulled out and lowered to their lowest positions, or the plate cannot be installed.