Repair information 4-133
5058-030
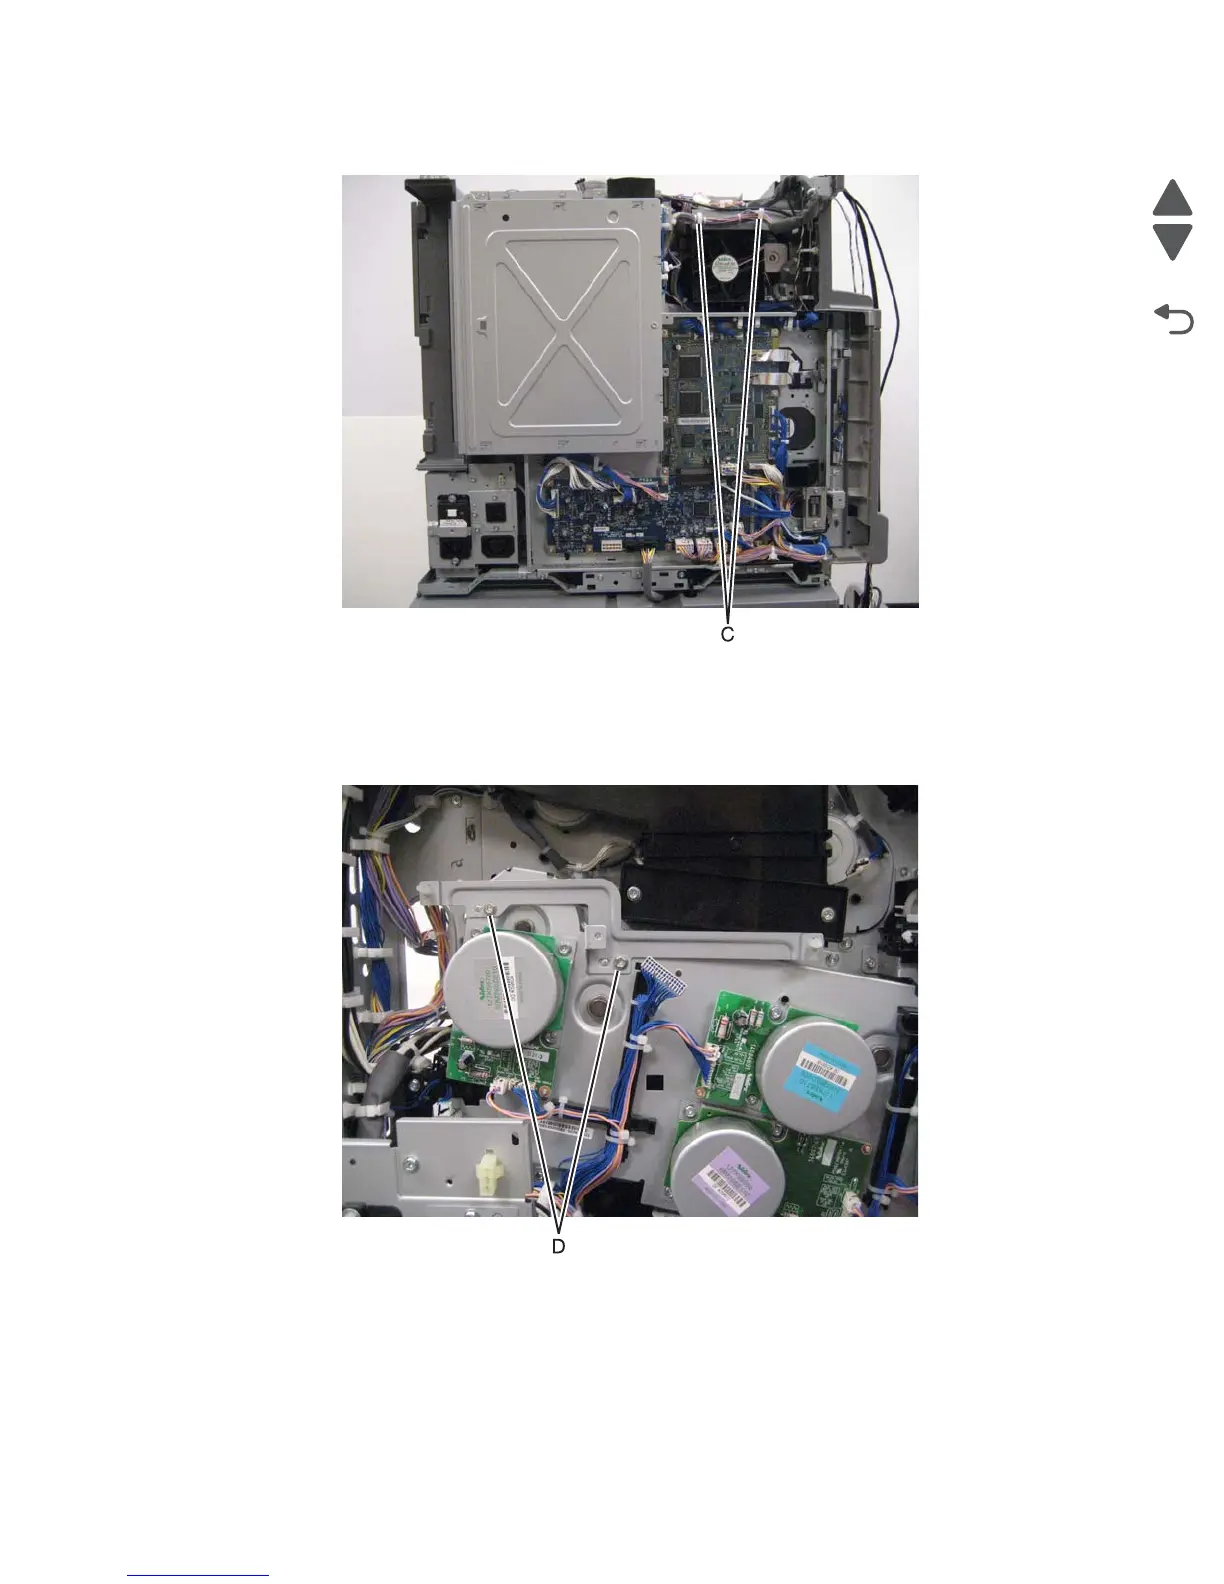
4. Release the two clamps (C) to release the harness.
5. Swing the PCBA door open.
6. Remove the transfer roll HVPS PCBA. See the “Transfer roll HVPS PCBA removal” on page 4-175
section.
7. Remove the developer HVPS PCBA. See the “Developer HVPS PCBA removal” on page 4-69 section.
8. Remove the two screws (D) securing the bracket to the machine.
9. Remove the bracket.
Warning: When disconnecting the two wire harnesses from the motors, make sure that the release hook is
pressed or the connections will be damaged.