EasyManuals Logo

Lexmark C950 Service Manual

Lexmark C950
1014 pages
To Next Page IconTo Next Page
To Previous Page IconTo Previous Page
Page #714 background imageLoading...
Page #714 background image
4-286 Service Manual
5058-030
Go Back
Previous
Next
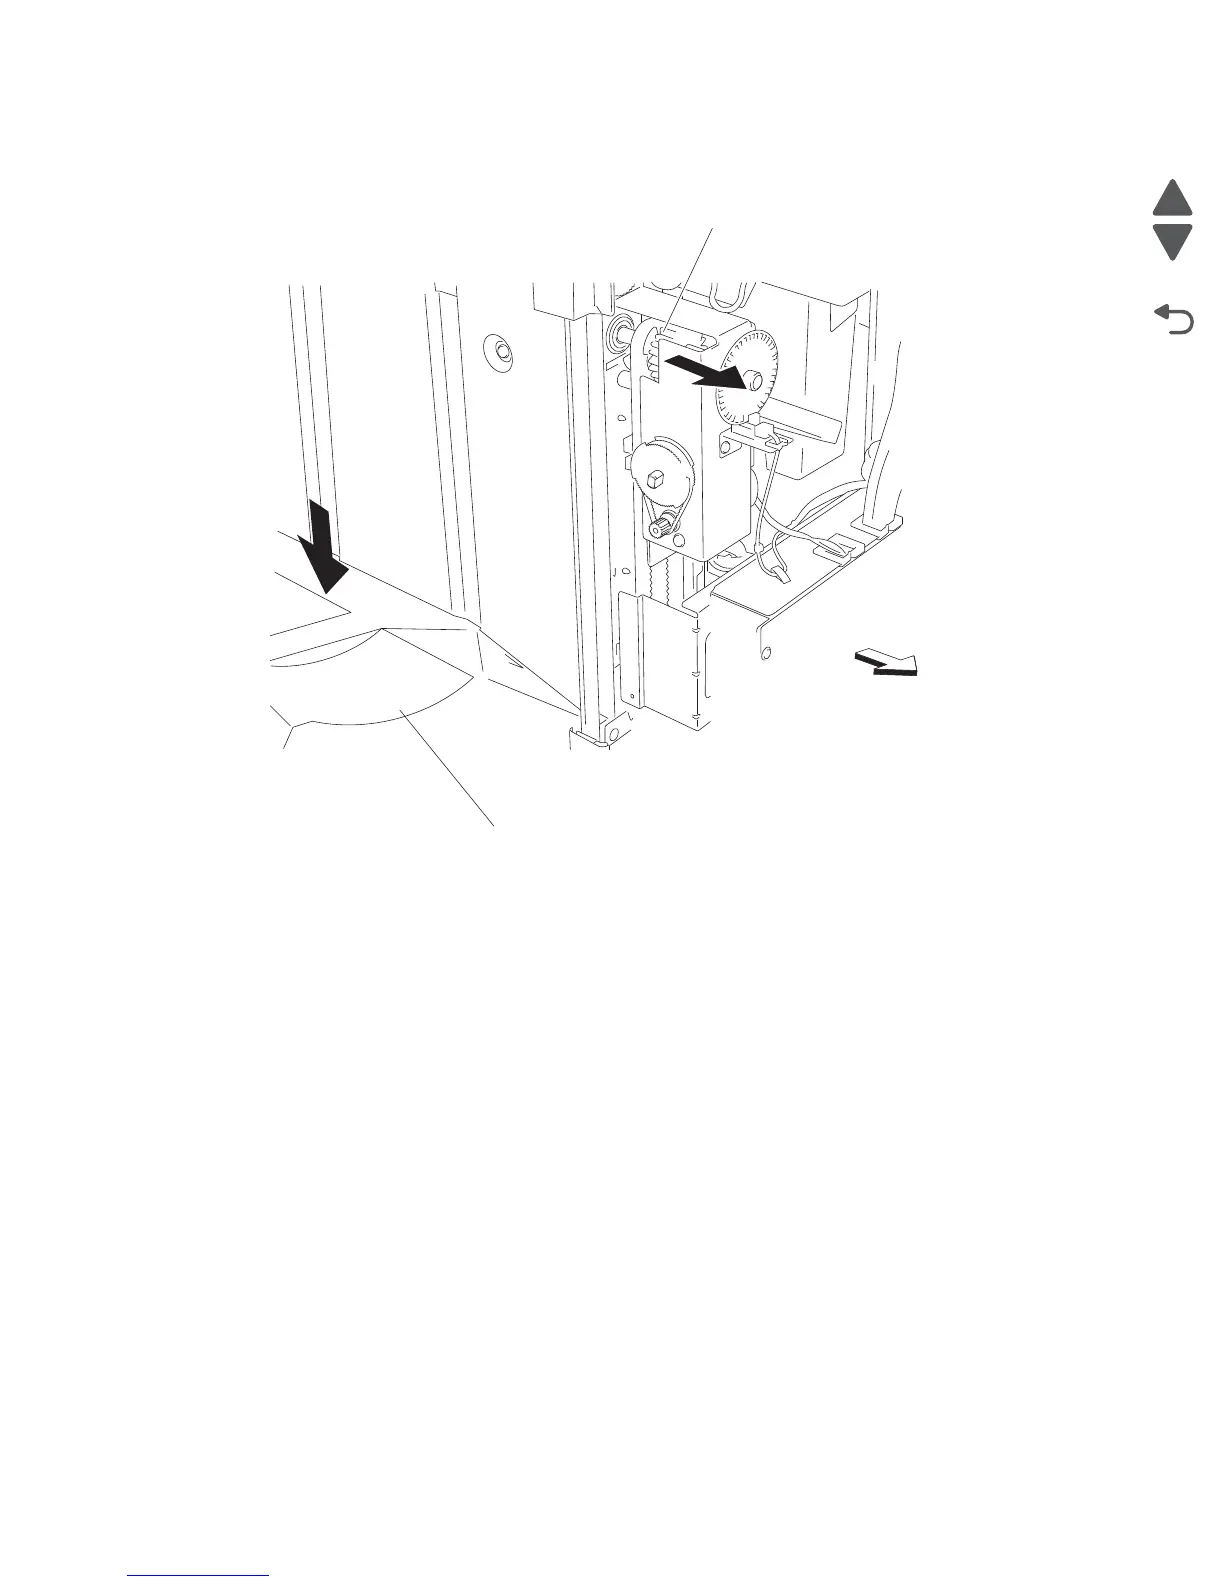
4. Move the stacker bin (B) to its lowest position.
Note: Make sure the stacker bin is at the lowest position before continuing.
5. Remove the two screws securing the bin bracket (C) to the right carriage bracket (D).
6. Remove the spring (E) from the right carriage bracket (D).
7. Remove the screw securing the upper belt clamp (F) to the right carriage bracket (D).
8. Remove the upper belt clamp (F).
9. Remove the right carriage bracket (D) with the finisher right carriage belt assembly (G) from the finisher.
10. Release the hook securing the finisher right carriage belt assembly (G) to the lower belt clamp (H).
11. Remove the finisher right carriage belt assembly (G).
Rear
A
B

Table of Contents

Other manuals for Lexmark C950

Questions and Answers:

Question and Answer IconNeed help?

Do you have a question about the Lexmark C950 and is the answer not in the manual?

Lexmark C950 Specifications

General IconGeneral
Print Resolution1200 x 1200 dpi
Duplex PrintingYes
Processor Speed1.2 GHz
ConnectivityEthernet, USB
Print TechnologyLaser
Print Speed50 ppm
Monthly Duty Cycle300000 pages
Recommended Monthly Page Volume5, 000 - 33, 000 pages
Memory1024 MB
Hard DriveOptional
Output Capacity500 sheets
InterfaceUSB 2.0
Media TypePlain paper, Card stock, Labels, Envelopes, Transparencies
Total Media Capacity5140 sheets
Media SizesLetter, Legal, A4, A5, Executive, Folio, Statement
Operating Systems SupportedWindows, Mac, Linux

Related product manuals