Error Troubleshooting
Xerox Internal Use Only Phaser 7100 Service Manual 2-3
Control Panel Shortcut
Step 3: Find the Cause of the Problem
1. Refer to Messages, Chain Link Codes, and Procedures on page 2-53 procedures to find the cause
of the problem.
2. Refer to Service Diagnostics on page 2-14 to check the printer and optional components.
3. Refer to Chapter 7 Plug/Jack Locators on page 7-13 to locate test points.
4. Take voltage readings as instructed in the appropriate troubleshooting procedure.
Step 4: Correct the Problem
1. Refer to Chapter 5 Parts List on page 5-1 to locate a part number.
2. Refer to Chapter 4 Service Parts Disassembly on page 4-1 to replace the part.
Step 5: Final Checkout
1. Test the printer to be sure you have corrected the initial problem and there are no additional
problems present.
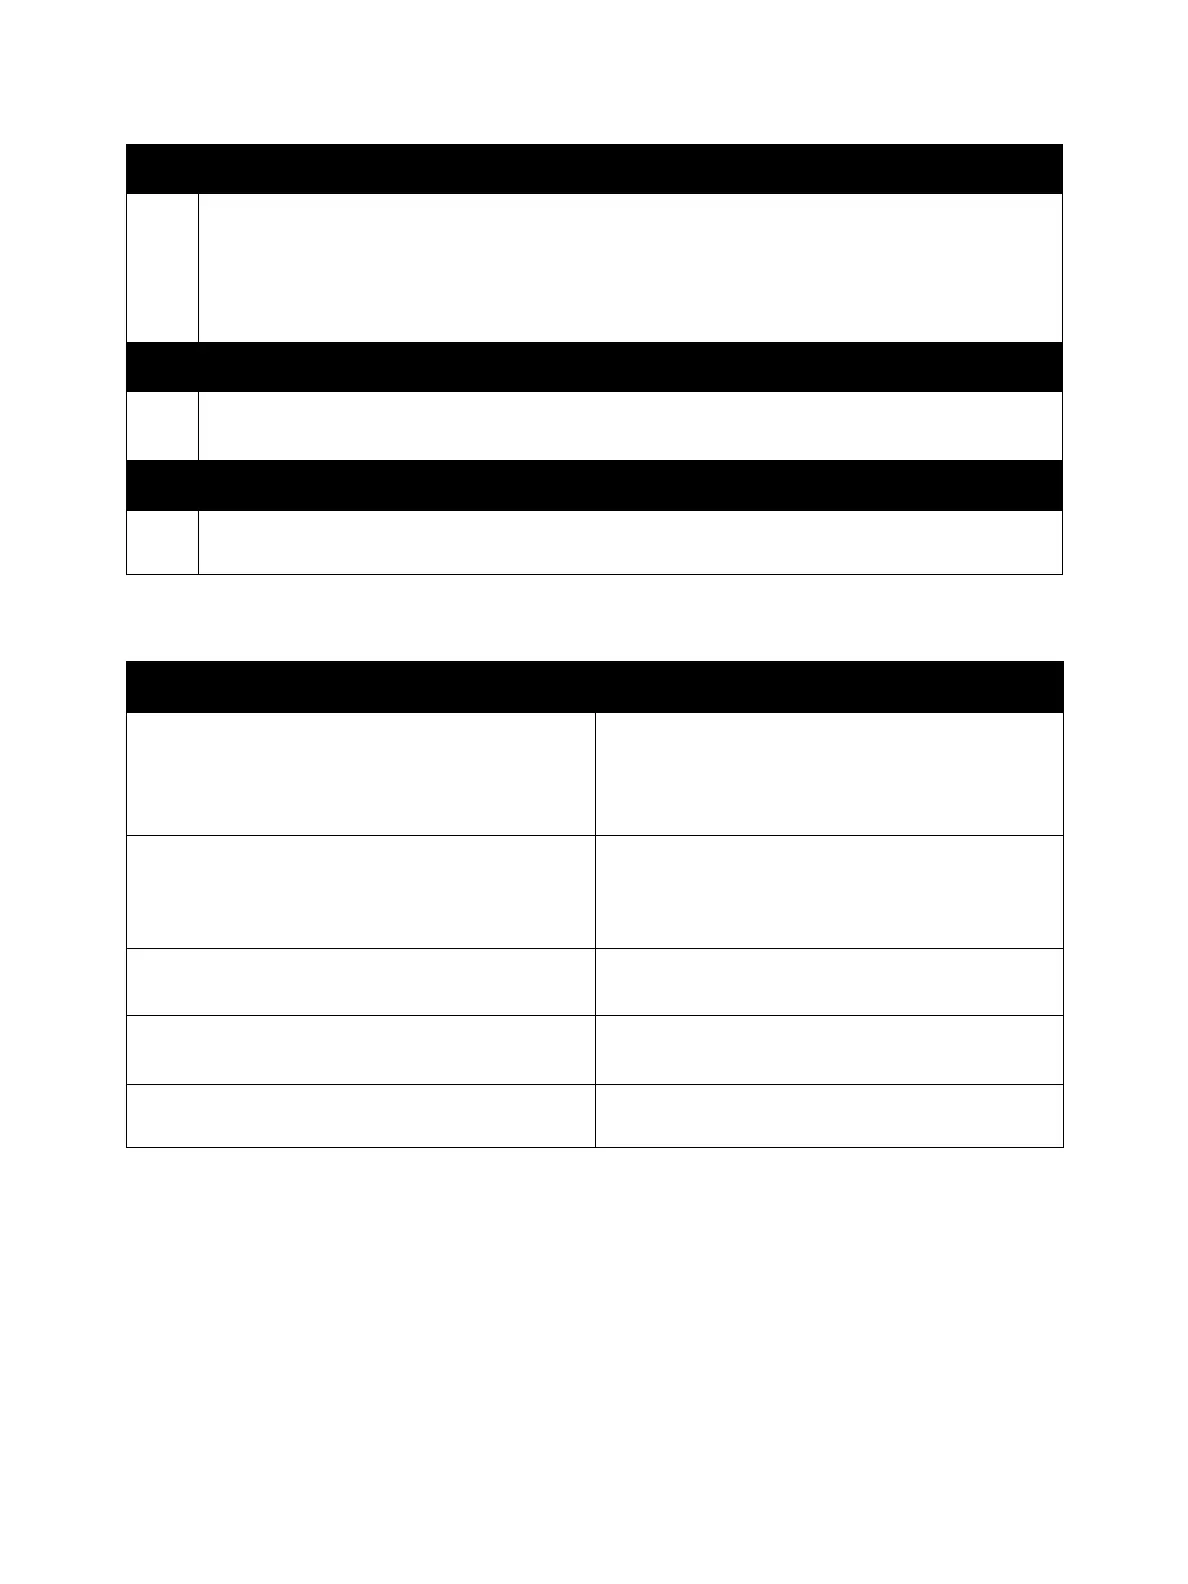
Function Control Panel Buttons
Enter/ Exit Service Diagnostics
(Service Diagnostics Menu Map on page 2-15)
1. Press and hold Right Arrow.
1. Press and hold Left Arrow.
2. Release the buttons.
3. Press Online within 3 seconds.
Enter/ Exit Customer Support Engineer (CSE) Menu
(to access additional reports and features, Phaser
7100 Printer Menu (Customer Support Engineer) on
page 2-4)
1. Press Up Arrow three times.
2. Press Menu.
Display Serial Number Menu 1. Press Down Arrow + OK simultaneously.
2. Serial Number is displayed on the Control Panel.
Reset Counter 1. Press Down Arrow + OK simultaneously.
2. Press Down Arrow to find Reset Counter.
Long Boot Diagnostics 1. Turn On the printer power while pressing Energy
Saver + OK simultaneously.
 Loading...


