Image Quality
Xerox Internal Use Only Phaser 7100 Service Manual 3-17
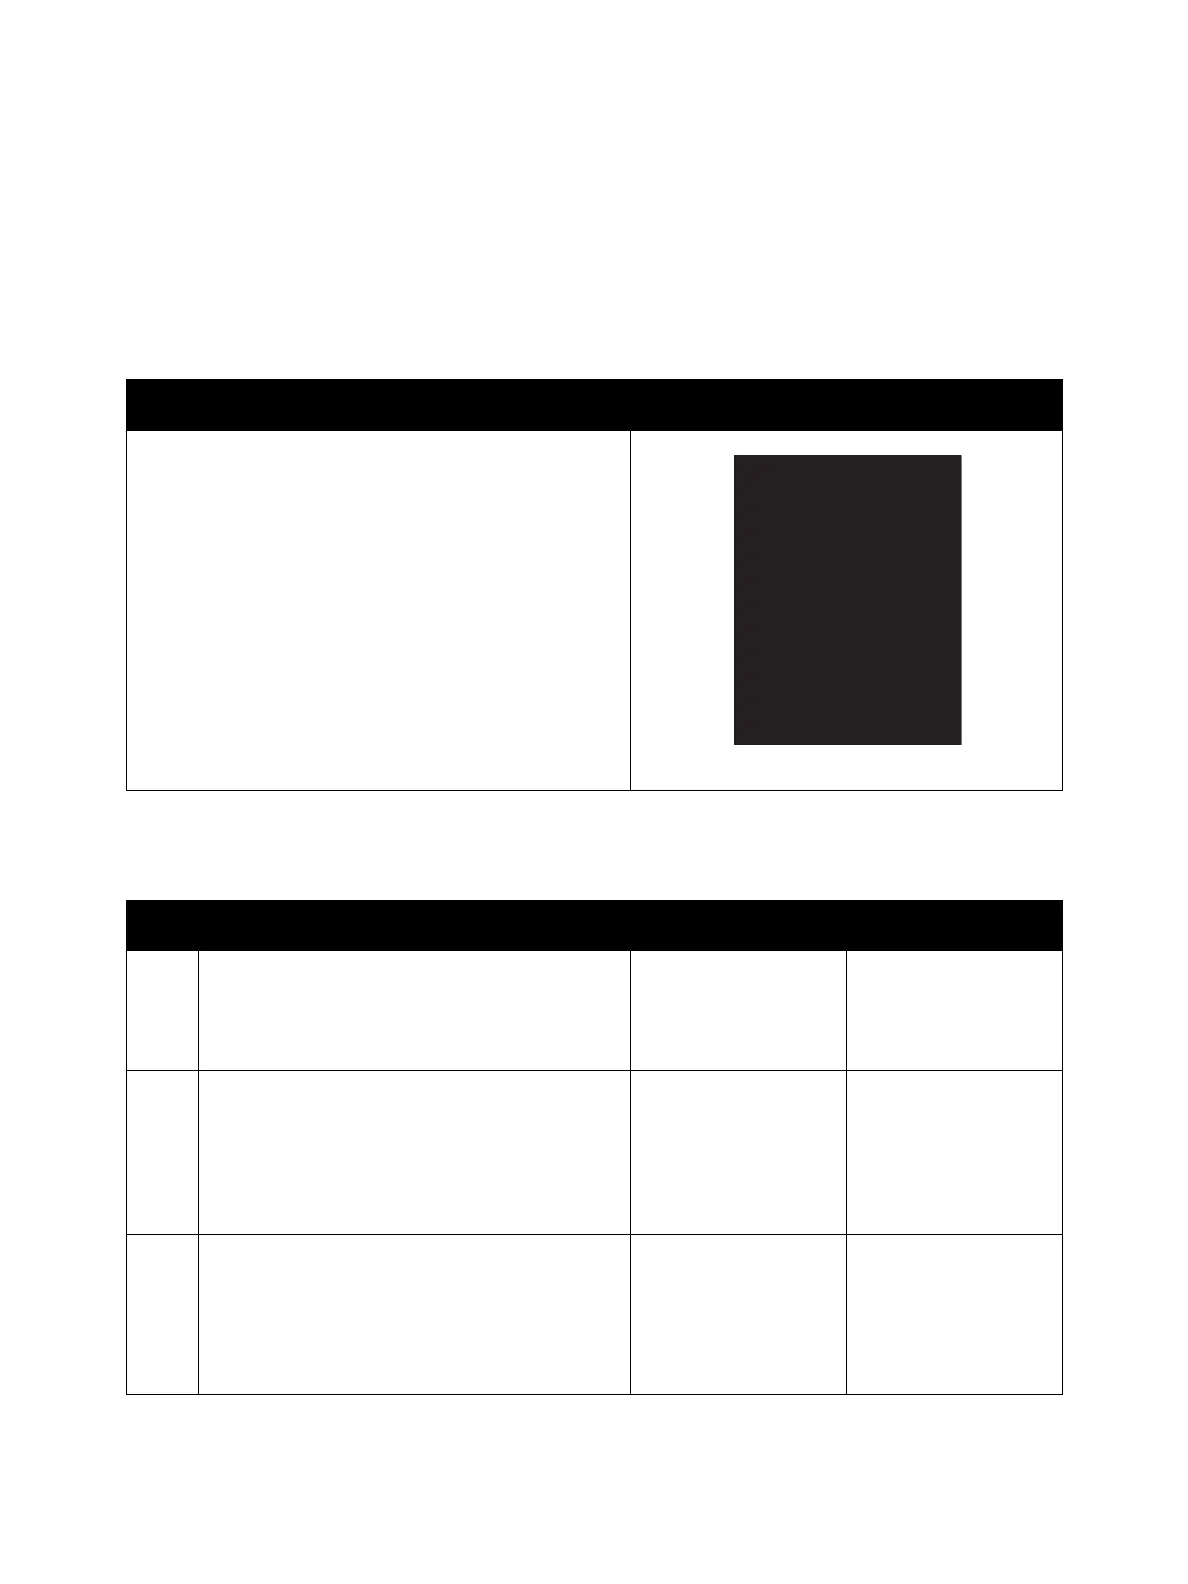
IQ-3 Black Print
Part of the image or the entire image is black.
Initial Action
• Check the paper transfer path is free of paper dust and debris.
Troubleshooting Reference
Applicable Parts Example Print
• Imaging Unit (Y/ M/ C), PL 6.1.1
• Imaging Unit (K), PL 6.1.4
• ROS Assembly (Laser Unit), PL 7.1.1
• MCU PWB, PL 12.1.15
• HVPS1 PWB, PL 12.2.15
Troubleshooting Procedure
Step Actions and Questions Yes No
1. Check for the color that is causing the problem.
Obtain a sample for the color problem or perform
color print.
Is the problem only with a particular color?
Go to step 2.
Take action only for
the applicable color.
Go to step 2.
Take action without
color restriction.
2. Check the Imaging Units (Y/ M/ C/ K).
Are the Imaging Units (Y/ M/ C/ K) installed
properly, with no deformation and
contamination at the contact points and they
are in contact with the left and right Guides?
Go to step 3. Inspect and clean the
contact points.
Reinstall the Imaging
Units (REP 6.0
Imaging Unit (Y/ M/ C/
K) on page 4-121).
3. For color, switch the Imaging Unit (Y/ M/ C).
Does the problematic image appear in the same
color as it did so far?
Go to step 4. Replace the Imaging
Unit (REP 6.0 Imaging
Unit (Y/ M/ C/ K) on
page 4-121) of the
color that is causing
the problem.

 Loading...


