Image Quality
Xerox Internal Use Only Phaser 7100 Service Manual 3-39
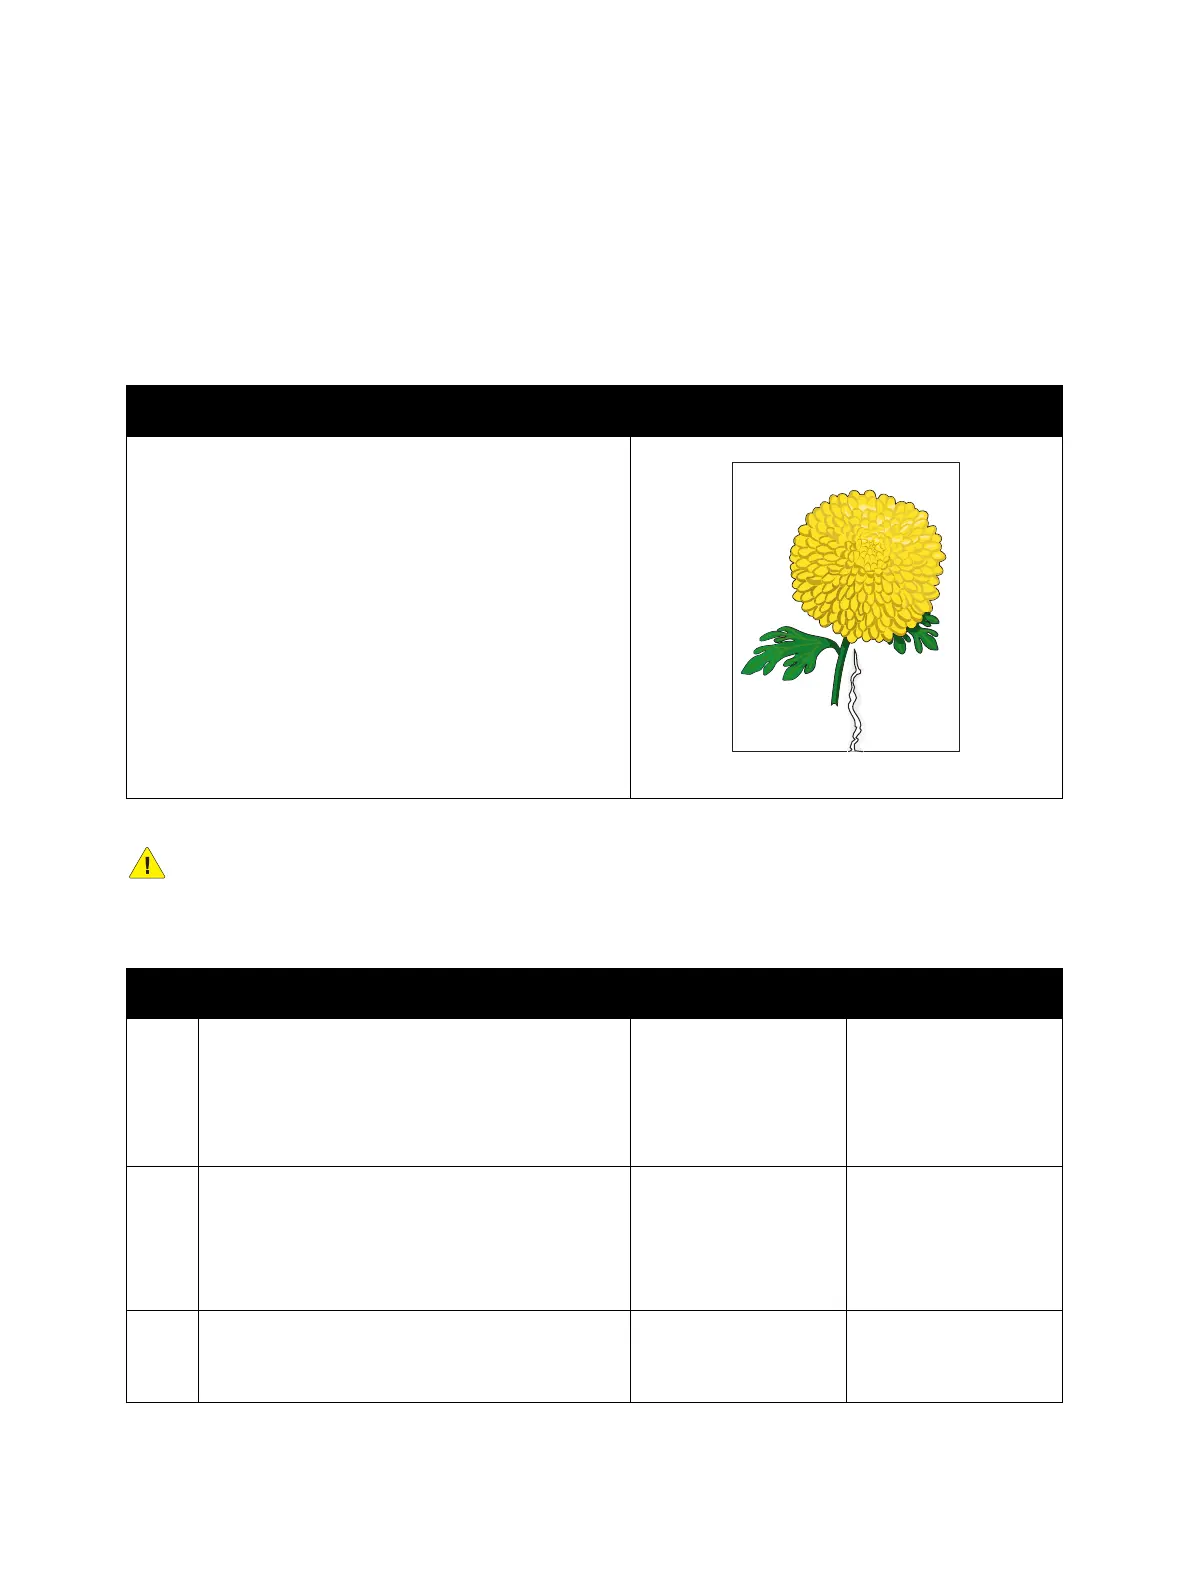
IQ-13 Damaged Paper
Paper comes out from the printer wrinkled, folded, or worn-out.
Initial Action
• Check the paper transfer path is free of paper dust and debris.
WARNING: The Fuser may be hot. Turn the printer power Off and allow at least 30 minutes for
the Fuser to cool before removing the Fuser.
Troubleshooting Reference
Applicable Parts Example Print
• Tray 1 Feed Roller Kit, PL 2.2.99
• Transfer Roller (2nd BTR), PL 4.3.18
• Bypass Tray Feed Roller, PL 4.4.14
• Registration Chute Assembly, PL 5.1.1
• Fuser Unit, PL 10.1.1
• Tray 2/ 3/ 4 Feed Roller Kit, PL 15.2.99
Troubleshooting Procedure
Step Actions and Questions Yes No
1. Check the paper for correct placement.
Remove the paper Tray, align the Guides, and
reseat the paper.
Install the paper Tray and perform test print.
Does the image print normally?
Troubleshooting
complete.
Go to step 2.
2. Check for moisture effect on the paper.
Load a freshly opened (or one that has been
sealed in moisture controlled environment)
recommended paper and perform test print.
Is the image printed normally?
Troubleshooting
complete.
Go to step 3.
3. Check the Paper Type settings.
Does the printed paper match the Paper Type
that is set?
Go to step 4. Set the correct Paper
Type (Adjusting Paper
Type on page 6-18).

 Loading...


