Service Parts Disassembly
Xerox Internal Use Only Phaser 7100 Service Manual 4-115
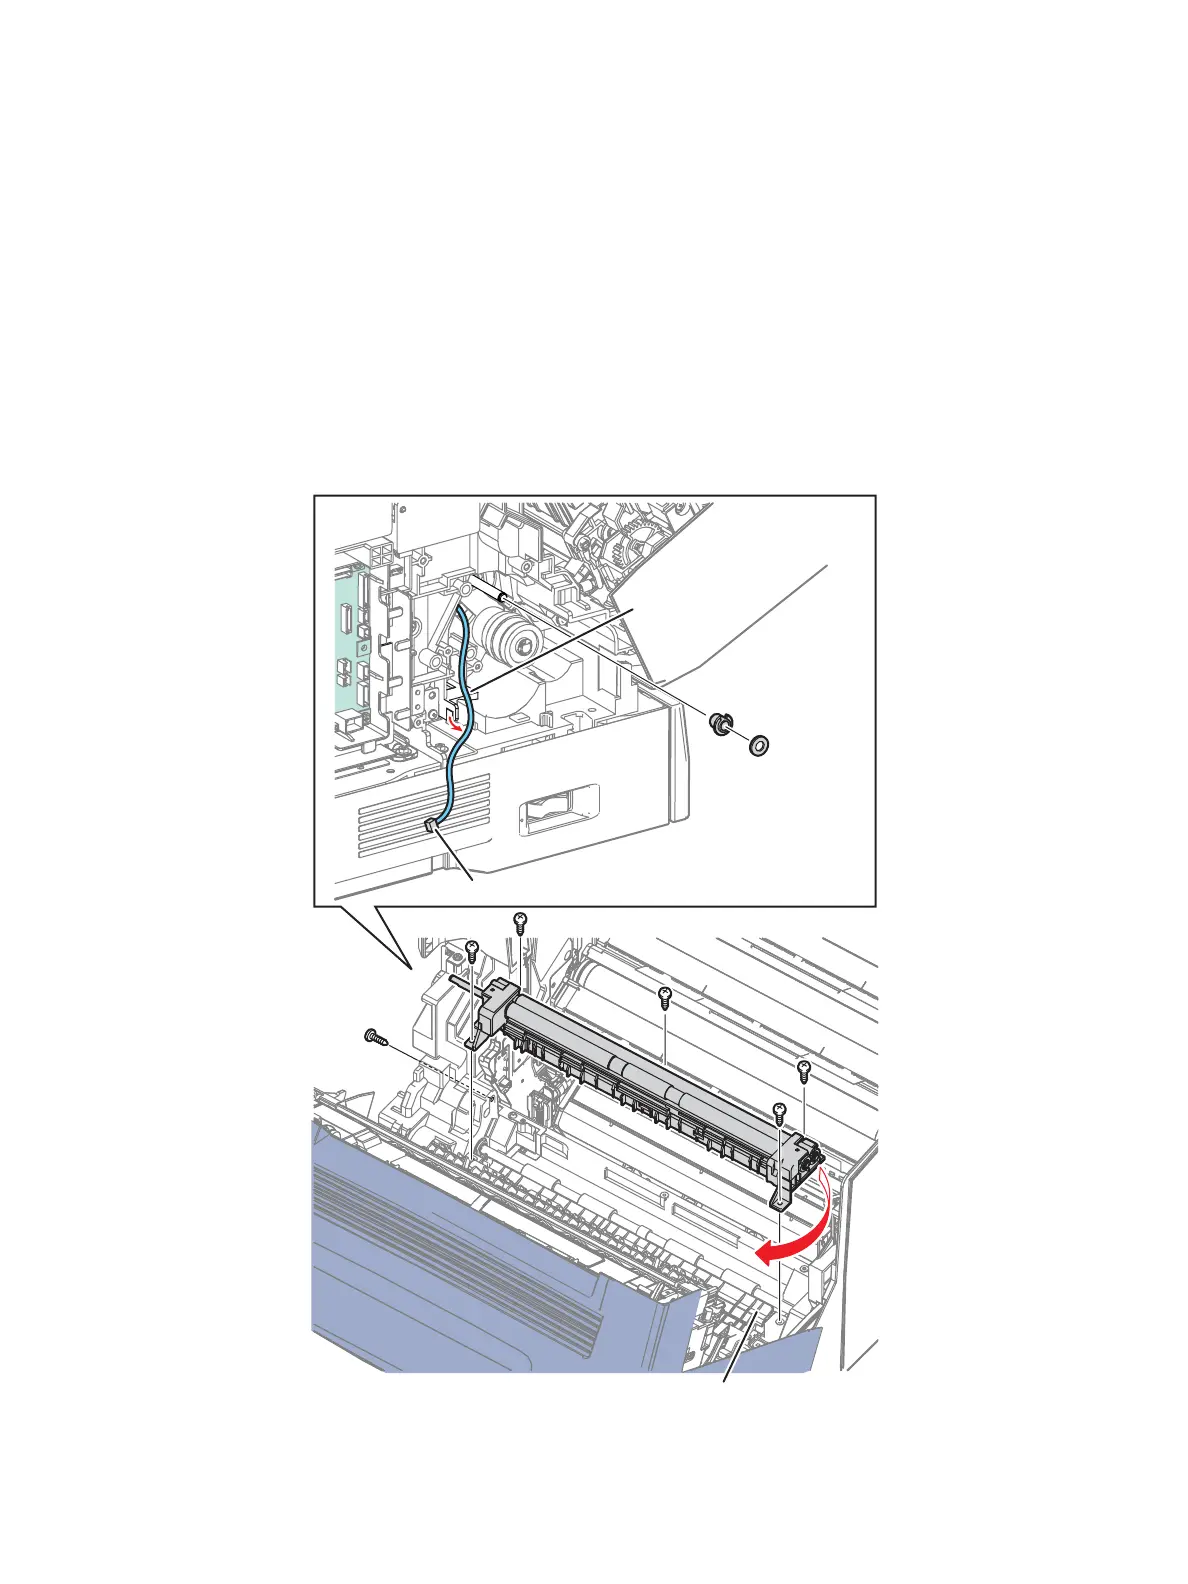
Note: P/J473 has been disconnected in the Paper Handling Drive Assembly removal procedure.
8. Remove the Washer (PL 5.1.13) from the shaft of the Registration Clutch Assembly.
9. Remove the Registration Bearing (PL 5.1.12) that secures the Shaft of the Registration Chute
Assembly.
10. Release the wiring harness from the Harness Guide.
11. Remove 6 screws (silver, tapped, 10 mm) that secure the Registration Chute Assembly to the
printer.
12. Open the Turn Swing Chute.
13. Release the 2 bosses on the left and right of the Registration Chute Assembly, move the
Registration Chute Assembly towards the front right, while lifting the Registration Chute to
remove.
s7100-120
Turn Swing Chute
Harness Guide
P/J473

 Loading...


