Error Troubleshooting
Phaser 7100 Service Manual Xerox Internal Use Only2-20
8. Press Right Arrow to display the 0 Reset run instruction screen.
9. Press OK to perform the procedure.
10. After the process has completed, an “
*
” is displayed on the right side of the DC menu.
11. Press Menu to return to the Diagnostics Preventive Diag screen.
Display Spec Life
1. Enter Service Diagnostics menu (Entering Service Diagnostics on page 2-14).
2. The Preventive Diag menu appears.
3. Press Right Arrow and navigate to Preventive Diag DC122 SDHistory.
4. Press Down Arrow and navigate to Preventive Diag DC135 HFSI.
5. Press Right Arrow and navigate to DC135 HFSI ResetCurrentVal.
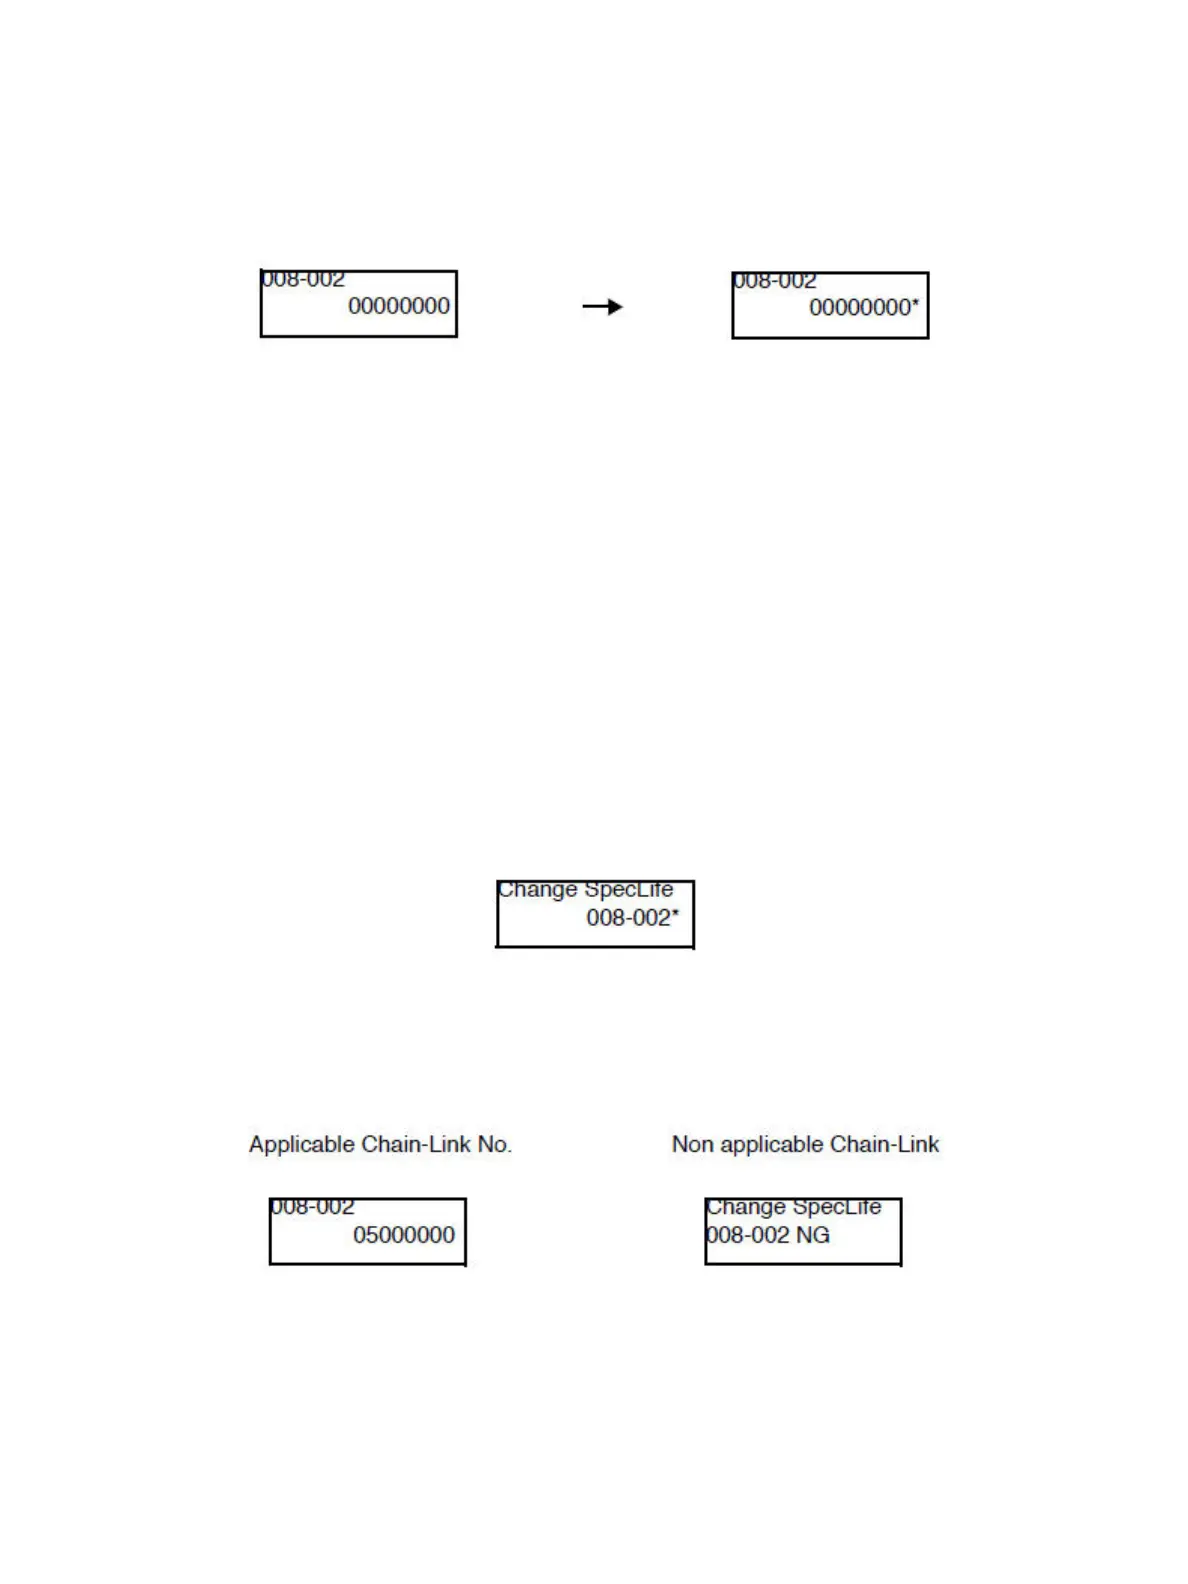
6. Press Down Arrow and navigate to DC135 HFSI Change SpecLife.
7. Press the Right Arrow button to display Change SpecLife 000-000.
Notes:
• Use Left/ Right Arrow to move the cursor and Up/ Down Arrow to change the number.
• When the cursor is at the left end of the Chain-Link Number, pressing Left Arrow returns
to the DC135 HFSI - Change Spec Life screen at the previous level.
8. Press OK to confirm the Chain-Link Number. An “
*
” appears on the right side of the changed value.
9. Press OK to search the Chain-Link No.
– If it is applicable, the current counter value appears.
– If the input Chain-Link Number is not applicable, the NG screen appears. In this case, return
to the Chain-Link Number input screen.
10. Press Menu to return to the Diagnostics Preventive Diag screen.

 Loading...


