Service Parts Disassembly
Xerox Internal Use Only Phaser 7100 Service Manual 4-133
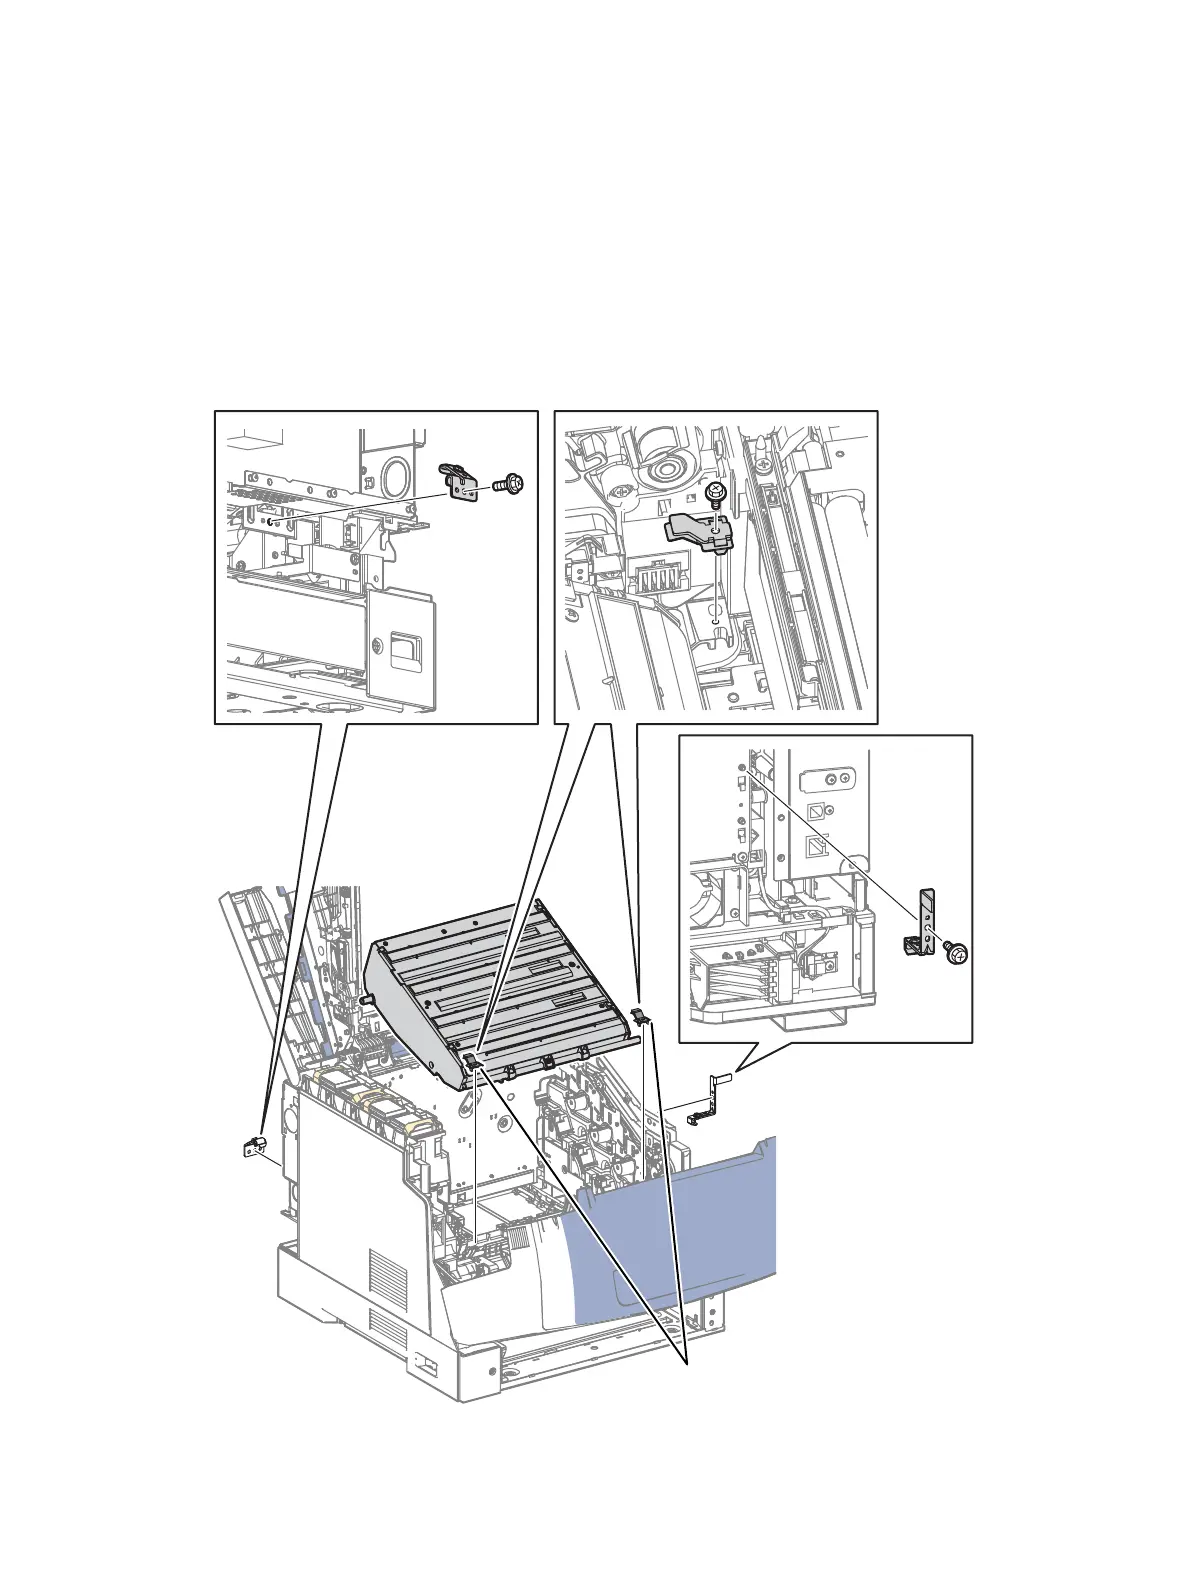
21. Remove one screw (silver, 6 mm) that secures the Left Rear Spring Assembly on the rear of the
printer and remove the Rear Left Spring Assembly.
22. Remove one screw (silver, 6 mm) that secures the Right Rear Spring Assembly on the right side of
the printer and remove the Right Rear Spring Assembly.
23. Remove 2 screws (silver, 6 mm) that secure the 2 Front Springs and remove the Front Springs.
Note: When removing the Laser Unit in the following step, make sure to move the wiring
harnesses in the rear to prevent from damaging the harnesses.
24. Lift and remove the Laser Unit from the printer.

 Loading...


