Error Troubleshooting
Phaser 7100 Service Manual Xerox Internal Use Only2-50
DC301 NVM Initialize
The DC301 NVM Initialize routine allows the user to reset the NVM value to default value of all
applicable NVM within a specified service or module.
“Account” and “Auditron” are displayed in the initialization area only when the authentication mode is
set to Auditron.
CAUTION: The functions of the menus described here have great effect on the print quality and
operation of the printer. Therefore, do not change the settings unless specified otherwise in this
manual. Use the NVM Initialization procedure as a last option when servicing the Phaser 7100.
Notes:
• The NVM Initialize does not initialize settings related to the Billing Counter, M/C Serial
No., Market, HSFI, Shutdown History, and Jam/ Fail Counter. The Shutdown History and
Jam/ Fail Counter are cleared during Diag Exit when Exit (Clear Log) is specified.
• When NVM Initialize is performed, all the NVM values will return to their default values
and revert to the state when the printer was first installed.
1. Enter Service Diagnostics menu (Entering Service Diagnostics on page 2-14).
2. Press Down Arrow and navigate to Diagnostics Adjustment.
3. Press Right Arrow and navigate to Adjustment DC131 NVM R/W.
4. Press the Down Arrow and navigate to Adjustment DC301 NVM Init.
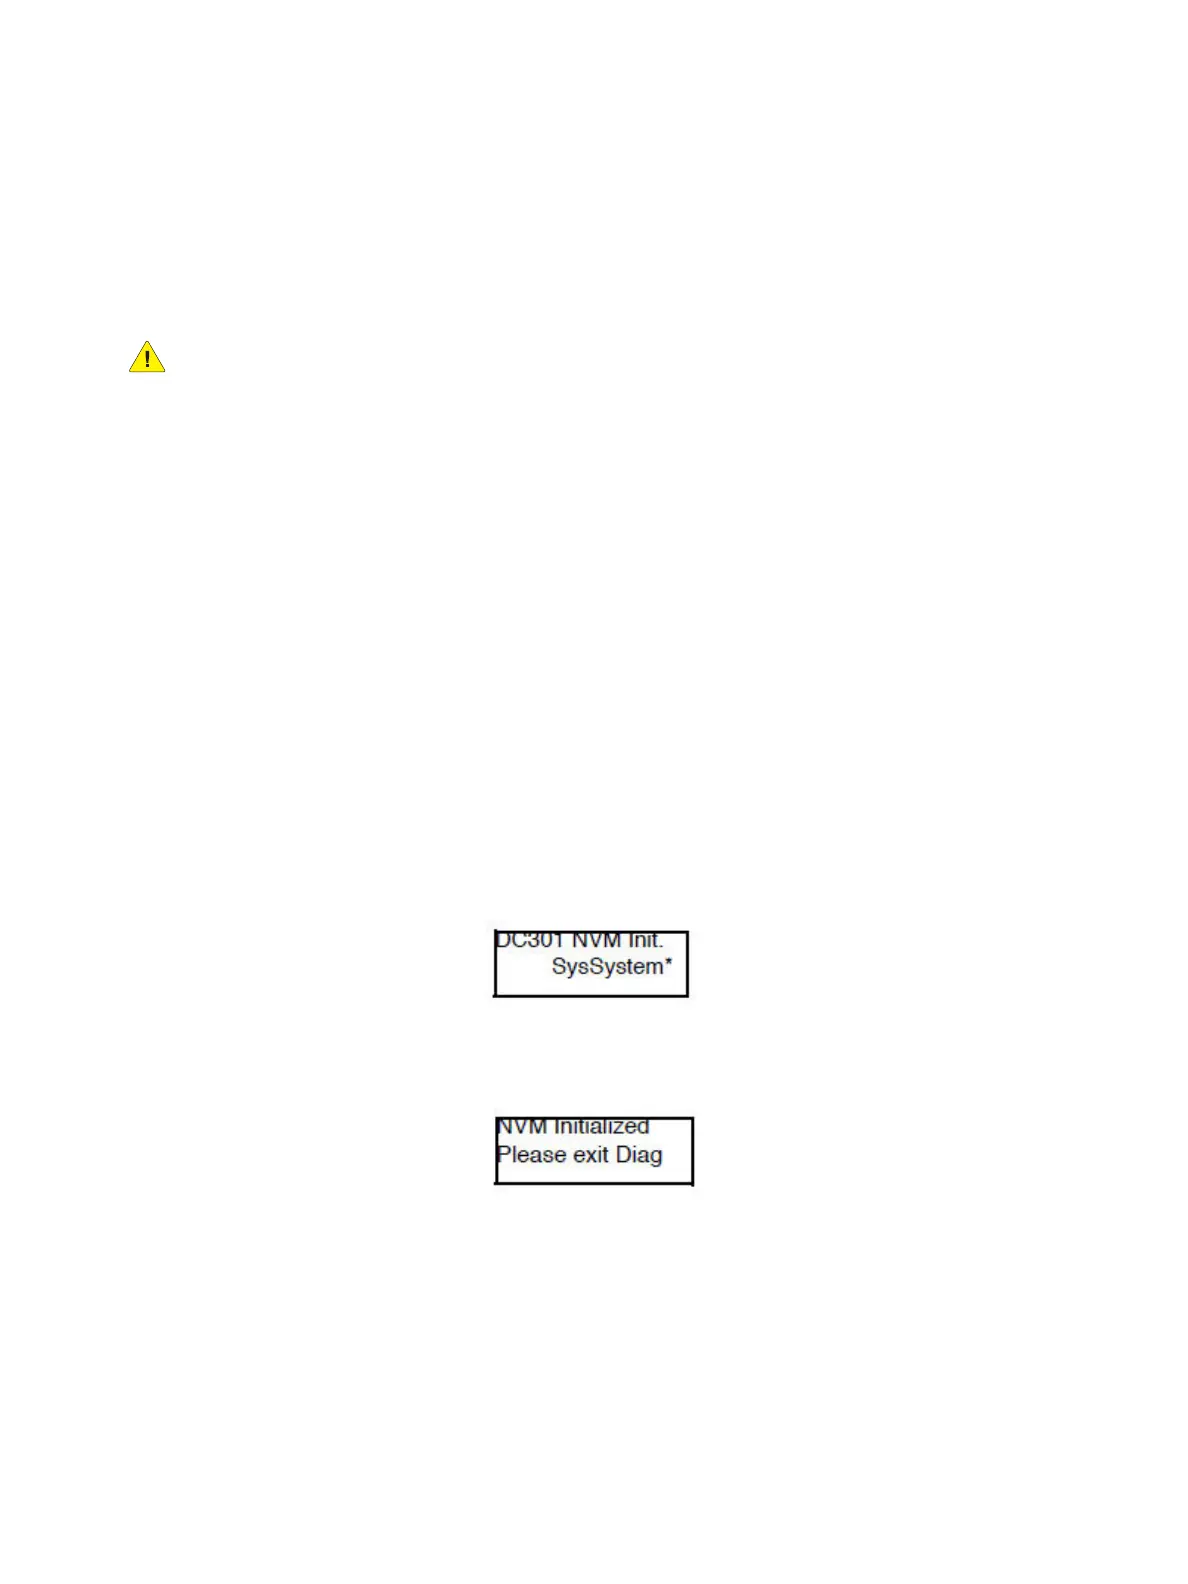
5. Press the Right Arrow to display the DC301 NVM Init. - SysSystem screen.
• To initialize the whole SYS area, perform steps 6 and 7.
• To separately initialize the items under the SYS area, perform steps 8 to 11.
6. Press OK to initialize the SYS area. After the operation, an “
*
” appears on the right side of the
display.
7. Press Left Arrow or the Menu to display the NVM Initialized - Please exit Diag screen, which
prompts to exit the Diag.

 Loading...


