AKD User Guide | 4 Connecting the Drive
4.5 Check Communications
If you have more than one drive connected to your network, then you can confirm that the new drive is connected
to the correct network as follows:
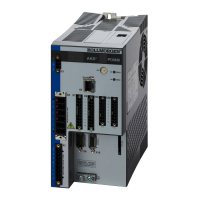
1. A two-digit, seven-segment LED display is located on the front of the drive near the top. If you can see the
display, then press the Blink Display button on the drive and drive will flash the seven-segment display
on and off.
2. If it is difficult to see the display, then you can check the MAC address in the WorkBench list against the
MAC address on the label of the drive. The drive is connected if the numbers displayed in WorkBench
match the numbers printed on the label on the side of the drive.
4.6 Connect To Another Drive
This window allows you to change the drive that you are using.
Button or Dialog Box Description
Name
Displays the drive name. By default the name is "No_Name". You can
change the name by connecting to the drive and navigating to the top item
in the navigation tree.
Status
Only one user at a time can connect to a drive. If someone else is con-
nected to the drive, it is Busy. If Free is displayed, then you can connect.
Blink
Clicking Blink forces the display on the selected drive to alternate between
the whole display being on and the whole display being off for 20 seconds.
MAC Address
Displays the MACaddress of the drive. The MAC address is unique and is
also printed on the label on the side of the drive.
IP Address
Displays the IPaddress of the drive. You can enter a raw IP address
(1.2.3.4) or a DNS name. You can optionally specify an alternate port
number to the default (port 23) by appending it (e.g. 1.2.3.4:1000).
Specify Address
If your drive does not appear in the list, you can enter its IP address (e.g.
1.2.3.4) or a DNS name. You can optionally specify an alternate port
number to the default port 23) by appending it (e.g. 1.2.3.4:1000).
36 Kollmorgen | December 2010

 Loading...