1-50 BASIC OVERVIEW INTRODUCCIÓN GENERAL
13-2 Adjusting the Chucking Pressure
Ajuste de la presión de amarre del plato
Function selection key (SETTING)
→ [OPE. PANEL] → [OPE. PANEL] → Screen
Tecla de selección de función (SETTING)
→ [PANEL OPER.] → [PANEL OPER.] → Pantalla
If necessary, select the chucking direction
setting (O.D. or I.D.) using the OPERATION
PANEL screen.
NOT A
En caso necesario, seleccione el ajuste de dirección
de plato (D.E. o D.I.) utilizando la pantalla del pupitre
de mando.
1.
Turn the chucking pressure adjustment handle lock
nut to the left to loosen.
Gire hacia la izquierda la tuerca de bloque volante de
ajuste de la presión de agarre para aflojarlo.
2.
While reading the pressure gage, adjust the chucking
pressure by rotating the chucking pressure
adjustment handle.
Mientras lee el indicador de presión, ajuste la presión
de agarre girando el volante de ajuste de la presión
de agarre.
3.
Using the footswitch, open and close the chuck 2 or 3
times until the required pressure is obtained.
Utilizando el pedal, abra y cierre el plato 2 ó 3 veces
hasta obtener la presión requerida.
4.
Turn the chucking pressure adjustment handle lock
nut to the right to tighten.
Gire hacia la derecha la tuerca de bloque del volante
de ajuste de la presión de agarre para apretarlo.
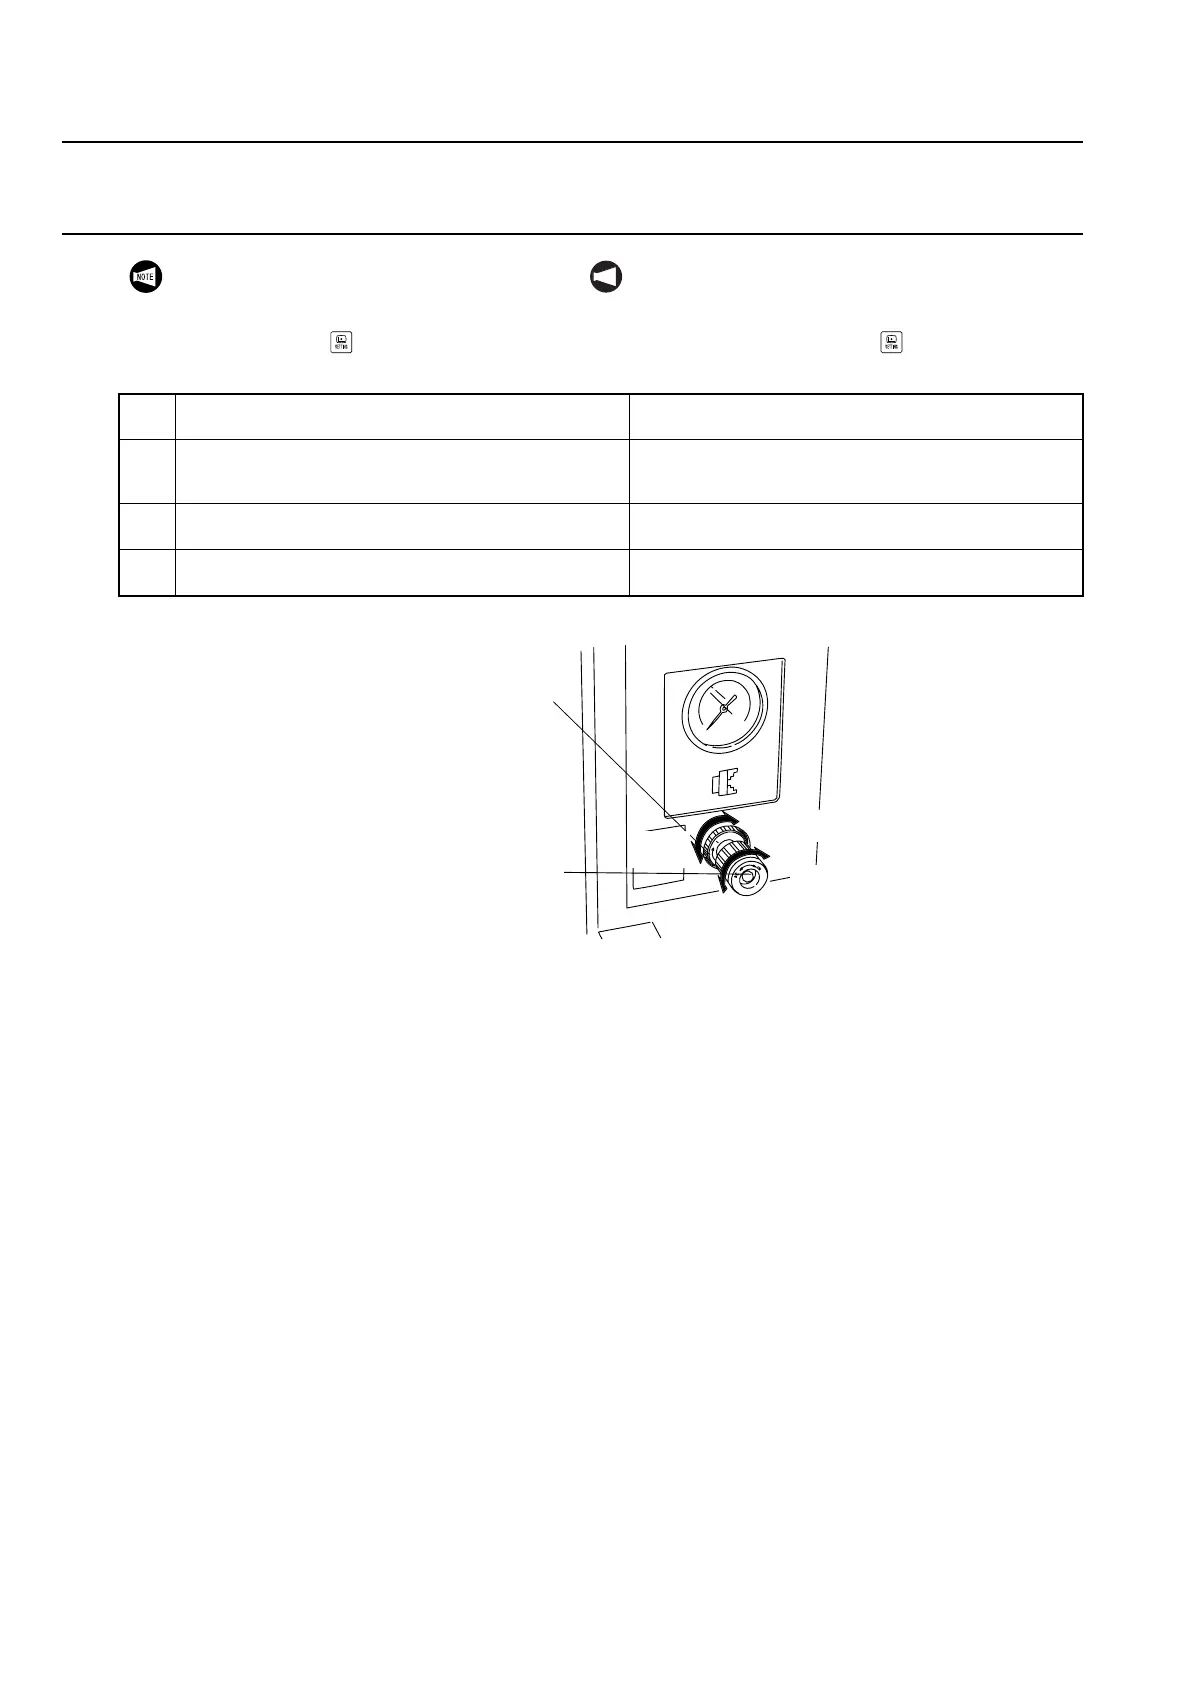
Chucking Pressure Adjustment Handle
Volante de ajuste de la presión de agarre
Tighten
Apretar
Decrease
Reducción
Increase
Aumento
Lock Nut
Tuerca de bloqueo
Loosen
Aflojar
 Loading...