1-72 BASIC OVERVIEW INTRODUCCIÓN GENERAL
15-3-7 Setting Clamp Position Data for the Programmable Tailstock
Configuración de los datos de posición de sujeción para el contrapunto programable
The clamp position of the tailstock body is written to
the data table (retained if power is turned off) and is
updated automatically as the tailstock is moved.
If the memory area is cleared or joint pin operates
erroneously to connect the tailstock and the saddle, it
is necessary to set the clamp position data correctly.
La posición de bloqueo del cuerpo del contrapunto se registra
en la tabla de datos (se almacena incluso durante una desco-
nexión de la corriente) y se actualiza automáticamente a
medida que se desplaza dicho contrapunto.
En el supuesto de que se haya borrado el área de la memoria
o que el pasador de unión conecte de forma errónea el contra-
punto y el carro, es preciso establecer correctamente los
datos de posición de bloqueo.
The clamp position data must be set correctly.
If the setting is incorrect, the tailstock cannot
be connected with the saddle correctly.
NOT A
Los datos de posición de sujeción han de establecerse
correctamente. Si la configuración es incorrecta, el
contrapunto no puede conectarse al carro
correctamente.
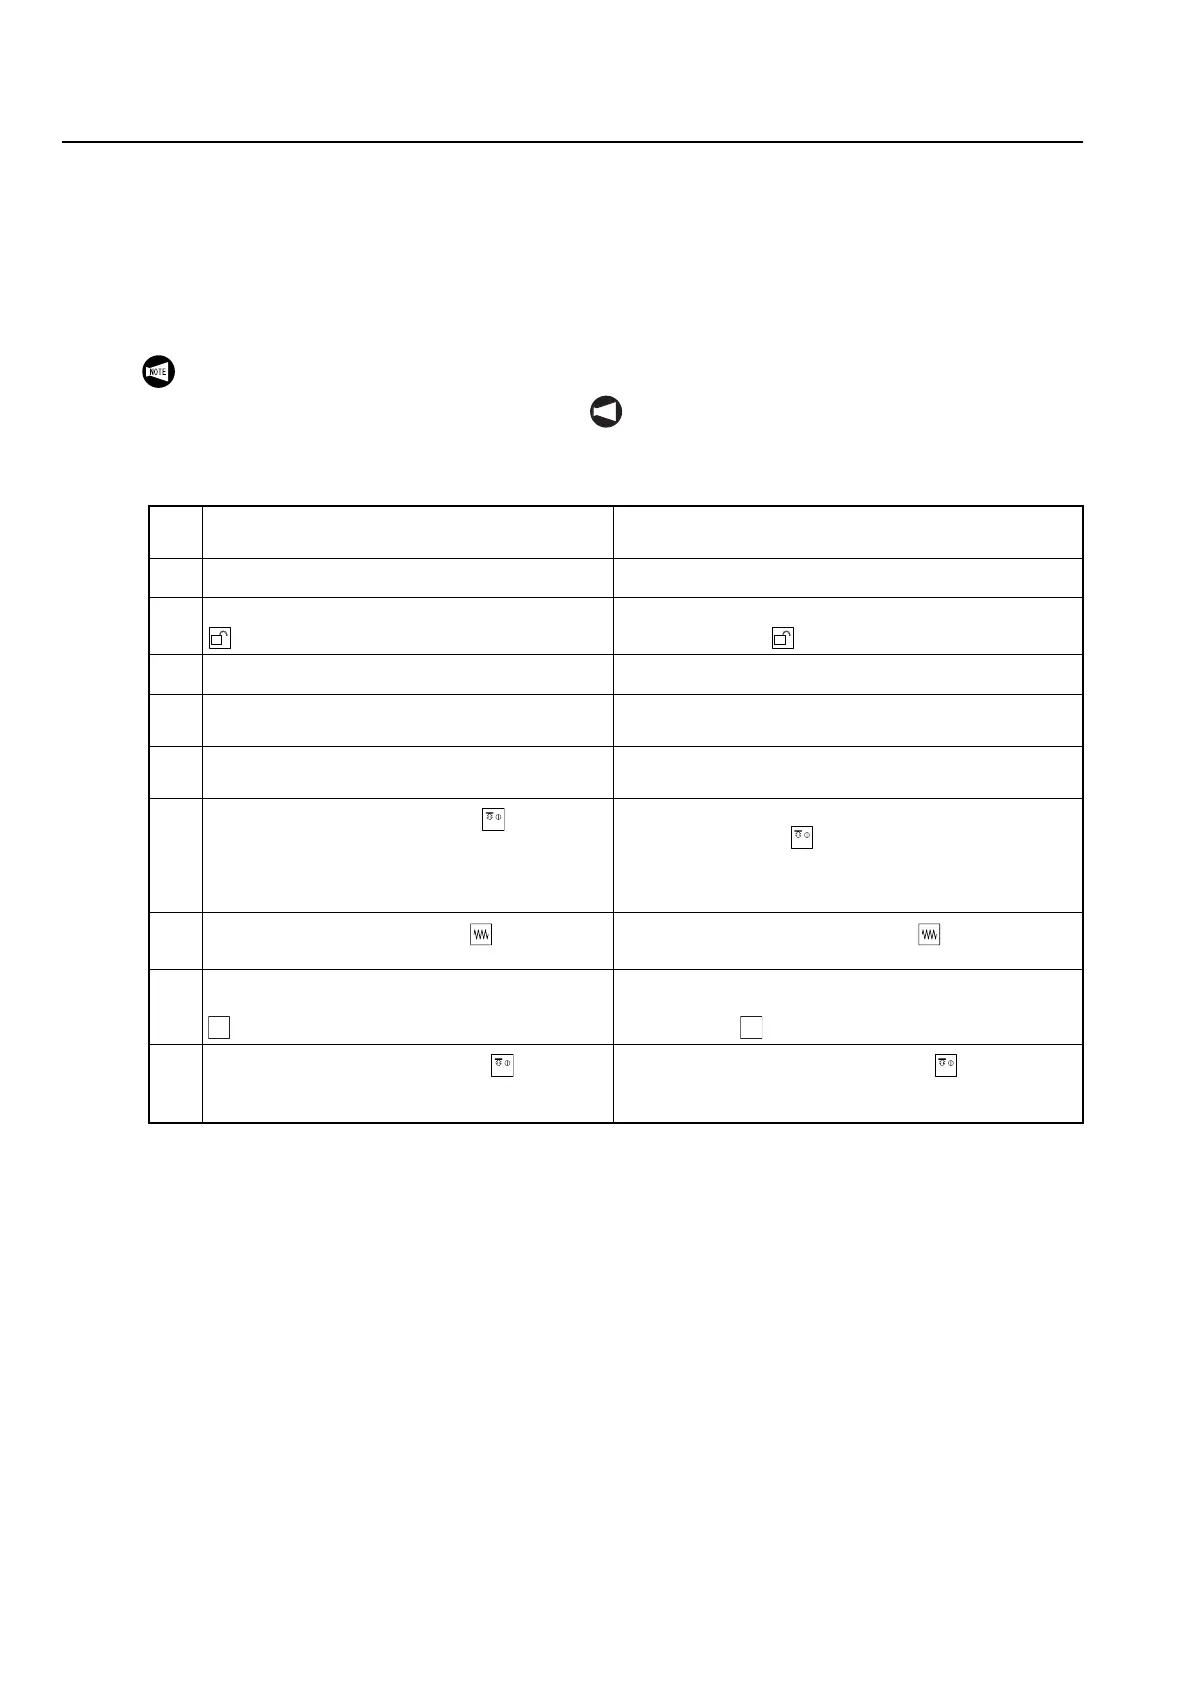
1.
Set the door interlock key-switch in the
[NORMAL] position.
Ponga el conmutador con llave de interbloqueo de
puerta en la posición [NORMAL].
2.
Close the door. Cierre la puerta.
3.
Turn the operation selection key-switch to
[Operation Enable].
Coloque la llave del interruptor de selección de
funcionamiento en [Operación activada].
4.
Select the manual mode. Seleccione el modo manual.
5.
Using Z-axis travel, move the turret into position
that allows connection with the tailstock.
Sirviéndose del recorrido del eje Z, desplace la torreta
hasta la posición que permita la conexión al contrapunto.
6.
Check visually that the turret is at the position that
allows connection with the tailstock.
Verifique visualmente que la torreta se encuentra en la
posición que permite la conexión con el contrapunto.
7.
Hold the tailstock/spindle 2 button [Clamp]
down for a while.
[Tailstock is unclamped.]
[Joint pin extends from the tailstock to connect to
the turret.]
Mantenga pulsado durante un momento el botón de
contrapunto/husillo 2 [Sujetar].
[El contrapunto está desbloqueado.]
[El pasador de unión se prolonga desde el contrapunto
que se ha de conectar hasta la torreta.]
8.
Press the mode selection button [Jog]. Pulse el botón de selección de modo [Impulsos
intermitentes].
9.
Move the connected tailstock and turret to any
given position by pressing the axis feed button
[+Z].
Desplace el contrapunto conectado y la torreta hasta
cualquier posición especificada pulsando el botón de
avance del eje [+Z].
10.
Press the tailstock/spindle 2 button [Clamp].
[The joint pin is unhooked.]
[The tailstock is clamped.]
Pulse el botón de contrapunto/husillo 2 [Sujetar].
[El pasador de unión está desenganchado.]
[El contrapunto está sujeto.]
CL
CL
+Z +Z
CL CL
 Loading...