2-264 MACHINE OPERATIONS OPERACIONES DE MECANIZADO
25) Bring the tool close to the workpiece manually
while observing the clearance between the work-
piece and the tool through the machining cham-
ber observation window.
25) Aproxime la herramienta a la pieza de forma manual,
controlando siempre la distancia existente entre dicha
pieza y la herramienta a través de la ventana de
observación de la cámara de mecanizado.
26) Press the [Door Unlock] button to unlock the
door. Then open the door.
26) Pulse el botón [Desbloqueo de puerta] para
desbloquear la puerta. A continuación, abra la puerta.
27) Check that there is no interference when the
spindle is rotated.
<Example>
• Interference between the adjacent tools and
chuck (workpiece)
• Interference between the fixture and chuck
(workpiece)
28) After making sure that the spindle can be rotated
without interference, close the front door.
29) Start the spindle manually, and adjust the spindle
speed as appropriate.
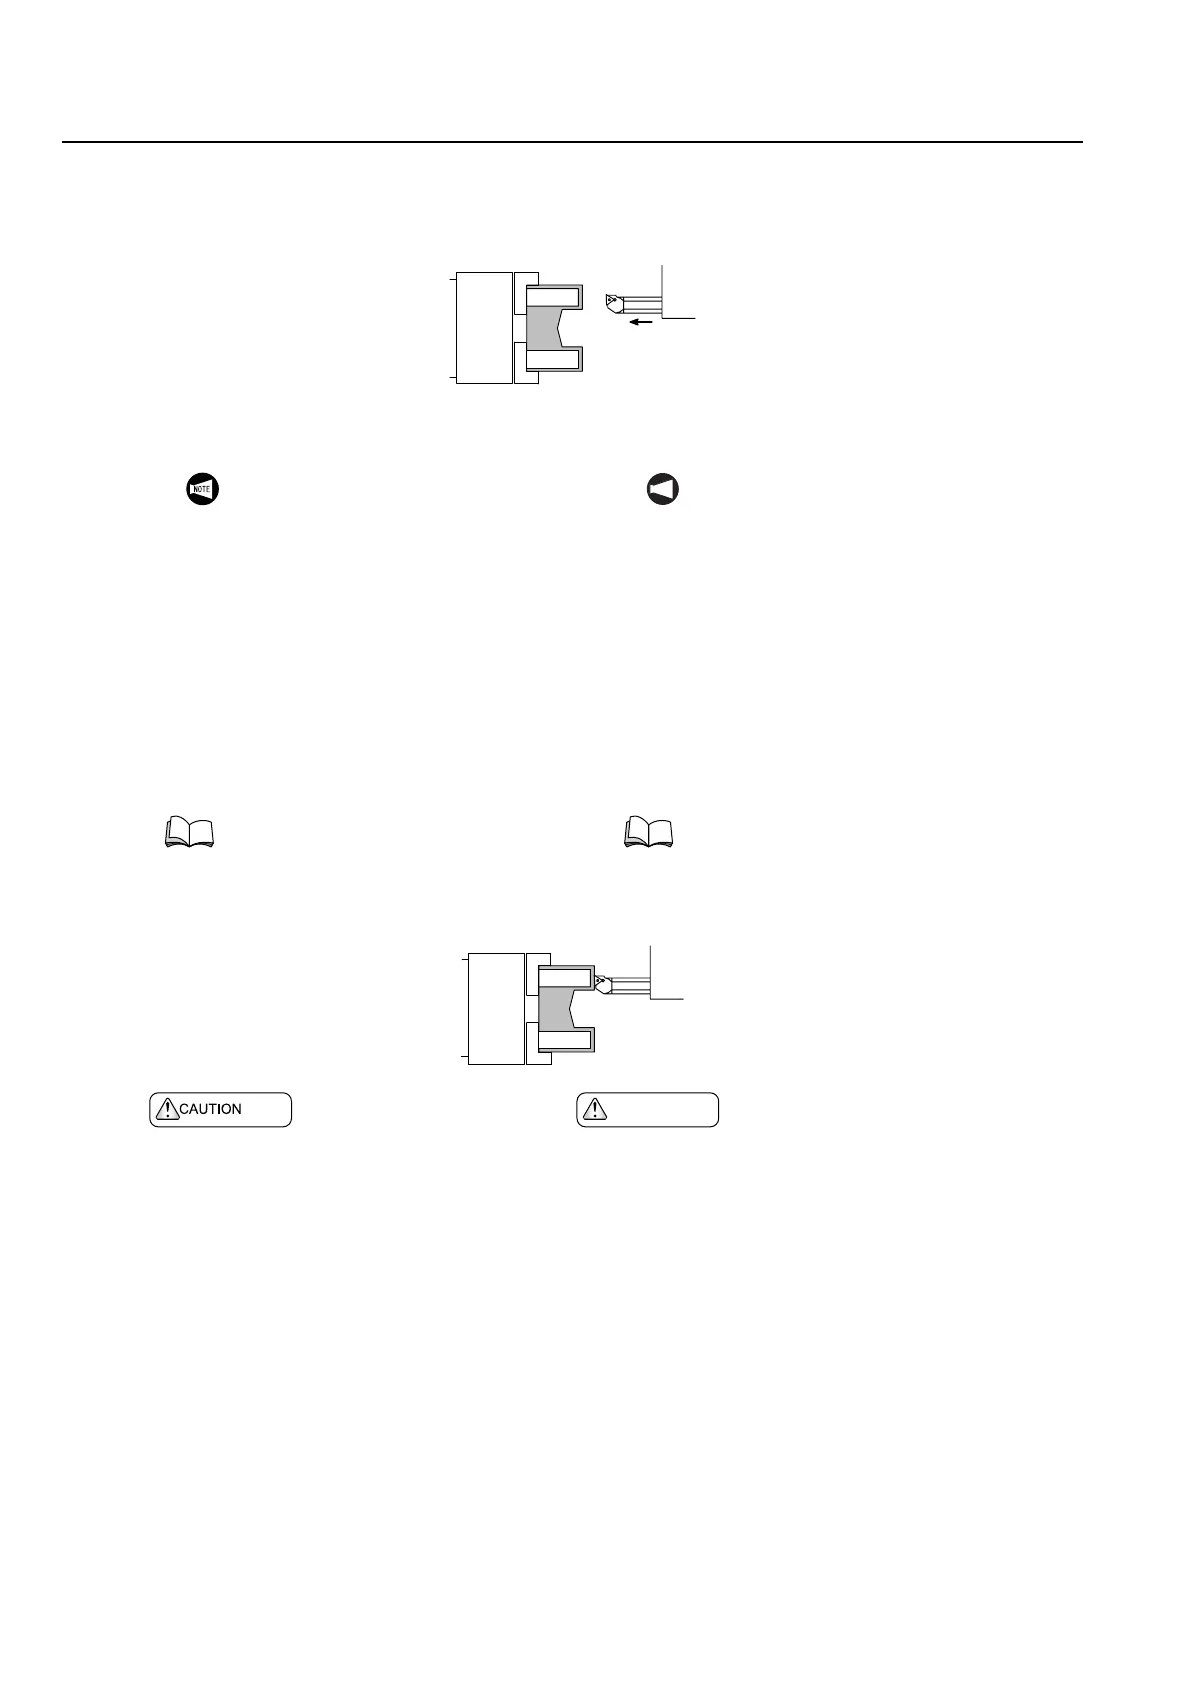
30) Bring the tool tip into light contact with the work-
piece end face in the handle feed operation.
27) Compruebe que no se produzcan interferencias cuando
gire el husillo.
<Ejemplo>
• Interferencias entre las herramientas adyacentes y
el plato (pieza)
• Interferencia entre el dispositivo de fijación y el
plato (pieza)
28) Cierre la puerta delantera tras haberse asegurado de
que el husillo puede girarse sin ninguna interferencia.
29) Ponga en marcha el husillo manualmente y ajuste la
velocidad del husillo de la manera correspondiente.
30) Ponga la punta de la herramienta levemente en contacto
con la superficie de extremo de la pieza en la operación
de avance por volante.
31) Input "Z0" using the data entry keys. 31) Introduzca "Z0" mediante las teclas de introducción de
datos.
32) Press the [MEASURE] → [EXECUTE] soft-key.
33) Make sure that the value displayed for Z of
MACHINE is input in the setting field of "No. 2 Z"
of the tool geometry offset data.
34) Move the cursor to the setting field of "No. 3 X" of
the tool geometry offset data using the cursor
control keys.
32) Pulse las teclas programables [MEDIR] →
[EJECUTAR].
33) Asegúrese de introducir en el campo de configuración
"N°2 Z" de los datos de corrección geométrica de la
herramienta, el mismo valor mostrado para Z en el
campo MÁQUINA.
34) Mueva el cursor hasta el campo de ajuste de "N°3 X" de
los datos de corrección de geometría de la herramienta
mediante las teclas de control del cursor.
With the automatic door type machine,
open the door by pressing the
[Automatic Door Open] button.
"G97 Controlling Spindle Speed at Con-
stant Speed" (page 2-165)
NOT A
Para el tipo de máquina con puerta automática,
abra la puerta pulsando el botón [Apertura de
puerta automática].
"G97 Control de la velocidad del husillo con-
stante" (página 2-165)
PRECAUCION
Do not move the tool in the Z-axis direction
after the contact. If moved, it could cause the
tool to interfere with the workpiece.
[Tool and machine damage]
No mueva la herramienta en la dirección del eje Z luego
de haber entrado en contacto con la pieza. Si lo hace, la
herramienta podría interferir con la pieza.
[Daños en la herramienta y en la máquina]
 Loading...