Send documentation comments to mdsfeedback-doc@cisco.com
48-15
Cisco MDS 9000 Family Fabric Manager Configuration Guide
OL-17256-03, Cisco MDS NX-OS Release 4.x
Chapter 48 Configuring FCIP
Using the FCIP Wizard
Step 13 Click Finish to create this FCIP link.
Basic FCIP Configuration
Once you have created FCIP links using the FCIP wizard, you may need to modify parameters for these
links. This includes modifying the FCIP profiles as well as the FCIP link parameters. Each Gigabit
Ethernet interface can have three active FCIP links at one time.
Once you have created FCIP links using the FCIP wizard, you may need to modify parameters for these
links. This includes modifying the FCIP profiles as well as the FCIP link parameters. Each Gigabit
Ethernet interface can have three active FCIP links at one time.
To configure an FCIP link, follow these steps on both switches:
Step 1 Configure the Gigabit Ethernet interface.
Step 2 Create an FCIP profile, and then assign the Gigabit Ethernet interface’s IP address to the profile.
Step 3 Create an FCIP interface, and then assign the profile to the interface.
Step 4 Configure the peer IP address for the FCIP interface.
Step 5 Enable the interface.
Creating FCIP Profiles
You must assign a local IP address of a Gigabit Ethernet interface or subinterface to the FCIP profile to
create an FCIP profile. You can assign IPv4 or IPv6 addresses to the interfaces.
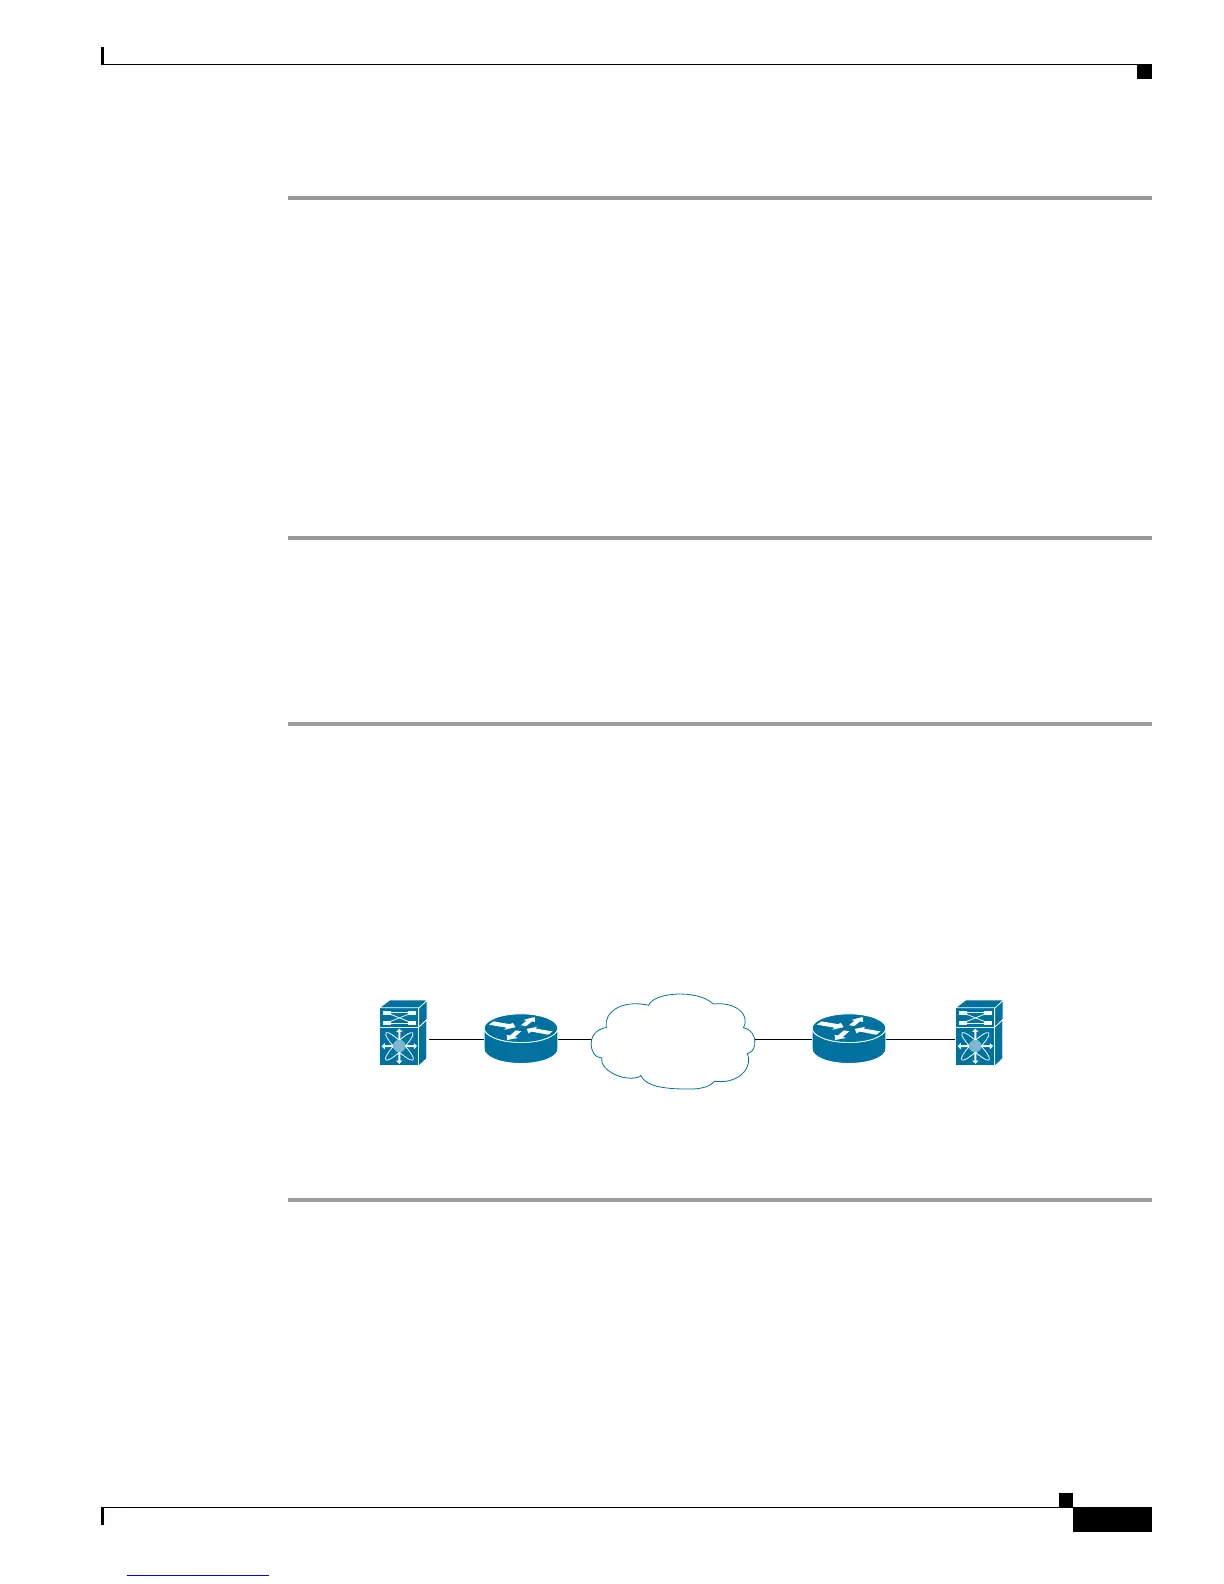
Figure 48-18 shows an
example configuration.
Figure 48-18 Assigning Profiles to Each Gigabit Ethernet Interface
To create an FCIP profile in switch 1, follow these steps:
Step 1 Verify that you are connected to a switch that contains an IPS module.
Step 2 From Fabric Manager, choose Switches > ISLs > FCIP in the Physical Attributes pane. From Device
Manager, choose FCIP from the IP menu.
Step 3 Click the Create Row button in Fabric Manager or the Create button on Device Manager to add a new
profile.
Step 4 Enter the profile ID in the ProfileId field.
Step 5 Enter the IP address of the interface to which you want to bind the profile.
Switch 1 Switch 2
IP router
IP router
91561
IP
Network
IP address of Gigabit Ethernet
interface 3/1 = 10.100.1.25
IP address of Gigabit Ethernet
interface 3/1 = 10.1.1.1
 Loading...


