Send documentation comments to mdsfeedback-doc@cisco.com
40-7
Cisco MDS 9000 Family Fabric Manager Configuration Guide
OL-17256-03, Cisco MDS NX-OS Release 4.x
Chapter 40 Configuring SNMP
Creating and Modifying Users
Step 6 (Optional) Provide an expiration date for the user and the file name of an SSH key.
Step 7 Click Create to create the new roles.
Adding Communities
You can configure read-only or read-write access for SNMPv1 and SNMPv2 users. Refer to RFC 2576.
To create an SNMPv1 or SNMPv2c community string using Fabric Manager, follow these steps:
Step 1 Expand Switches > Security and then select Users and Roles from the Physical Attributes pane.
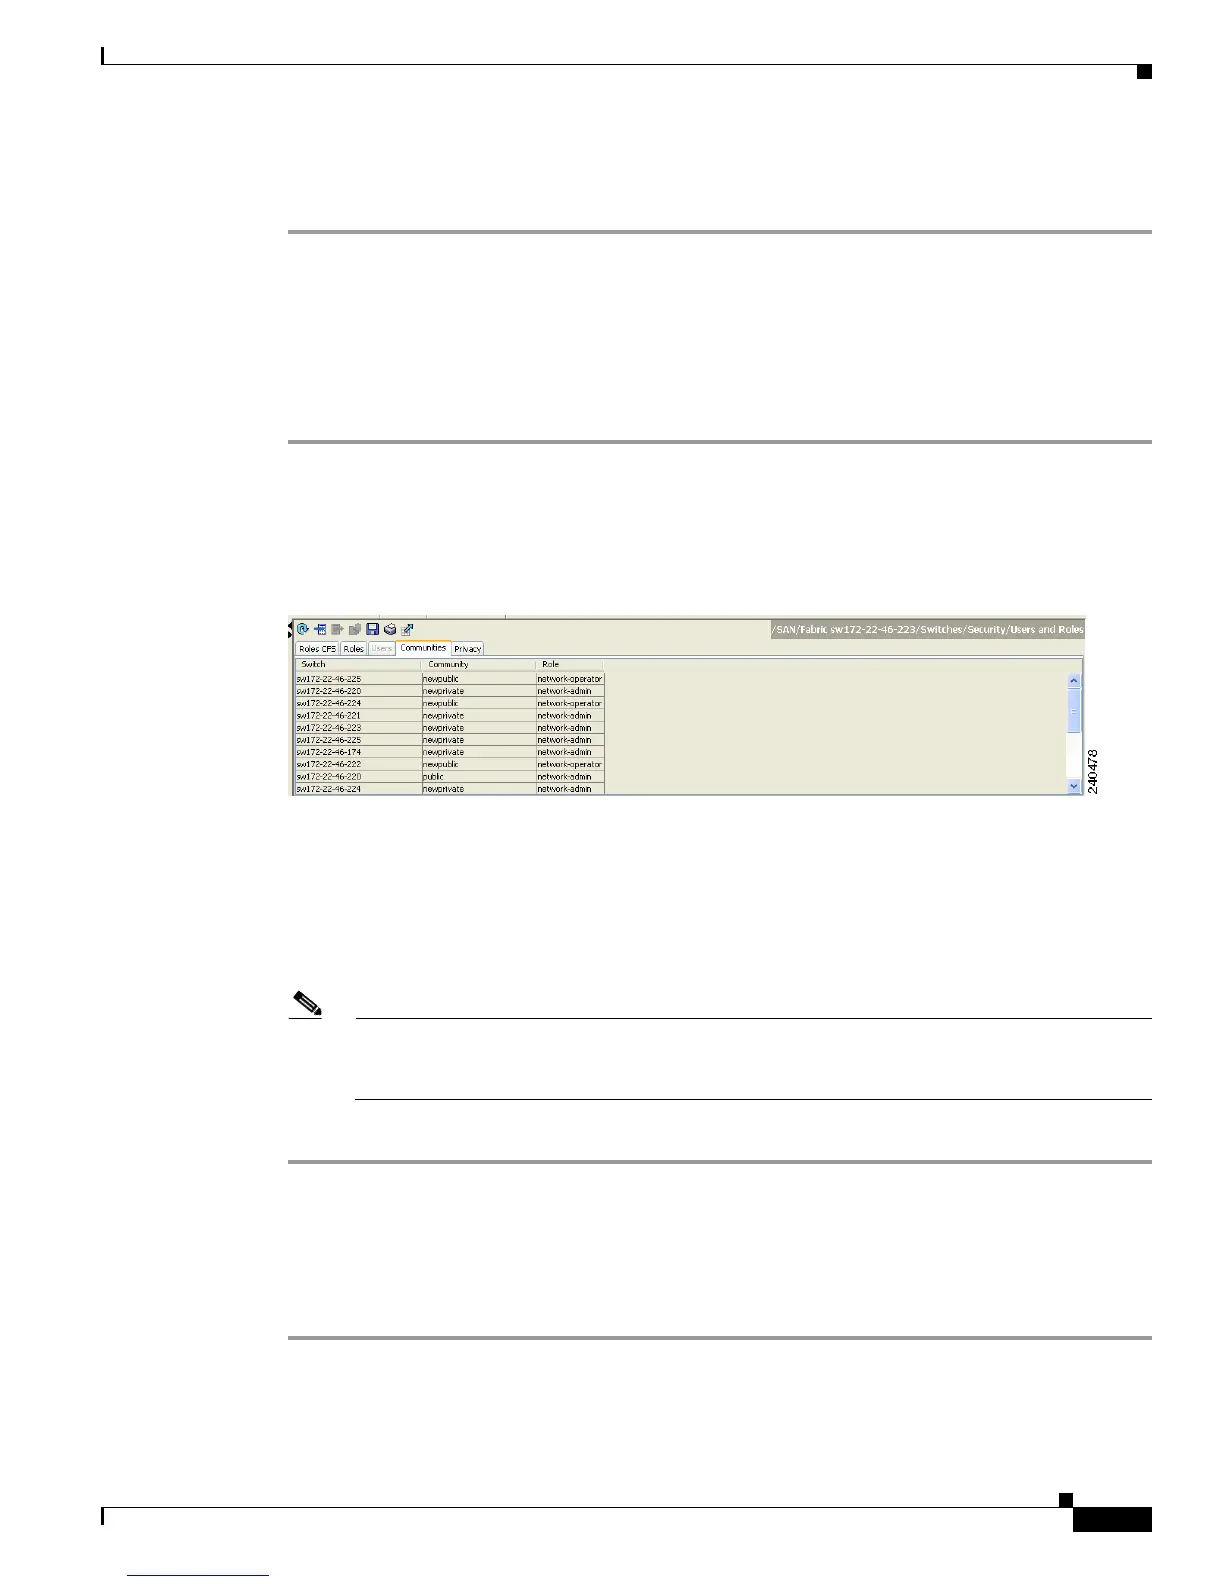
Step 2 Click the Communities tab in the Information pane.
You see the existing communities (see Figure 40-5).
Figure 40-5 Communities Tab Under Users and Roles
Step 3 Click Create Row.
You see the Create Community String dialog box.
Step 4 Check the Switch check boxes to specify one or more switches.
Step 5 Enter the community name in the Community field.
Step 6 Select the role from Role drop-down list.
Note You can enter a new role name in the field if you do not want to select one from the drop-down
list. If you do this, you must go back and configure this role appropriately (see the
“Role-Based
Authorization” section on page 39-1).
Step 7 Click Create to create the new entry.
Deleting a Community String
To delete a community string using Fabric Manager, follow these steps:
Step 1 Expand Switches > Security and then select Users and Roles from the Physical Attributes pane.
Step 2 Click the Communities tab in the Information pane.
 Loading...


