Send documentation comments to mdsfeedback-doc@cisco.com
7-47
Cisco MDS 9000 Family Fabric Manager Configuration Guide
OL-17256-03, Cisco MDS NX-OS Release 4.x
Chapter 7 Fabric Manager Web Client
Admin
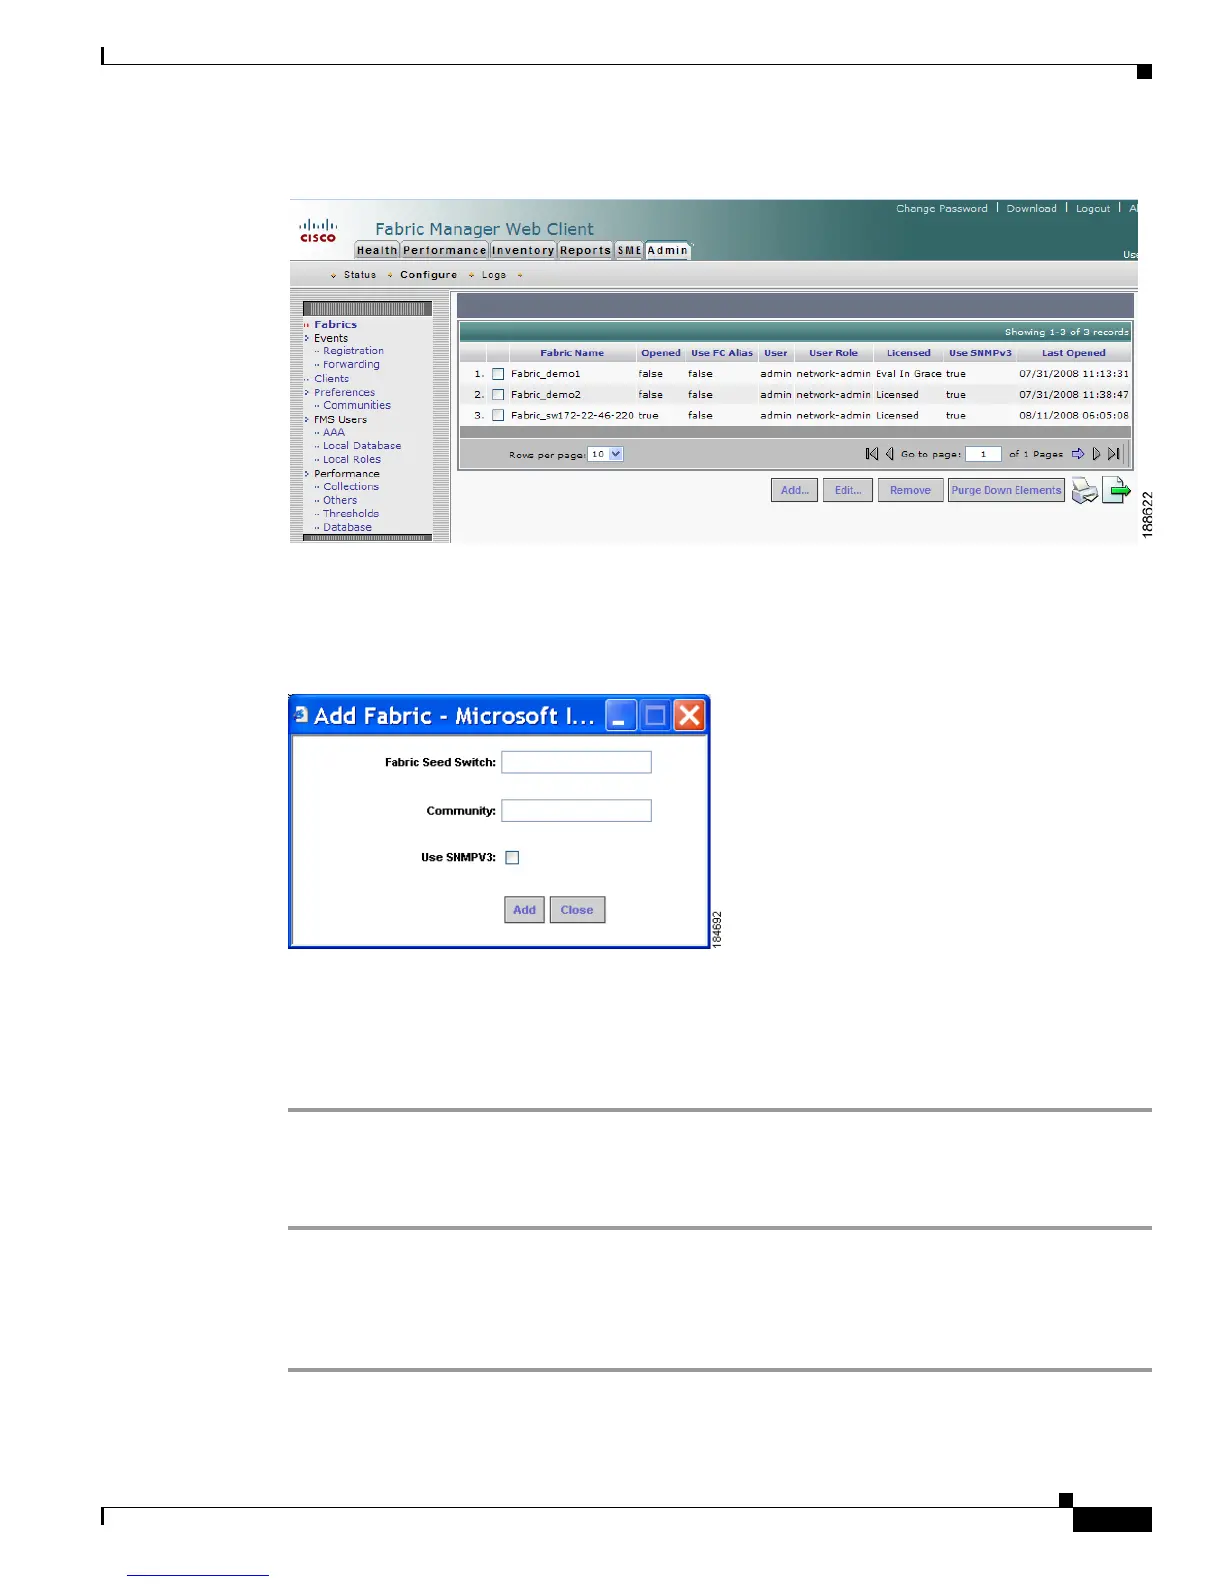
Figure 7-39 List of Fabrics Managed by the Fabric Manager Server
Step 3
Click Add.
You see the Add Fabric dialog box shown in Figure 7-40.
Figure 7-40 Add Fabric Dialog Box
Step 4
Enter the seed switch IP address, read community and write community for this fabric.
Step 5 (Optional) Check the SNMPV3 check box. If you check SNMPV3, the fields Read Community and
Write Community change to User Name and Password. You must enter your user name and password.
Step 6 Click Add to begin managing this fabric.
To stop managing a fabric from Fabric Manager Server using Fabric Manager Web Client, follow these
steps:
Step 1 Click the Admin tab, and then click Configure.
Step 2 Click Fabrics in the left navigation pane.
Step 3 Check the check box next to the fabric that you want to remove and click Remove to discontinue data
collection for that fabric.
To edit a fabric from Fabric Manager Server using Fabric Manager Web Client, follow these steps:
 Loading...


