Send documentation comments to mdsfeedback-doc@cisco.com
21-8
Cisco MDS 9000 Family Fabric Manager Configuration Guide
OL-17256-03, Cisco MDS NX-OS Release 4.x
Chapter 21 Configuring N Port Virtualization
Configuring NPV
• On the 91x4 platform, before you downgrade from 3.2(2c) to earlier versions, shut the F port, enable
and disable the FC domain persistency for that VSAN and then up the F port.
To use Fabric Manager and Device Manager to configure NPV, follow these steps:
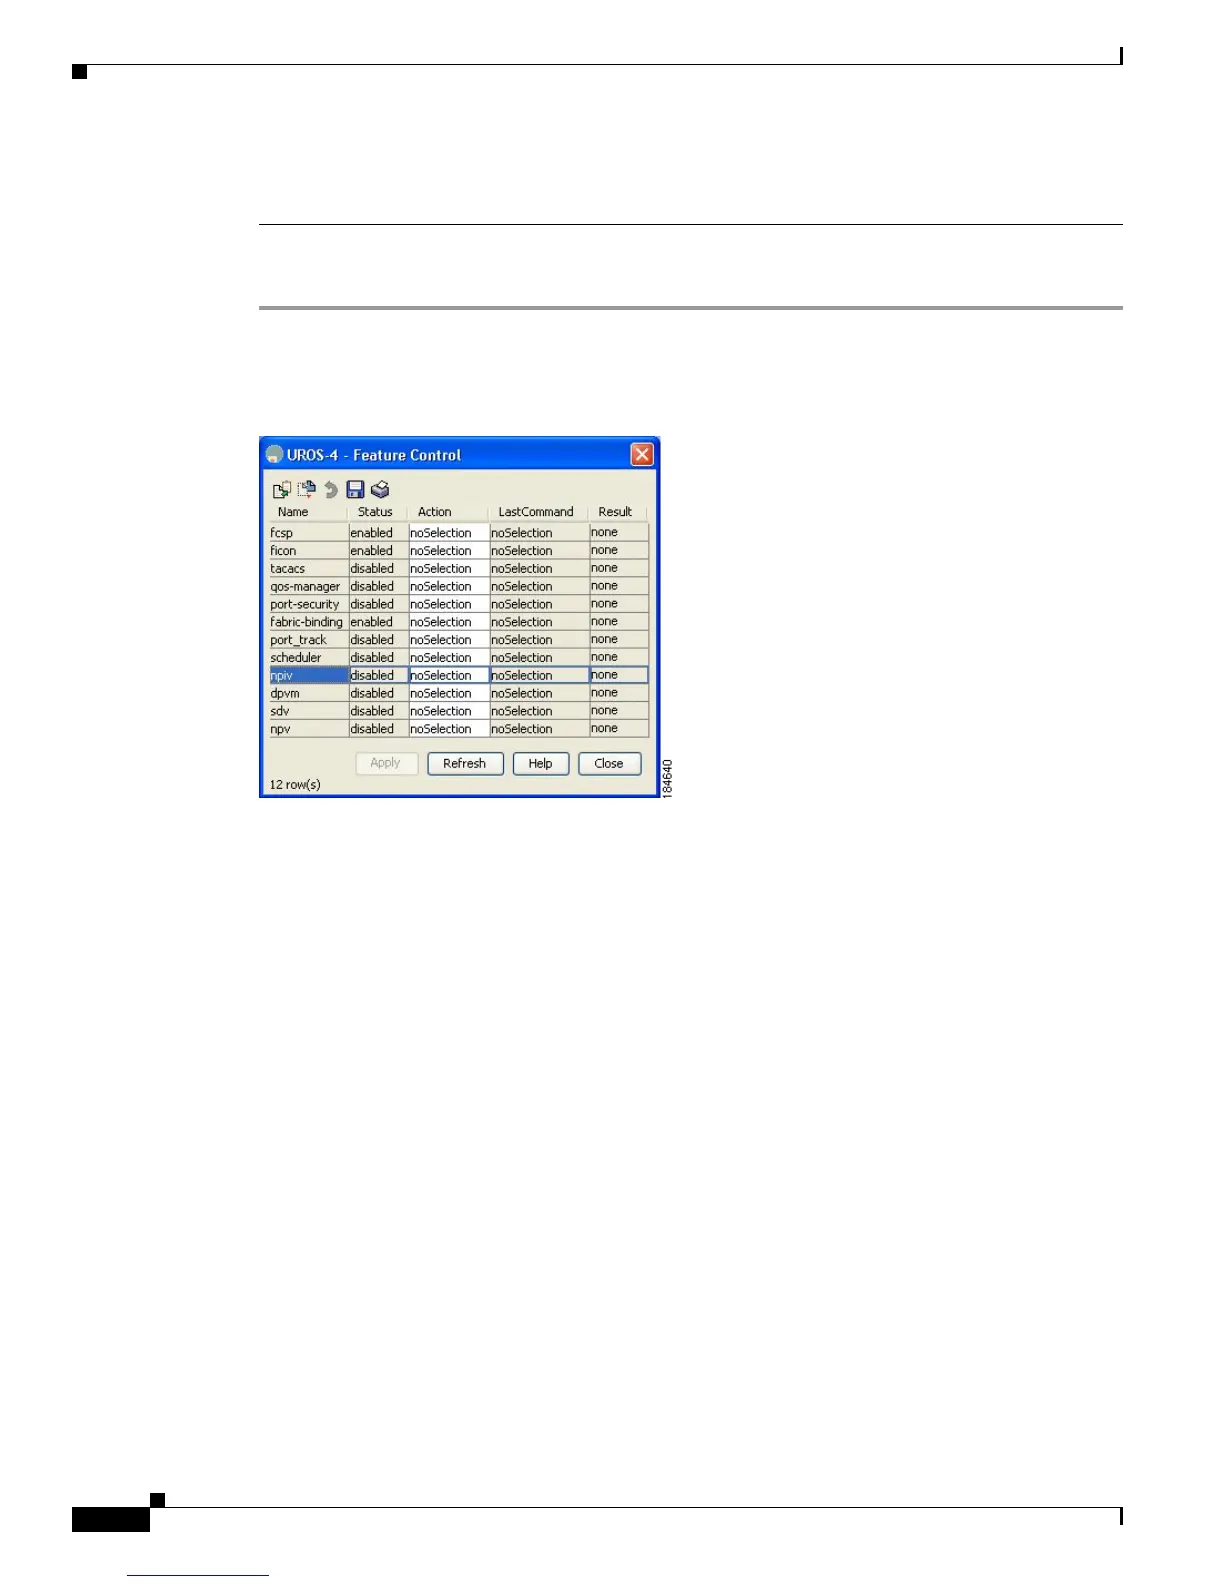
Step 1 Launch Device Manager from the core NPV switch to enable NPIV on the core NPV switch. From the
Admin drop-down menu, select Feature Control. Select enable for the NPIV feature (see Figure 21-4).
Figure 21-4 Enabling NPIV and NPV
Step 2 Click Apply.
Step 3 From the Interface drop-down menu, select FC All to configure the NPIV core switch port as an F Port.
Step 4 In the Mode Admin column, select the F port mode and click Apply.
Step 5 Launch Device Manager from the NPV device to enable NPV on the NPV device. From the Admin
drop-down menu, select Feature Control. Select enable for the NPV feature and click Apply.
Step 6 From the Interface drop-down menu, select FC All to configure the external interfaces on the NPV
device.
Step 7 In the Mode Admin column, select the NP port mode and click Apply.
Step 8 From the Interface drop-down menu, select FC All to configure the server interfaces on the NPV device.
Step 9 In the Mode Admin column, select F port mode and click Apply.
Step 10 The default Admin status is down. After configuring port modes, you must select up Admin Status to
bring up the links.
 Loading...


