- 1499 -
Changing rated current
A rated current (In) has been set by the manufacture†, but the user can change it to the other
(either 1A or 5A) by yourself. Follow the steps below, as shown in the table:
Table 13.4-1 Change rated current workflow
BO circuits are locked after power-off.
An optional jumper required
Optional jumpers required
Take back to the original
Check altered ordering code
Confirm it has been changed
Write settings with altered code
Choose the altered ordering code
Check DEP settings for Ch*
Memo for change rated current
(Keep it for your future reference)
†Note: To confirm, see Factory setting label on the case side. For more detail, see
Preceding Section
Unpack and inspection of hardware and software
.
Step1: Turn off the IED.
Note that all outputs are locked-out when powered-off†.
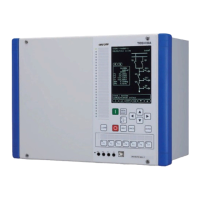
Then, open the IED panel. Remove a flat cable and lateral beams in the IED case‡.
†Note: For alarm outputs, refer to
Chapter Automatic supervision: Error outputs
with contacts and binary output circuits.
Remind that alarms are dependent
on the alarm degree. See
Table ‘FAIL contact, BO, LED outputs depending
on levels’
‡Note: For removal and restoration of inner modules, see
Guide for replacement of
inner modules,
separately:
—For type using compression terminals
(6F2S1955)
—For type using ring terminals
(6F2S1956)
Step2: Change CPU mode (Default Constrained mode)
To change a CPU mode†, the user shall close a CPU-W6 circuit with a jumper. The
user can get jumpers from an optional-kit (EP-221). Insert the jumper on either W6(1-
2) or W6(3-4) for changing.
†Note: To find the CPU location, go to Chapter
Technical description: Signal
processing and communication module,
and see
Figure Configuration switch
about the mode.
 Loading...
