Layer 2,3,IPv6+QoS Switch
_____________________________________________________________________________
Layer 2,3,IPv6+QoS Network Switch User Manual Version 0.1 Page: 38/970
2 Installation and Quick Startup
2.1 Package Contents
Before you begin installing the Switch, confirm that your package contains the following items:
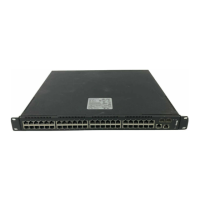
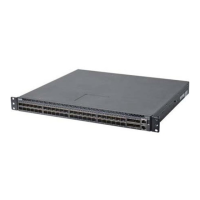
‧ One LB4M Layer III Gigabit Switch
‧ Mounting kit: 2 mounting brackets and screws
‧ Four rubber feet with adhesive backing
‧ One AC power cord
‧ This User’s Guide with Registration Card
‧ CLI Reference
‧ CD-ROM with User’s Guide and CLI Reference
2.2 Switch Installation
Installing the Switch Without the Rack
1. Install the Switch on a level surface that can safely support the weight of the Switch and its
attached cables. The Switch must have adequate space for ventilation and for accessing cable
connectors.
2. Set the Switch on a flat surface and check for proper ventilation. Allow at least 5 cm (2
inches) on each side of the Switch and 15 cm (6 inches) at the back for the power cable.
3. Attach the rubber feet on the marked locations on the bottom of the chassis.
The rubber feet are recommended to keep the unit from slipping.