RUGGEDCOM ROX II
User Guide
Chapter 4
System Administration
Managing Public Keys 205
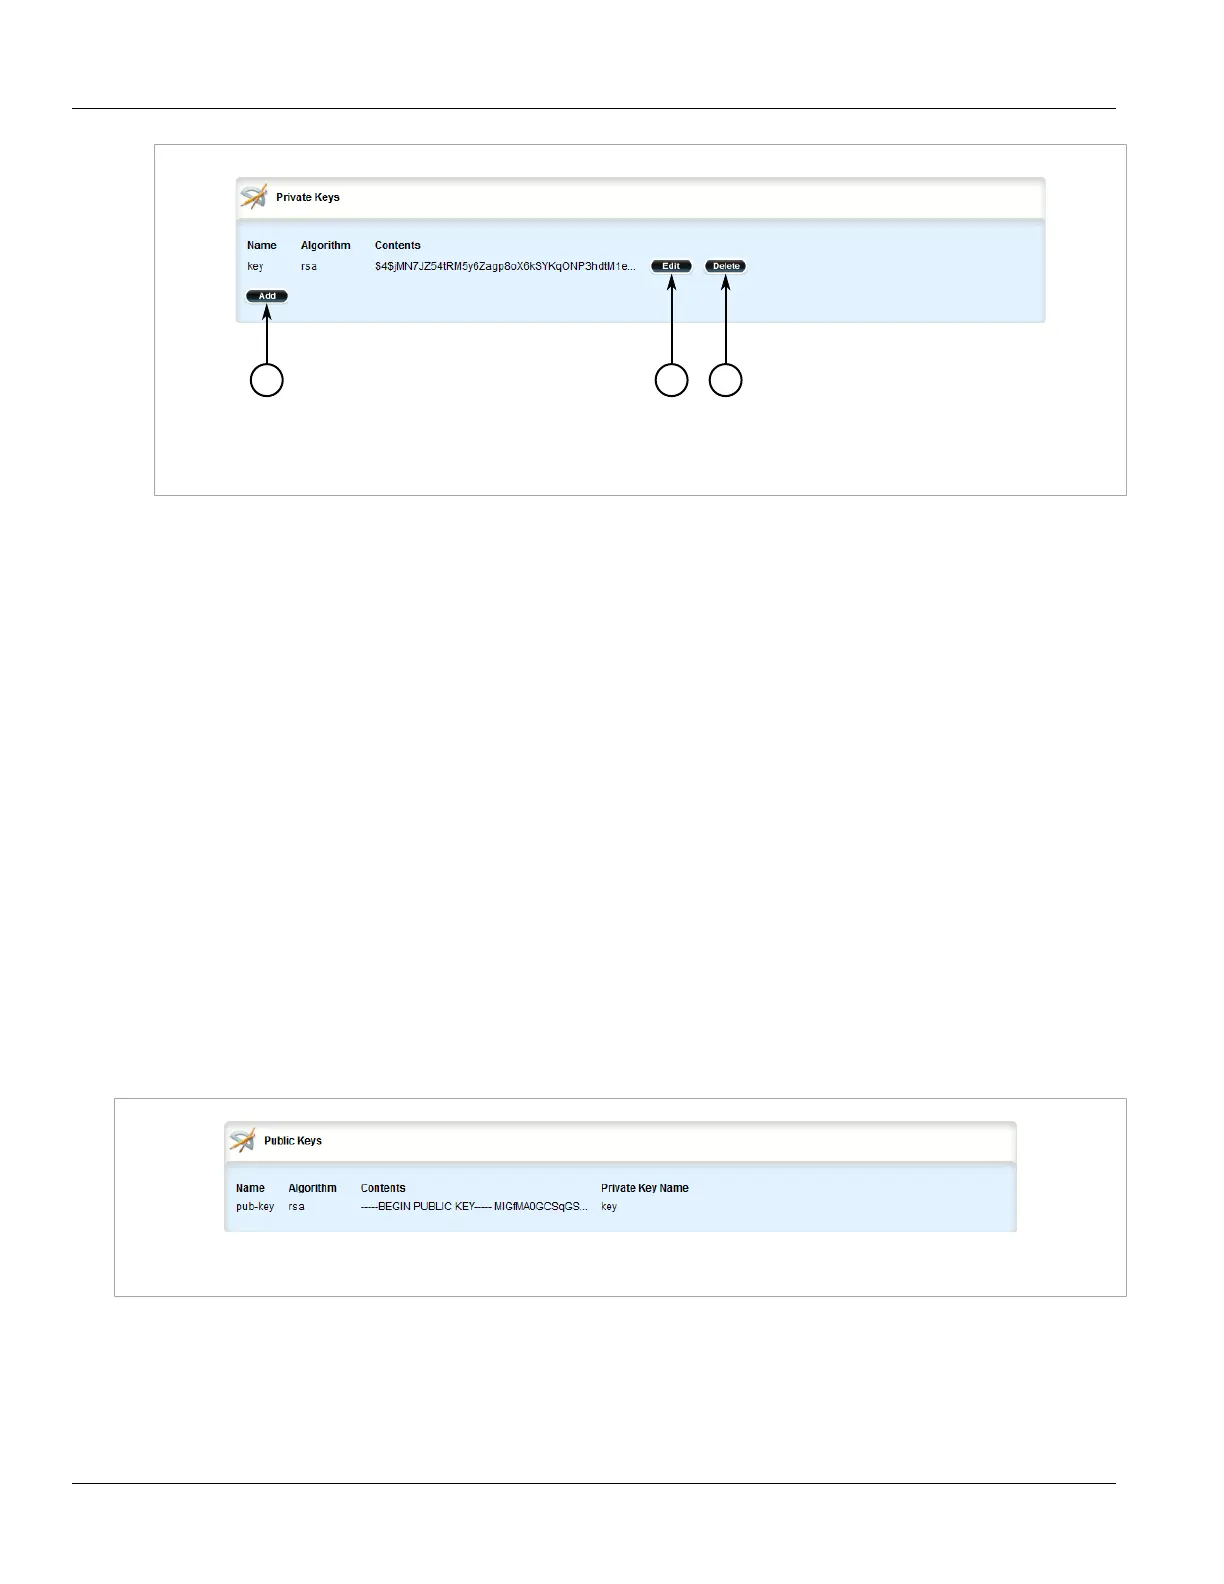
Figure 216: Private Key Table
1. Add Button 2. Edit Button 3. Delete Button
3. Click Delete next to the chosen private key.
4. Click Commit to save the changes or click Revert All to abort. A confirmation dialog box appears. Click OK
to proceed.
5. Click Exit Transaction or continue making changes.
Section 4.7.3
Managing Public Keys
The following sections describe how to configure and manage unsigned public keys on the device:
• Section 4.7.3.1, “Viewing a List of Public Keys”
• Section 4.7.3.2, “Adding a Public Key”
• Section 4.7.3.3, “Deleting a Public Key”
Section 4.7.3.1
Viewing a List of Public Keys
To view a list of unsigned public keys, navigate to security » crypto » public-key. If public keys have been
configured, the Public Key table appears.
Figure 217: Public Key Table
If no public keys have been configured, add keys as needed. For more information, refer to Section 4.7.3.2,
“Adding a Public Key”.

 Loading...