RUGGEDCOM ROX II
User Guide
Chapter 5
Setup and Configuration
Adding a Key 497
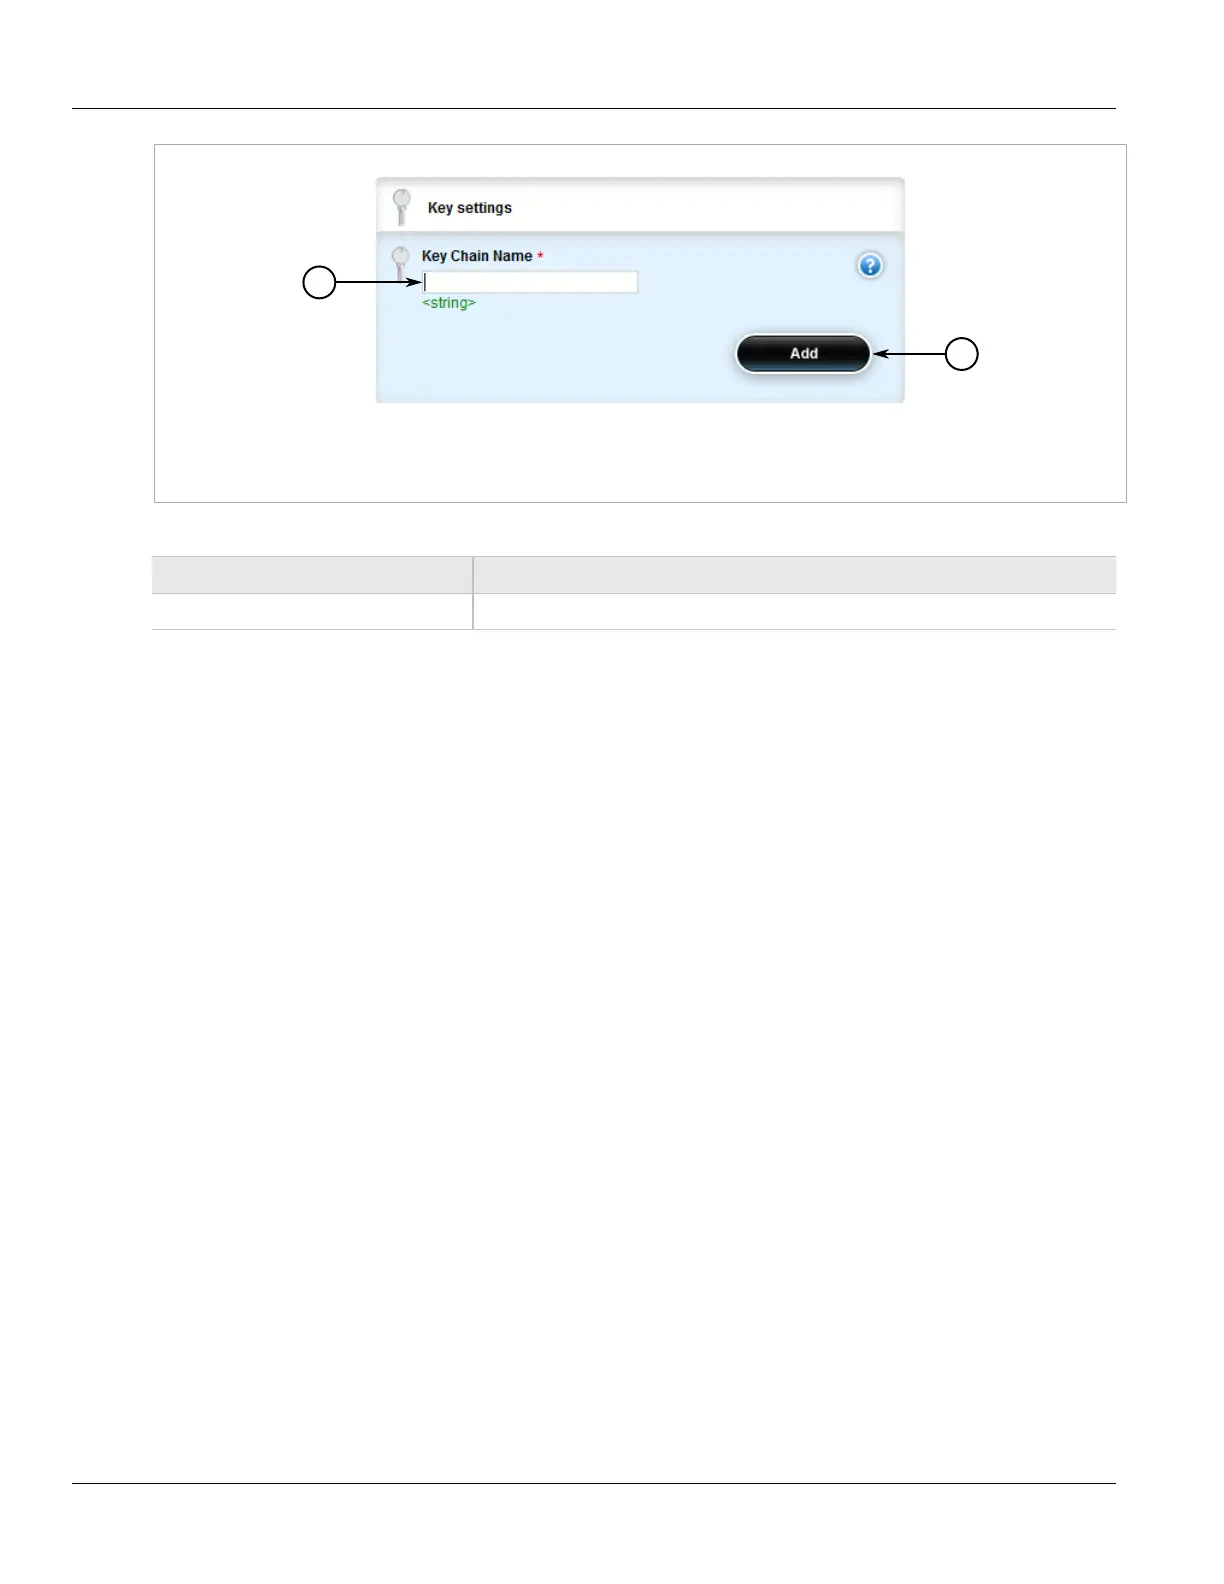
Figure 568: Key Settings Form
1. Key Chain Name Box 2. Add Button
3. Configure the following parameter(s) as required:
Parameter Description
Key Chain Name The name of the key chain.
4. Click Add to add the key chain.
5. Configure one or more keys for the key chain. For more information, refer to Section 5.20.9.4, “Adding a
Key”.
6. Configure a routing interface to use the key chain for authentication purposes. For more information, refer to
Section 5.20.11.2, “Configuring a Routing Interface”
7. Click Commit to save the changes or click Revert All to abort. A confirmation dialog box appears. Click OK
to proceed.
8. Click Exit Transaction or continue making changes.
Section 5.20.9.4
Adding a Key
Keys (or shared secrets) are used to authenticate communications over a RIP network. To maintain network
stability, each key is assigned an accept and send lifetime.
The accept lifetime is the time period in which the key is accepted by the device.
The send lifetime is the time period in which they key can be sent to other devices.
This is referred to as hitless authentication key rollover, a method for seamlessly updating authentication keys
without having to reset network sessions.
To add a key to a key chain, do the following:
1. Change the mode to Edit Private or Edit Exclusive.
2. Navigate to routing » dynamic » rip » key-chain » {name} » key, where {name} is the name of the key
chain.
3. Click <Add key>. The Key Settings form appears.

 Loading...